Building a custom mechanical keyboard is a BIG step into the world that is mechanical keyboards.
To make the process as easy and flawless as possible, we put together this comprehensive, step-by-step guide on building a custom mechanical keyboard.
We’ll go over everything that you’ll need to get started, pick out the parts, and the actual steps for assembling everything.
Let’s get started!
Step 1: Decide What Keyboard You Want
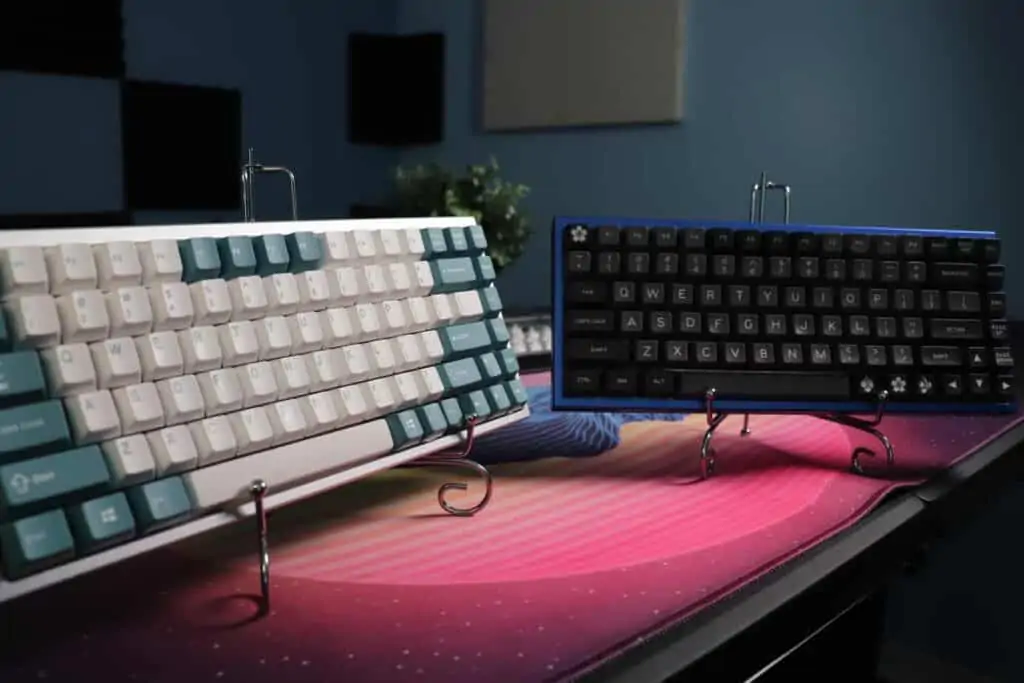
The hardest step is figuring out exactly what you want with your first custom mechanical keyboard.
To make this easier, we’ll link you to our recommended beginner build that includes a checklist of all the components and tools required to get started without getting stuck in analysis paralysis.
Basically, you’ll need to figure out:
- What size keyboard you need
- What features you prefer
- When you want to build your keyboard
Having a keyboard that’s already picked out makes this step SO much easier if you don’t know exactly what you want.
But if you want to choose exactly what features, size, and when you want to build your keyboard, we’ll go over each aspect.
Finding the Right Size Keyboard
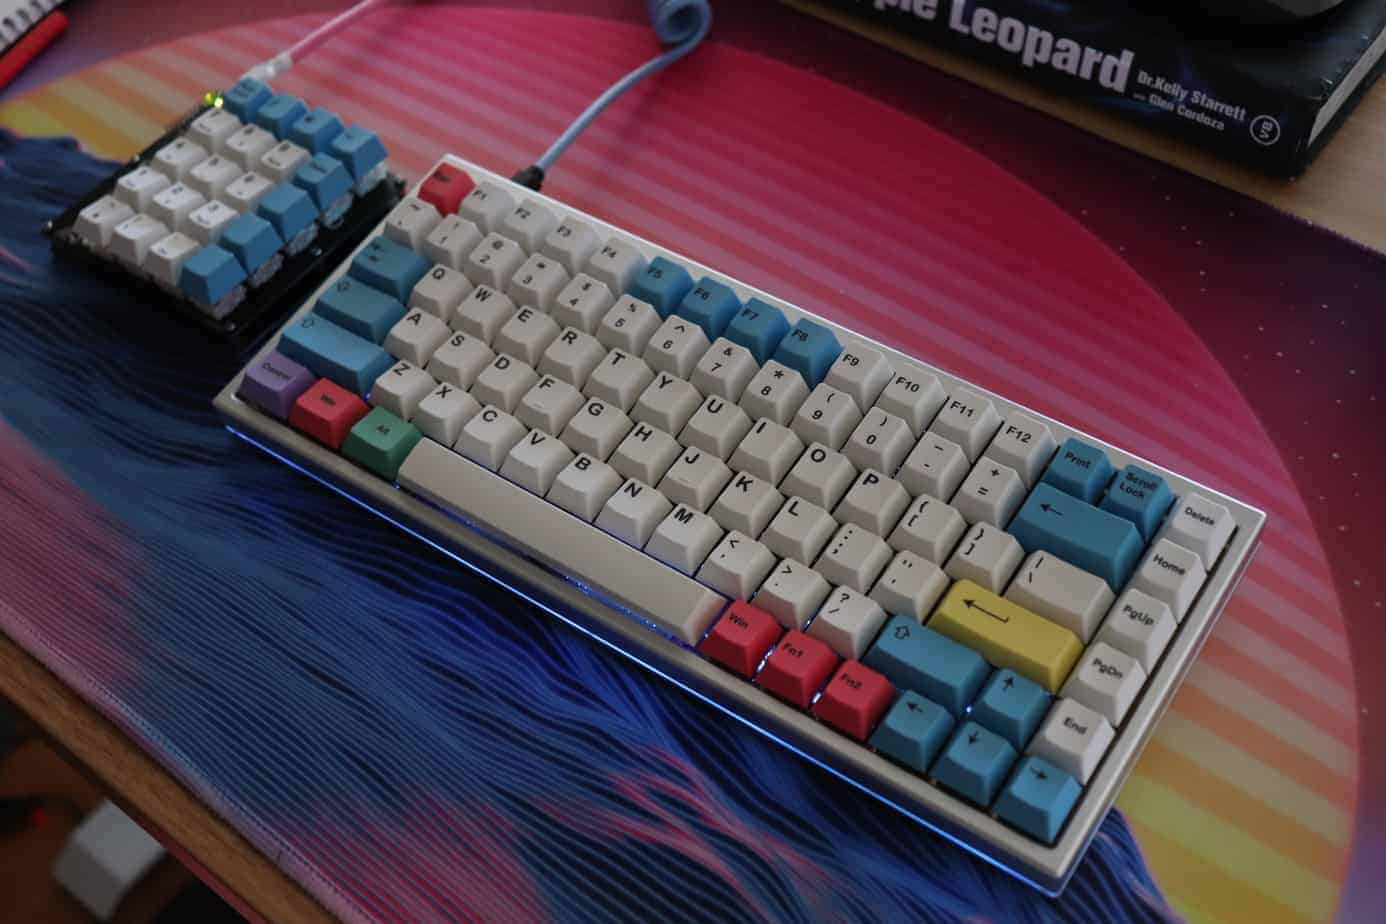
The beauty of custom mechanical keyboards is that there are a ton of different keyboard sizes you can build.
This also makes it incredibly difficult to choose the correct size as you need to understand what all different sizes entail and if you find them comfortable or not.
We recommend you looking at our keyboard size guide if you’re a little confused by all of the different sizes.
Here is a quick overview of all of the different keyboard sizes:
- Full-sized: You usually can’t find this size for custom keyboards, it’s only used on pre-built keyboards. If you’re lucky you might be able to find a full-sized custom keyboard.
- 1800-Compact (96%): A super cool layout size that axes the navigational cluster and smushes the number pad with the rest of the keys. You can only find this size through group buys.
- Tenkeyless: A common layout that chops off the number pad but still keeps the rest of the keyboard layout.
- 75%: Similar to tenkeyless, except the navigational cluster is placed vertically to save space. Fun and comfortable to use.
- 65%: This layout removes the function row and keeps some of the navigational cluster. It’s also the smallest keyboard size that keeps the dedicated arrow keys.
- 60%: The most common custom keyboard layout. There is no function row, arrow keys, or navigational cluster. You can find parts a 60% the easiest.
- 40%: The smallest size that you can still type on. It’s basically a 60% keyboard except you remove the numeric keys. You’ll need to get used to typing on different layers to use this size. A very long adjustment period is required for a 40% layout.
- Macropad: Basically, a separate number pad that you can assign macros to. Very fun to use alongside your main keyboard.
Picking a size is the first crucial step to building a keyboard.
If you want a more uncommon size, just most likely need to wait longer for the keyboard arrive, but a more common layout you can get the parts within a short period of time.
Picking Out The Features
Ah yes, the features. It can be hard to know exactly what features you want for your keyboard if you’re still new to the hobby.
Here are a few features people look for in a keyboard:
- RGB lighting: If you want a lightshow, RGB is the way to go. There are different types of RGB lighting as well, RGB on each key, RGB side lighting, and under glow. It all depends on how bright you want your setup to be.
- QMK Firmware: If you need your keyboard to be programmable so you can remap the keys, QMK firmware is a must have. Not everyone needs QMK, but it’s always a nice addition.
- USB Port: Choosing the USB can be important. We recommend USB-C because it’s reversible. No need to worry about plugging the cable in upside-down. The location of the port on the keyboard also matters depending on your preferences.
There are many other features to look at as well, which we’ll get into in the next step where we actually pick out the parts.
For now, just get an idea of what your ideal keyboard will have in terms of features.
The Timeline for Building Your Keyboard
The little know aspect of building a keyboard is how long it takes to get the parts. And nobody talks about it.
There are two ways to get the parts for your keyboard: in-stock parts and group buys.
- In-Stock Parts: The fastest way to get parts for your build. You go to an online store and order the parts. They are shipping out within a couple days or weeks and it’s ready to build. The downside to this method is you’re stuck with more cookie-cutter parts and a less unique build, but it’s fast.
- Group Buys: If you want really customized parts or a super unique build, you’ll have to go through a group buy. Group buys are a lot of fun, they just take forever. You can expect to wait for a good 6-9 months waiting for the parts from a group buy.
It’s up to you to decide if you want to build the keyboard now or months later depending on how customized you want your keyboard build to be.
We have a recommended keyboard build for under $200 that ships out in a few days but it does not have the ultra-customized parts you would find in a group buy.
Step 2: Pick Out the Parts
| Parts Required | The Options |
| Keyboard Case | Plastic, Aluminum, Acrylic, Brass, or Polycarbonate Material |
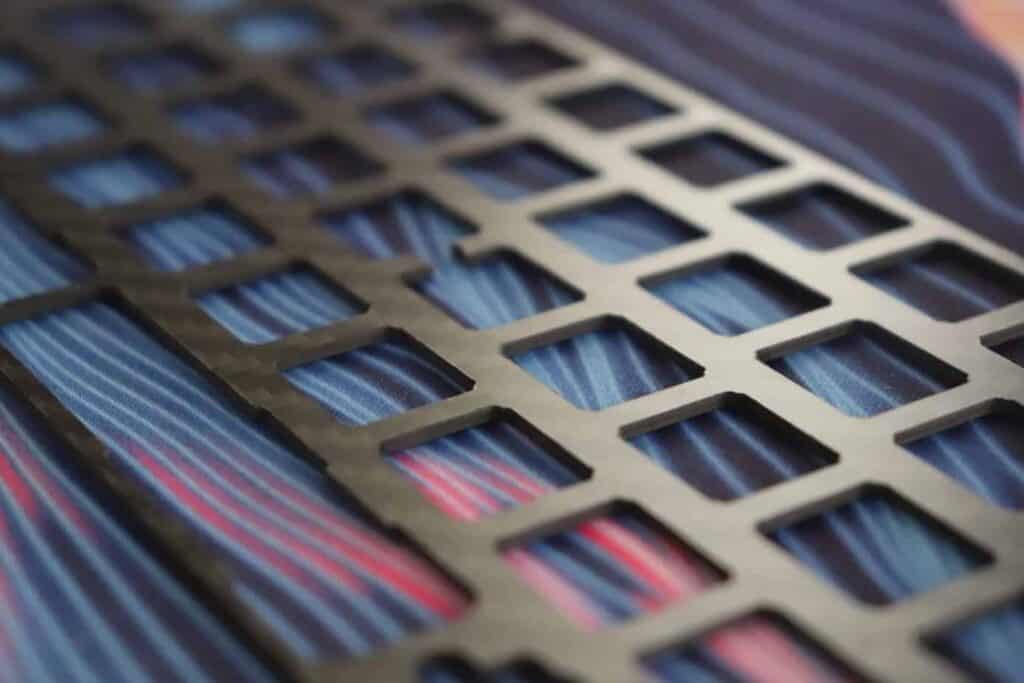
| Plate | Aluminum, Steel, Brass, Carbon Fiber, POM… |
| Circuit Board (PCB) | Sizes: 40%, 60%, 65%, 75%, TKL, 1800-Compact, or Full-Sized |
| Stabilizers | Options: GMK, Durock, Everglide, ZealPC |
| Switches | Cherry MX, Gateron, NovelKeys, ZealPC, and more |
| Keycaps | Material: ABS or PBT Manufacturer: GMK, Tai Hao, Drop, and more |
There are some main components required to build a keyboard. Picking out the right parts is super important and you want to make sure they are all compatible with each other.
Here are the components that you’ll need:
- PCB (printed circuit board): The PCB is lifeblood of your keyboard. It’s the brain and the central unit. The PCB you choose determines the size, features, and layout of your keyboard. Choose wisely.
- Case: The case is what hold everything together and protects it from the elements. You can choose different case materials depending on how durable, aesthetic, or see-through you want your keyboard to be.
- Plate: The plate is an optional component, but it holds the switches in place and adds rigidity to the overall build. Definitely recommended. There are different materials and color choices.
- Stabilizers: The stabilizers determine how the larger keys will feel and sound when using the keyboard. Don’t overlook this component, they are incredibly important.
- Switches: The switches are crucial for customizing the feel and sound of your keyboard. There are so many different switch types out there but they are mostly broken down into three different categories: linear, clicky, and tactile.
- Keycaps: This part really sets the aesthetic for your board. When you sit down to type, you’ll be interacting with the keycaps the most. The profile, design, and durability of the keycaps is really important.
Let’s do a deeper dive into each part and explain some of the different aspects to help you pick out the right one.
The PCB
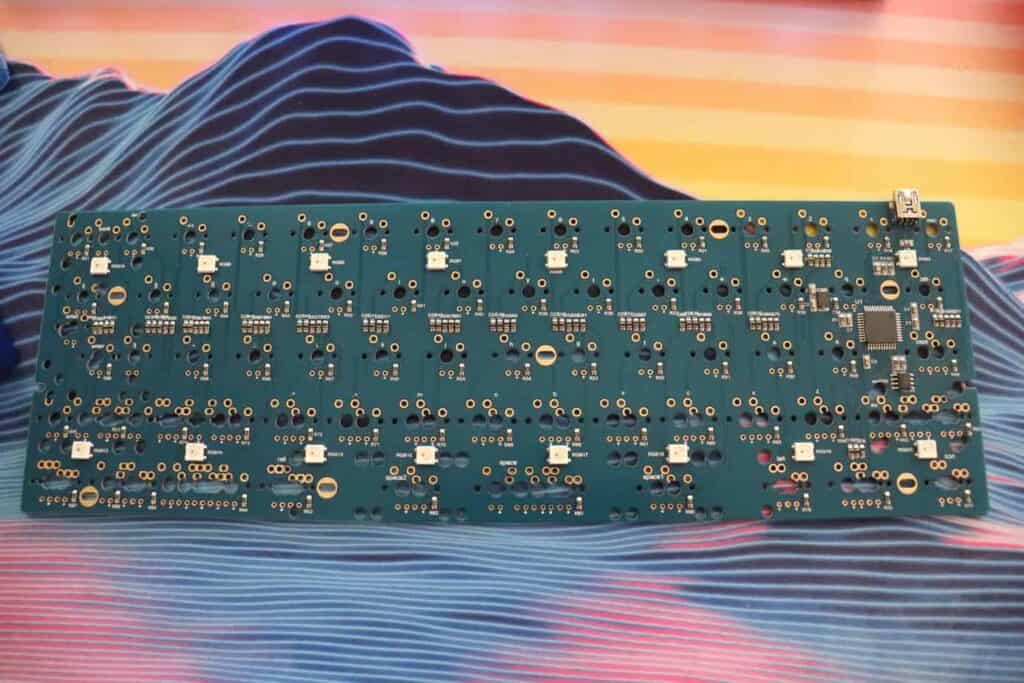
The PCB is the most important component of your keyboard as it determines the size and features. We’ll help you pick out the right PCB for you.
The PCB (printed circuit board) gets placed inside the case and lets the switches communicate with your computer.
When a switch is pressed, the metal plates touch and it sends the message to the computer that the keystroke was registered.
There are three main types of PCBs to look out for: standard, hot-swappable, and through-hole.
Standard PCB: The standard PCB is what most keyboards use. You will need to solder the switches to the PCB for the keyboard to work properly. It offers a lot of flexibility in terms of key placement, you can choose if you want a split spacebar among other cool options.
Hot-Swappable PCB: Hot-swappable PCBs are perfect for those who don’t want to solder. You simply press the switches into the PCB. They are very easy to swap out as no soldering is required either. Very fast and convenient to setup, although you are confined to the standard ANSI layout without cool options such as a split spacebar.
Through-Hole PCB: Not beginner friendly, but a fun way to have a cool keyboard to display and be proud of yourself. You have to solder in everything including the diodes, resistors, USB port, controller, and more.
Choosing between the three different types comes down to how interested you are in soldering.
If you don’t want to solder at all – or just don’t have room for the equipment, hot-swappable is the easiest.
The Case
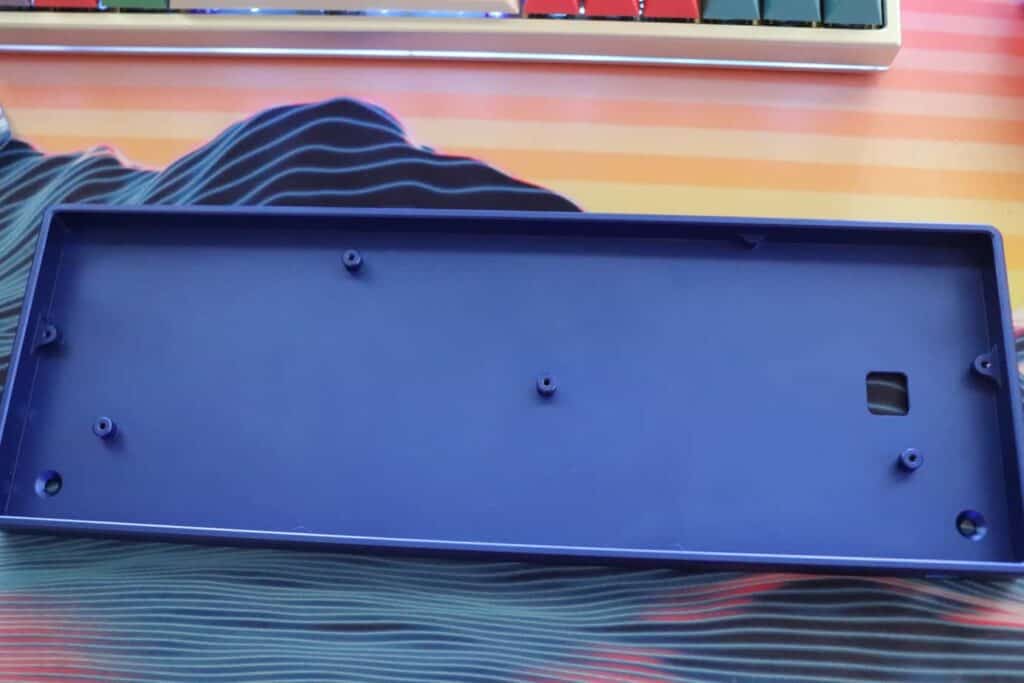
The case is an essential component that holds everything together and protects it from the elements.
You get to choose between a ton of different materials and mounting types depending on what you’re looking for. It’s all about choosing the case that fits your setup the best.
Case Material Types
Plastic cases are the most common being the easiest to manufacture and the cheapest to produce. Plastic cases are usually made from an ABS (acrylonitrile butadiene styrene) plastic and come with a metal plate to support the structure of the case.
Plastic is by no means the best material type as it tends to be rattily and unstable and does not have a solid and rigid structure like an aluminum or metal case would.
A plastic case is perfect for those on a budget or who prefer a keyboard that is lighter and easier to take on the go.
Aluminum cases tend to be heavier and sturdier. They are an excellent option for someone who needs a super solid case.
Aluminum cases are more inflexible and rigid than plastic. The quality of the case ranges depending on the grade of aluminum and how precisely the cases were manufactured when built.
These are a great option if you’re willing to pay a little more than plastic and want a heavy and solid keyboard.
Acrylic cases are super interesting, they are made from a plastic that has the material properties of glass. They are super light and let the lighting effects shine through the case.
Acrylic cases are perfect for someone who enjoys a lightshow every time they turn their keyboard on, but keep in mind, they tend to more fragile and flexible than other material types.
There are a ton of other case material types that are super cool such as wood, polycarbonate, brass, and even steel. They are a bit harder to find, but if you are interested in reading about the other material types, you can check out our full guide on case materials here.
Case Mounting Styles
In addition to all of the different material types we mentioned, there are also different mounting styles for keyboard cases.
Some of the different mounting styles include tray mount, top mount, bottom mount, sandwich mount, plateless mount, integrated plate, and gasket mount.
While all of the different mounting styles can be confusing to navigate. It’s generally considered that gasket mount cases are the best as they are dampened, have a nice bounce, and feel the best.
The most common mounting style is tray mount, as it’s the cheapest and easiest to manufacture.
The best way to show you the differences between the different mounting styles is this super helpful graphic by thomasbaart.nl.
We recommend picking the ideal mounting style based on what feel and sound you are going for. Your budget is also a big component when choosing the case.
The Plate
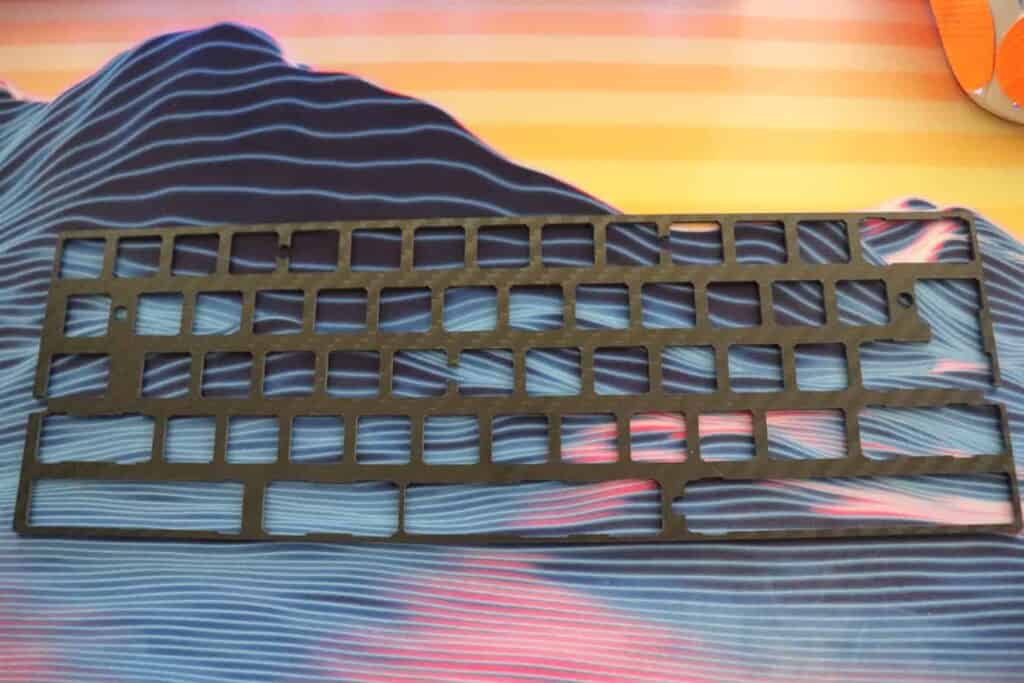
The plate helps hold everything together and improves the build quality of your keyboard by adding some structure.
You can go with a plate-less design where the switches are installed directly into the PCB without a plate. The downside to this method is the keyboard will be more flexible and switches might be wobbly.
We recommend installing the plate.
There are different plate material types such as aluminum, steel, brass, carbon fiber, and more.
We have found a rigid material makes it easier to install the switches, but a flexible plate may have a better typing experience.
With a flexible plate there is more bounce when typing which can feel nice to some.
You can also choose the color of the plate if you want a certain aesthetic to your keyboard. Feel free to mix and match with the rest of your keyboard.
The plate is typically purchased with the PCB and case to make sure everything is compatible.
The Stabilizers
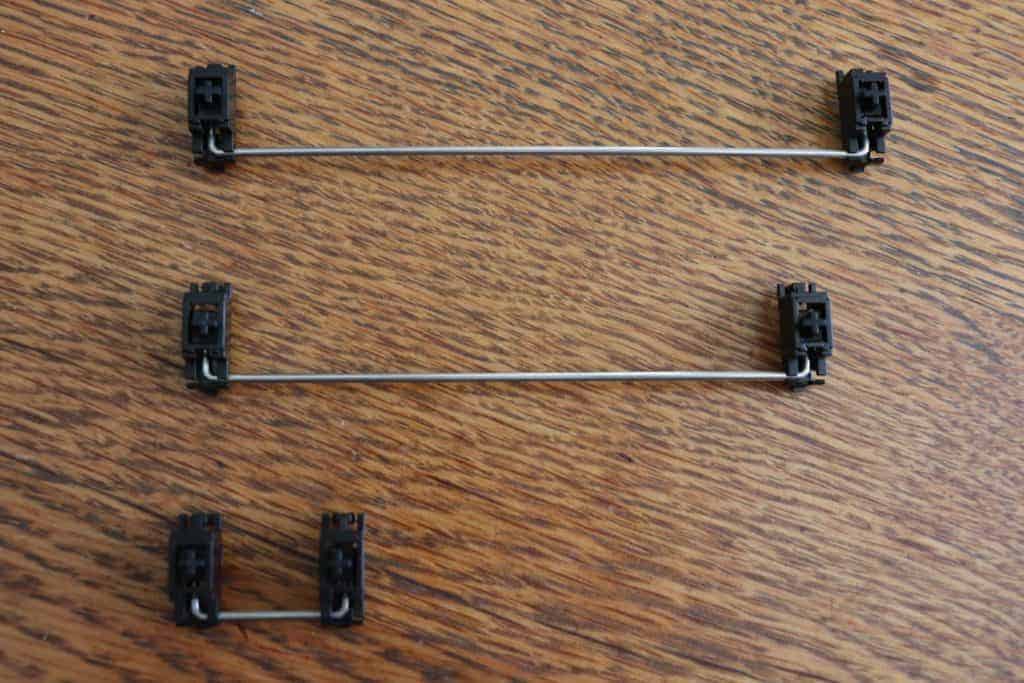
The stabilizers help keep your larger keys from wobbling. Good stabilizers can create a supreme typing experience and allows your spacebar to make the perfect *thock* sound.
Stabilizers are a surprisingly complex component, so we’ll briefly go into them. If you want a read a full write-up about stabilizers, check out our article here.
There are a ton of different mounting styles and options when it comes to the stabilizers:
- Plate-mounted: Typically found on pre-built keyboards, plate-mounted stabilizers attach to the metal plate above the PCB. This is the most common style, but don’t produce the best typing experience.
- Screw-in: Screw-in stabilizers are the considered the best. They screw directly into the PCB which results in the most secure and stable experience. Always go with screw-in if possible.
- Snap-in: This style snaps into the PCB, they are pretty good, but shake a bit more than screw-in stabilizers.
The type of stabilizer you choose depends mostly on what your PCB/plate is compatible with. Hot-swappable PCBs will usually require plate-mounted stabilizers.
There are also a ton of different stabilizer brands depending on the color and style you want. We recommend Durock or Everglide stabilizers depending on if you want the purple or gold color.
The Switches
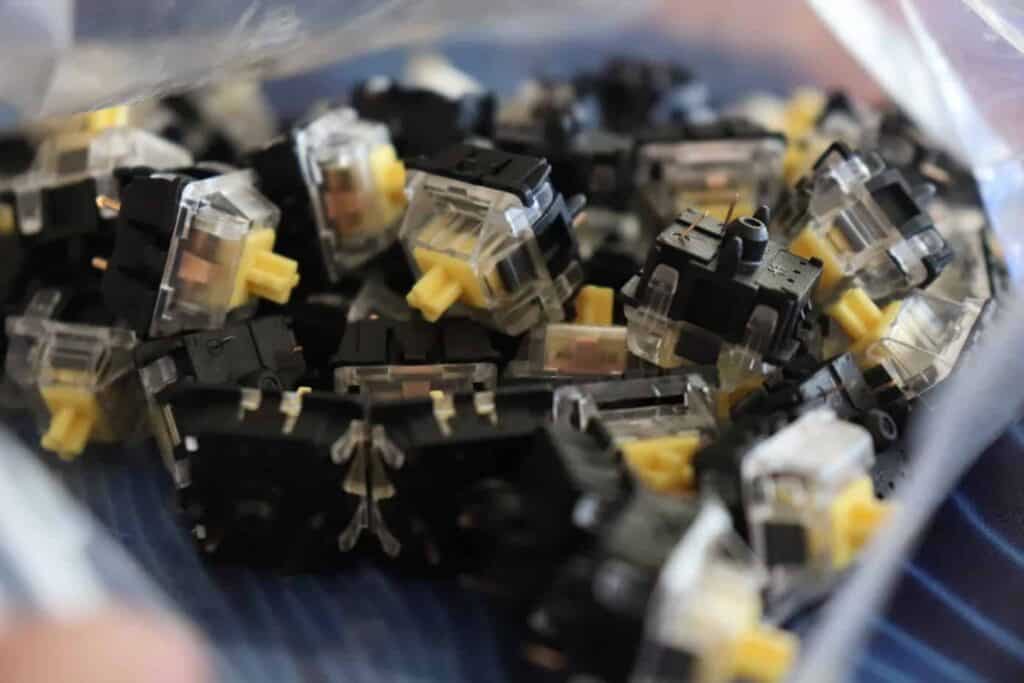
The switches are where things start to get a little crazy, there are so many options.
We’ve written numerous guides on how to choose the best switches. There are three main types: linear, clicky, and tactile.
- Linear: Smooth and consistent keystroke with a quiet noise.
- Tactile: A small bump on each keystroke with a moderate noise.
- Clicky: A small bump on each keystroke with a loud click noise.
Picking the right switch depends mainly on your preference. For someone starting out, we recommend Gateron Yellow switches as they are affordable and super smooth.
You can also look at other switches, we recommend a switch tester to figure out what kind you prefer. Switches can wildly range in price depending on the manufacturer.
To help you pick out your switches, we’ll link to a ton of different resources:
- Cherry MX Switch Guide
- Gateron Switch Guide
- Outemu Switch Guide
- Kailh Switch Guide
- Cherry MX vs Gateron vs Kailh vs Outemu vs Razer
Keep in mind, picking out switches comes down to preference. There is no right or wrong answer.
The Keycaps
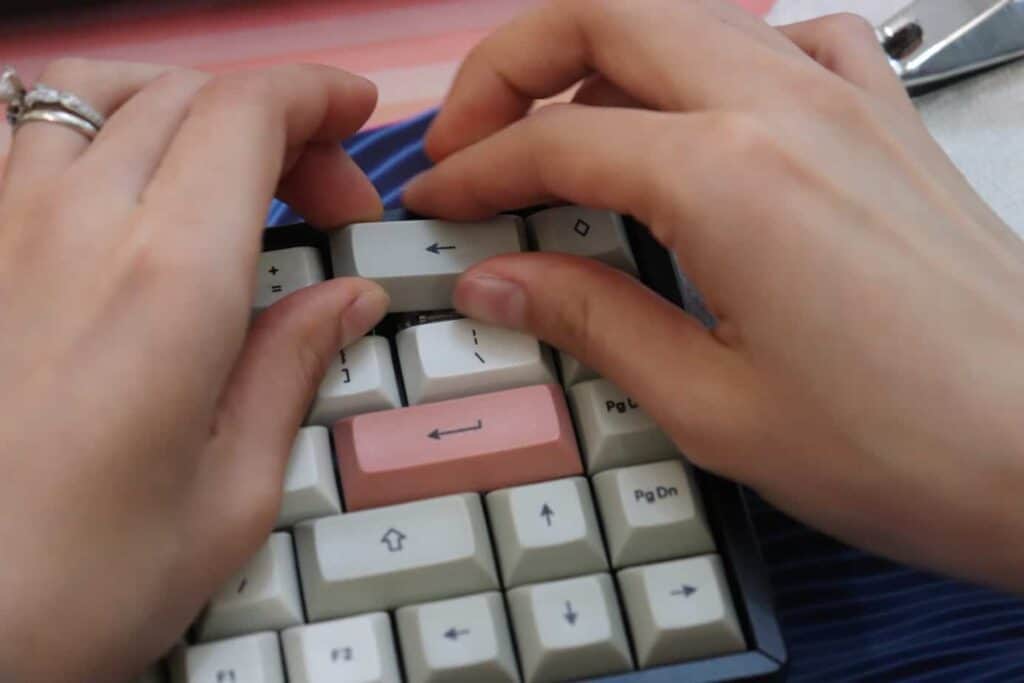
Keycaps can get a little crazy.
There are so many options out there in different profiles, designs, and materials. It would be difficult to explain all of the differences in this build guide.
They can get quite pricey as well. It’s not uncommon for a set of keycaps to get up into the $200 range.
Of course, you can find them for cheaper, but it’s important to understand what separates the high-end keycaps from the cheaper ones.
Here’s is what you should look at when choosing the keycaps:
- Material: Keycaps usually come in ABS or PBT plastic. PBT is usually considered higher-end because they are more durable. When looking at the really end keycaps, however, ABS is preferred as there are less imperfections.
- Profile: The profile refers to the overall shape of the keycaps. There are two main types, uniform and sculpted. Uniform are all the same height while sculpted come in different angles. Sculpted makes it so you don’t need to stretch your fingers as far when typing. The best profile is Cherry profile (my opinion).
- Design: The design refers to the color of the keycaps. You can find keycaps in all sorts of colors and patterns. This mainly comes down to what you think will work the best with your desk setup.
- Manufacturing methods: There are few different manufacturing methods including dye-sublimation, laser-etched, double-shot, single-shot, and more. This basically refers to how the legends are made and the overall manufacturing process.
Here are some more resources if you would like to learn more about keycaps and where to find them.
- Best 20 Keycap Sets
- Ultimate Guide to the Best Keycap Profiles and Materials
- Will it Fit? Finding Keycaps that Will Fit your Keyboard
- Where to Find Keycaps: The Best Websites to Buy Keycaps From
Where To Purchase The Parts
There are a lot of different places to purchase the keyboard parts depending on if you are looking for group-buys are items that are in-stock.
We’ve organized them below to make the whole process easier.
We recommend downloading our custom keyboard checklist to make sure you have all of the right parts.
For parts that are in-stock:
For group buys:
Step 3: Get the Equipment Required
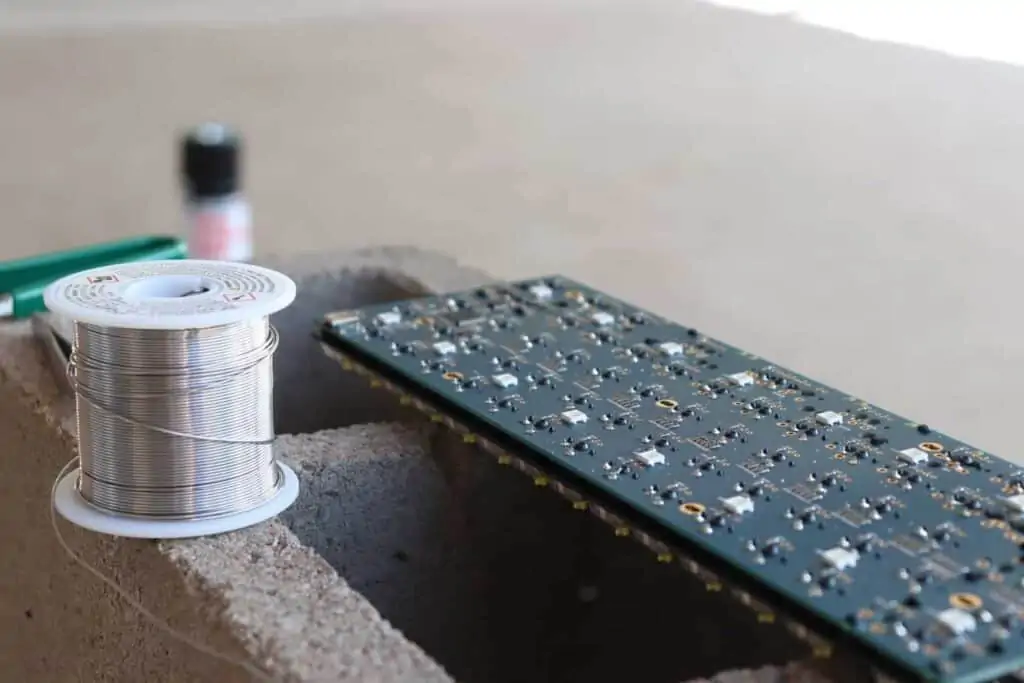
Now let’s talk about all of the tools required to build a custom mechanical keyboard.
This section can be a little overwhelming, as there is a lot of stuff you can get to get the job done well.
Our custom keyboard checklist can make this part much easier so you can keep track of all the equipment required.
The basic tools required are listed below.
You can decide if you want to do additional mods such as lubing or adding foam, but they can really improve the overall feel and sound of your keyboard, so we highly recommend it.
Essential Tools – You NEED These
Nice Tools to Have (Makes Life a LOT Easier)
Tools for Lubing & Filming Switches
Tools for Modding Stabilizers
Tools for Sound Dampening
Step 4: Test PCB to Make Sure it Works
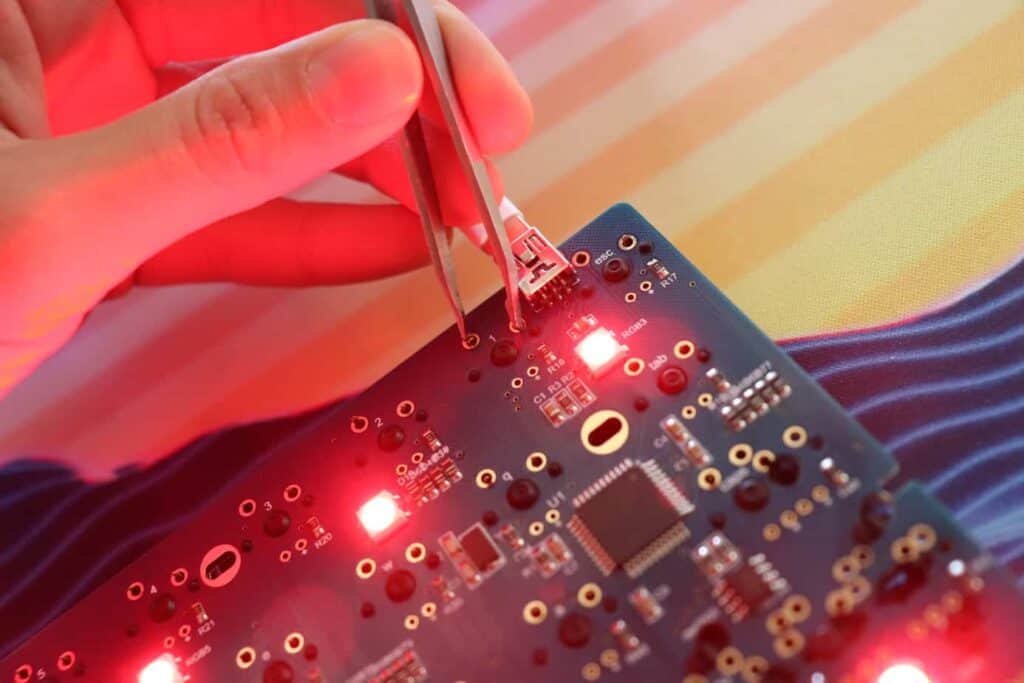
Now that the equipment are parts are out of the way and the you’ve received everything in the mail, LET’S GET STARTED! Woo!
The first thing you want to do is test to make sure your PCB is working. You can do this by plugging it into your PC and testing each switch with tweezers.
By testing the PCB, you can make sure everything is working properly out of the box and you didn’t receive any defects.
You can test the PCB by using this free site which allows you to test each switch and key on your keyboard.
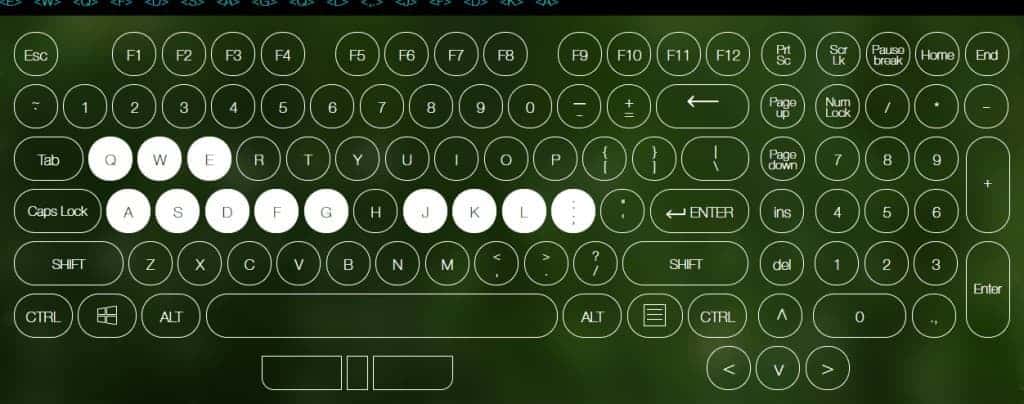
You want each key to light up and register or else you may have issue with your PCB.
Once this step is complete you can move onto the next section.
Step 5: Lube Your Switches (Optional)
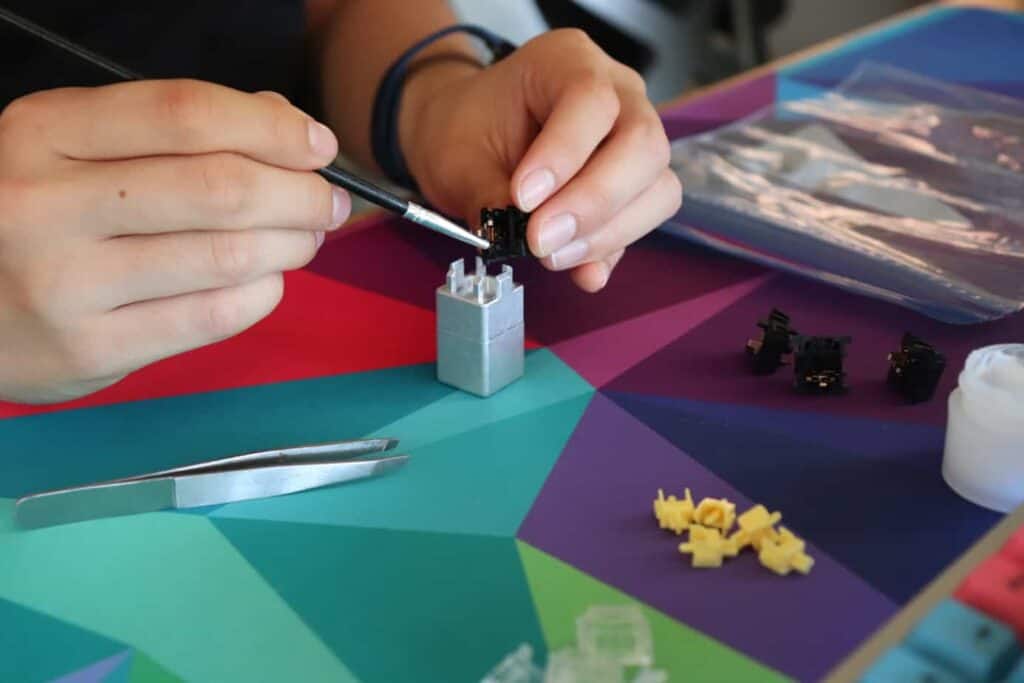
If you want to lube your switches, now would be a great time to do so. Basically, you need to pull apart every switch and apply lube to the lower housing, spring, stem, and upper housing.
The entire process takes a few hours, but it is a massive improvement in how the switches feel afterwards.
Lubing your switches is one of the biggest upgrades you can make. It has a host of benefits including less spring ping noises, less scratchiness, smoother keystroke, and a better sound.
We recommend everybody try and lube their switches, especially if you are building a custom mechanical keyboard.
The only switches you should avoid lubing are clicky switches, as they can muffle the click noise and make each switch sound uneven.
Our favorite lube is Krytox 205g0, available on the Kebo Store. It comes in a small container that’s super easy to use.
We have a full in-depth guide on how to lube your switches if you want a step-by-step tutorial.
Step 6: Mod Your Stabilizers (Optional)
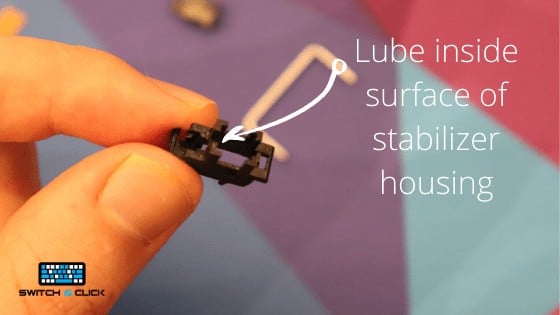
Another optional step is modding your stabilizers. You can do a few quick changes to your stabilizers to greatly improve the sound and feel of them.
The mod includes clipping, lubing, and band-aid modding the stabilizers. Now would be a great time to do this as in the next step you are installing the stabilizers into the PCB.
Overall, this mod does not take too long to do and is much quicker to do during the assembly process.
You simply apply lubricant to the stabilizers, clip the small feet off the bottom of the stabilizers, and place a small strip of band-aid on the PCB where it will hit.
The mod will make your typing experience much more enjoyable and in conjunction with lubing your switches, you’ll have an awesome feeling/sounding keyboard.
Step 7: Install Stabilizers Into PCB
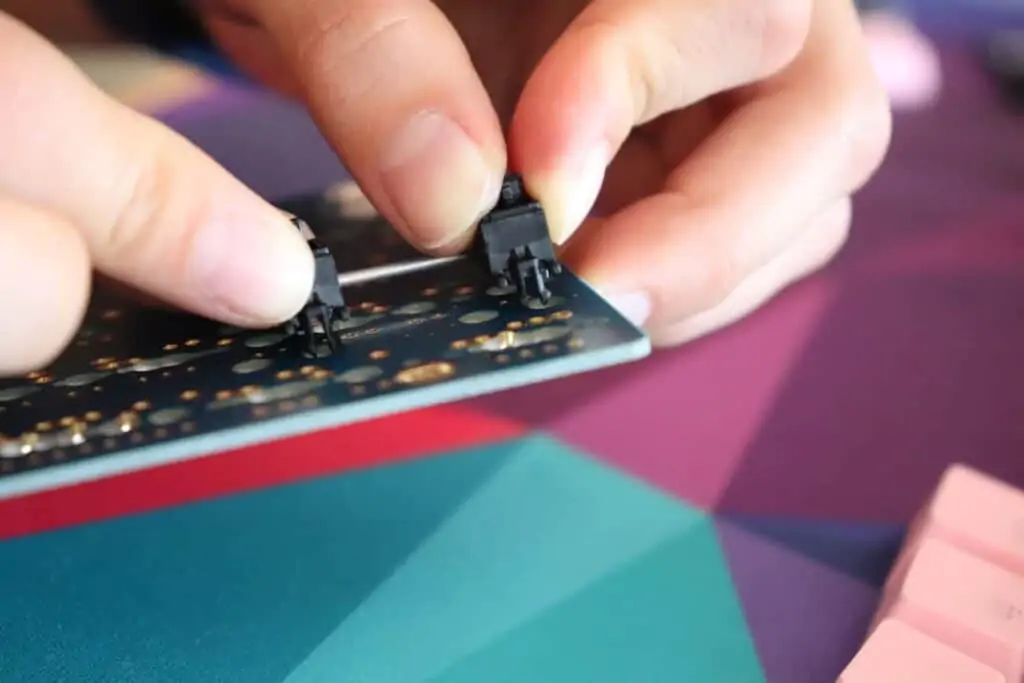
Now it’s time to install the stabilizers into the PCB.
This step is all about making sure you place the stabilizers in the correct areas to make sure they get located correctly.
It’s pretty easy to make a mistake here, so I like to place the stabilizer keycaps on top of where they are supposed to be installed, to lay out where everything is located.
Take your time on this step as once the switches are installed and soldered it will be that much more difficult to come back and move the stabilizers again.
Step 8: Install Switches Into Plate & PCB
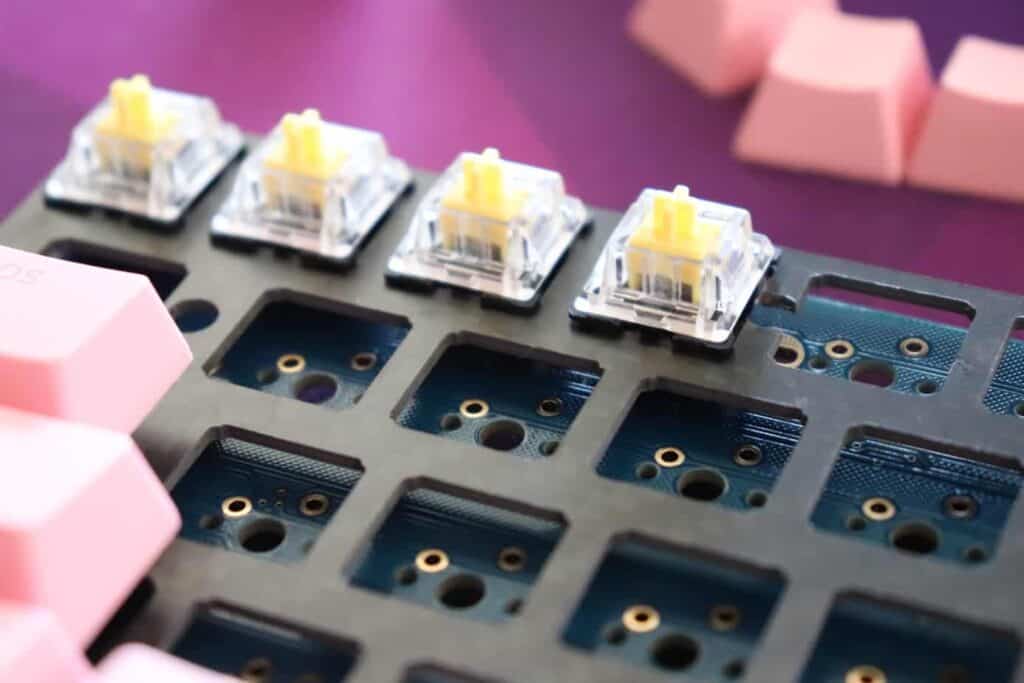
It’s time to layout where the switches will get placed.
You need to press the switches into the plate and allow the pins to enter the PCB.
Do not forget the plate.
If you forget the plate, you’ll need to go back and remove all of the switches again.
You want to make sure everything is located properly in this step and that none of the pins are bent.
When installing the switches into the PCB it’s really easy for the pins to bend. In which case, you’ll need to re-straighten them with tweezers and retry.
Also, if you’re going for a split spacebar or any other funky layout, now is the time to make sure all of the switches are in the correct spots.
If you have a hot-swappable PCB, you can skip the next step.
Step 9: Solder Switches
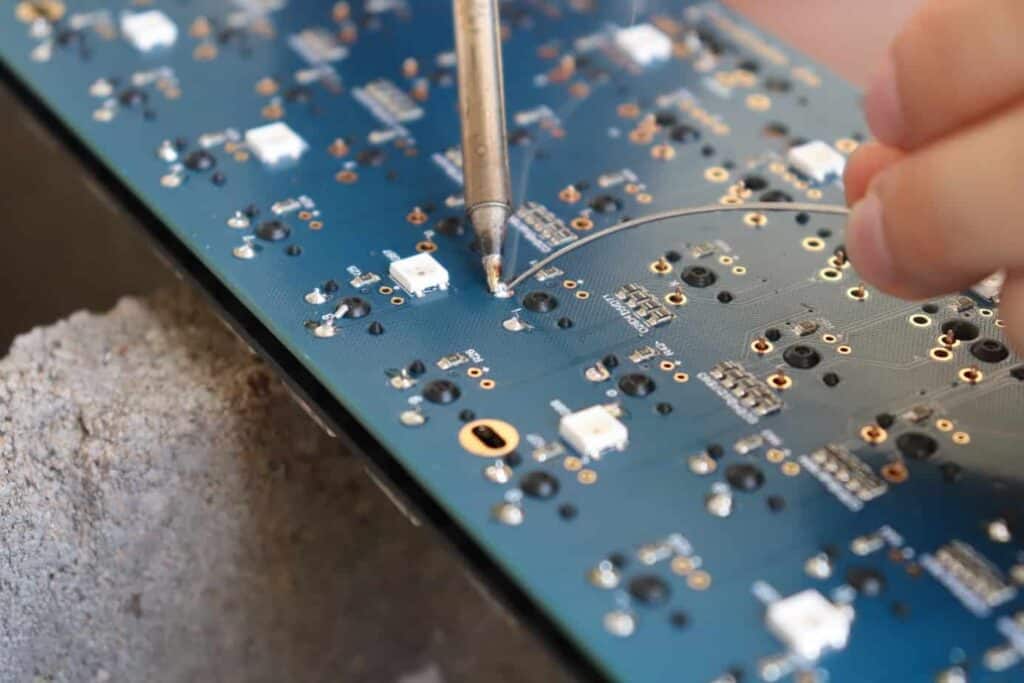
At this point, you’ll need to solder the switches (unless you have a hot-swappable PCB).
This step can be intimidating for those who have never soldered before, so we recommend learning how to solder first on a may pad.
Soldering a may pad is a great way to understand how to solder/desolder and get practice making the perfect sized beads.
If you want to jump right in, you can try soldering without any practice, just make sure you are in a well-ventilated area and have all of the necessary tools on hand.
Work through each switch and solder the two metal pins to the PCB. You are looking for a solder bead size shown below:
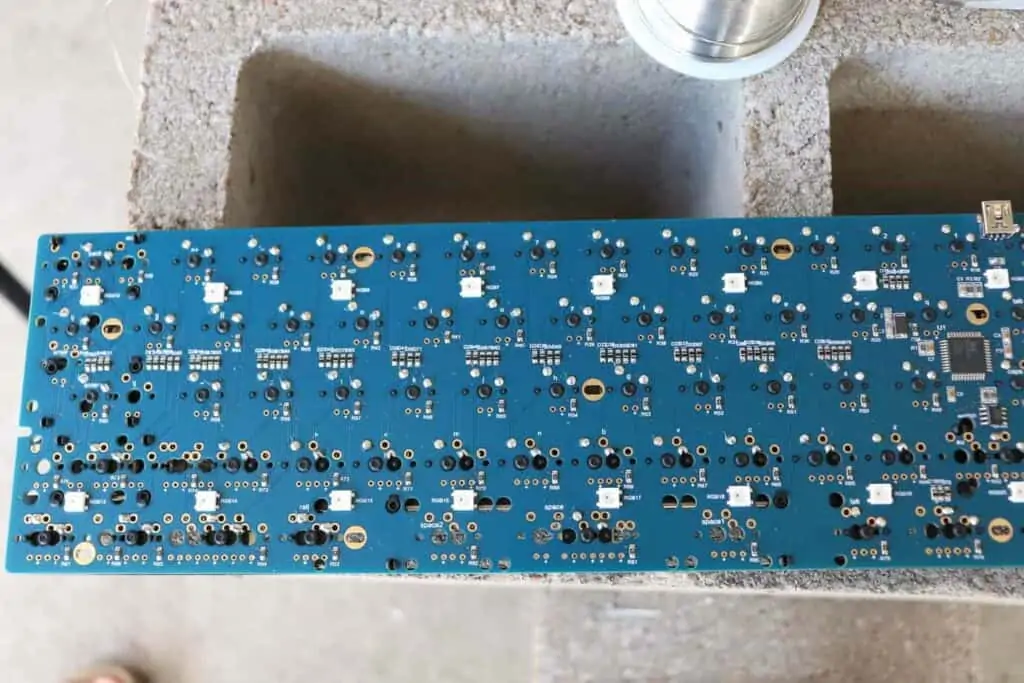
After all of the switches have been soldered, you want to retest the PCB to make sure everything is working.
Just run through step #4 again and if the switches are working, you can move on to the next step!
Step 10: Add Foam and Rubber Feet to The Case
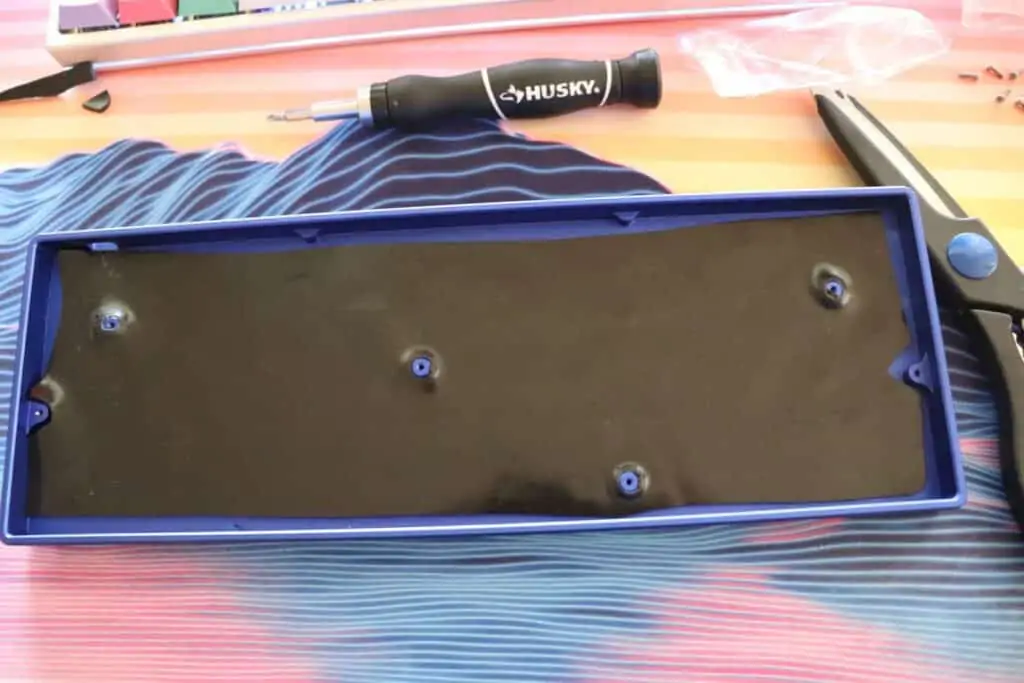
At this point, you’ll want to add foam and rubber feet to the case before placing the PCB in.
Along with the case, you should get rubber feet (unless they are pre-installed). Now is a great time to install the feet before putting in the foam.
Follow the instructions for your specific keyboard case, it should be an easy step.
Adding foam is an optional step, but it really improves the acoustics of your keyboard and adds some weight to the build.
In addition, it can help get rid of the spring ping noises and make everything sound thockier (which is a good thing).
We recommend sorbothane but if you are on a budget, you can always use packing foam or whatever you have on hand. It will make a difference.
You’ll need to cut the foam apart, so it fits inside the case. I usually mark up the foam with a sharpie and cut it with scissors so it fits inside the case.
Then slide the foam in and you’re good to go!
Step 11: Install Assembled PCB Into Case
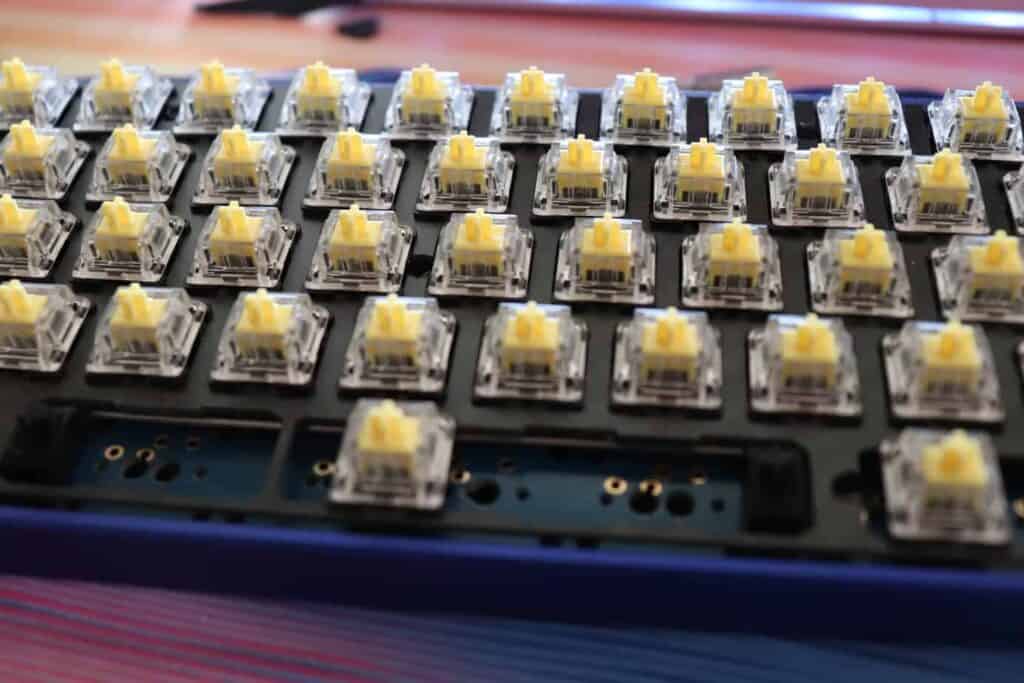
Now it’s time to install the PCB with the switches and stabilizers on it into the case.
Depending on the case mounting style, this step can be different.
Most of the time it just involves screwing the PCB into the case, but your keyboard should come with some basic instructions for the assembly process.
You want to make sure the PCB is centered inside the case and it does not shake at all after installation.
After the PCB has been installed per the instructions, you are almost done!
Step 12: Install the Keycaps
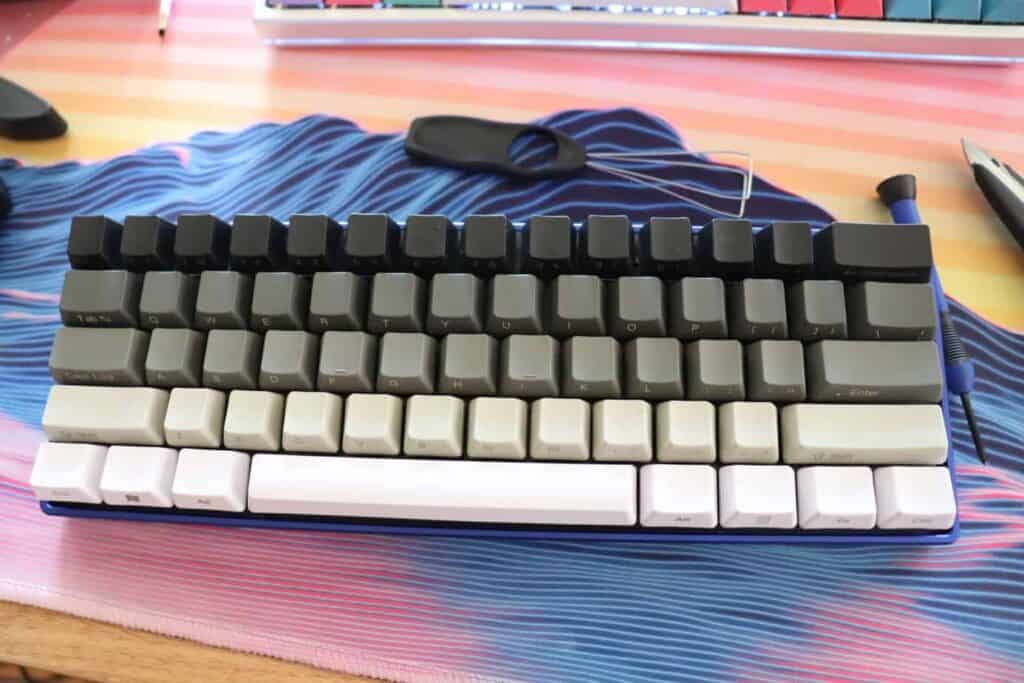
The last step is pretty satisfying as you get put on the finishing bow, the keycaps!
The keycaps are where everything starts to come together. It’s quite the exciting process.
Adding keycaps is a relatively simple process, but if you don’t know exactly where the keys go, you can look up a completed build online to get the key placements.
Once the keycaps have been added, your build is now complete. There is just one last, very crucial step.
Step 13: The Typing Test

It’s time to take your custom-made keyboard for a driving test. Boot up your favorite typing test and start typing away. We recommend monkey-type.
You’ll get a feel for your brand-new custom keyboard and see how much better it is.
The Sound Test
Congratulations! You have completed your first custom keyboard build.
Why Build A Custom Keyboard?
I’m sure many of you are thinking, this custom keyboard stuff seems pretty intense, why in the world would I spend so much time making a custom keyboard?
Most people use their keyboards every day, whether that be for work, for gaming, or just browsing Reddit. The real question is, why not use a keyboard that’s hand-tailored for you?
Making the tools you use every day feel super comfortable and satisfying to use, will encourage you to use them even more and spend more time doing productive activities.
Not to mention, building a keyboard is a lot of fun. And addictive.
Where to Learn More About Custom Keyboards
There are so many resources out there if you want to learn more about custom keyboards.
For starters, we have dozens of guides on our blog and YouTube channel that go over ways to improve or customize your keyboard.
There are also entire forum sections dedicated to keyboards such as Geekhack, /r/mechanicalkeyboards, /r/mechmarket, and more.
Custom keyboard builds on Twitch are also a cool place to hangout if you want to learn more about keyboards by watching other people build them.
There are just too many good places to learn and the hobby of custom mechanical keyboards has really exploded lately.
If you haven’t had a chance to build a custom keyboard, we recommend starting out by doing some basic mods to your keyboard so you can see the improvement for yourself.
The Next Steps: The Endgame or Build MORE?
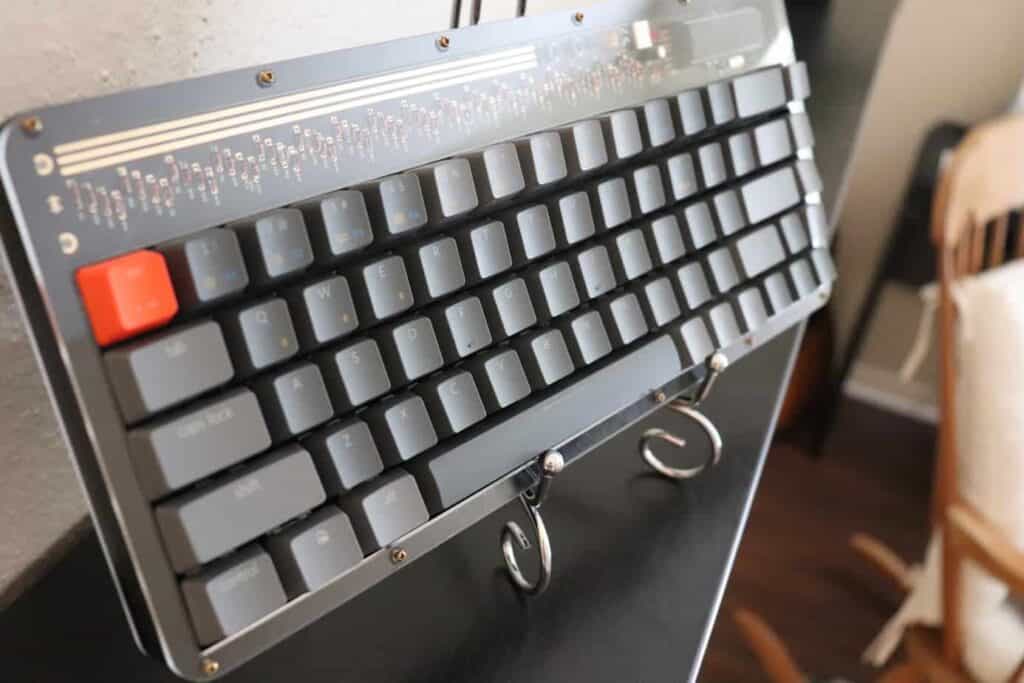
There is a saying in the custom mechanical keyboard community where people are trying to reach their “endgame keyboard” which is basically the perfect keyboard that fits their needs.
I personally believe it’s all baloney. You can’t find the perfect keyboard, the only option is to build MORE.
Once you get a taste of the custom mechanical keyboard world, you can’t go back. And like food or wine, your tastes are constantly changing.
Not to mention there are exciting new group buys and releases every month.
My wife and I are already on custom keyboard #4 and not stopping anytime soon.
Conclusion
Building your first custom mechanical keyboard is quite the overwhelming process, but we can’t recommend it enough.
If you’re struggling to get started, we recommend checking out our keyboard build checklist to help you make sure you have all of the tools and parts you need on-hand.
There are a lot of steps and a lot of decisions to make, but it’s all worth it at the end of the day.
You get to learn really cool skills such as soldering while also figuring out what your ideal preferences are.
At the end of the day, you end up with a super cool custom mechanical keyboard which is sure to make all of your friends jealous.
Not to mention it’s really fun and satisfying to use.
Good luck and happy typing!
