Mechanical keyboards can be LOUD, especially those with clicky switches. Today we’ll look at 6 ways to make your mechanical keyboard quieter so you can stealthily type without annoying your spouse or coworkers.
If you’re interested in the best quiet mechanical keyboards, check out this article.
Let’s jump into our list.
1. Use a Desk Mat
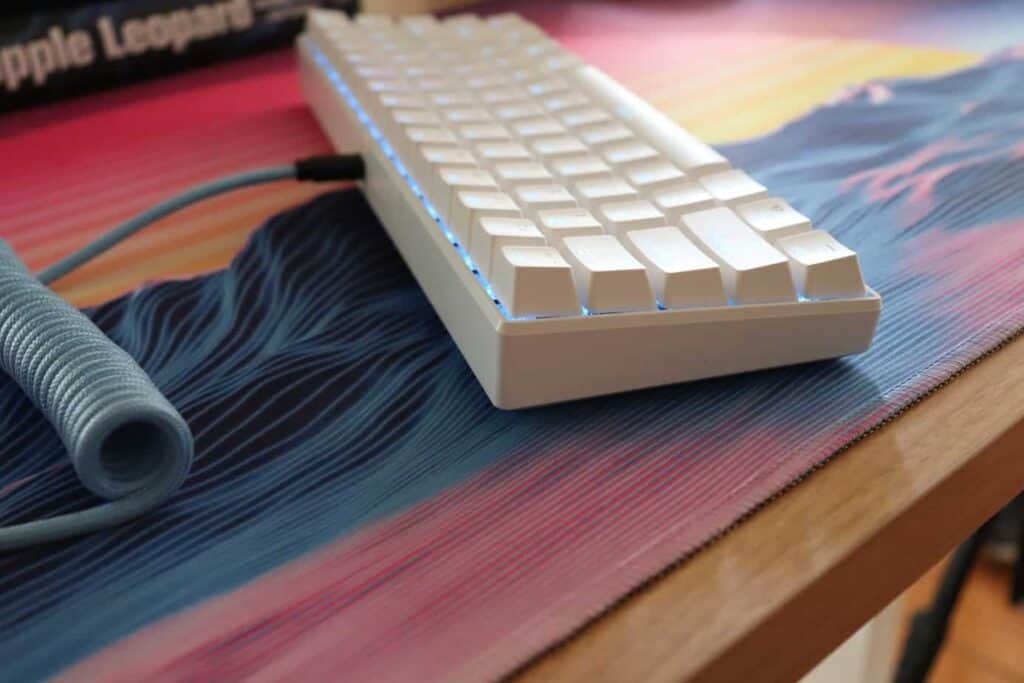
Using a desk mat underneath your keyboard is one of the easiest ways to reduce the sound of your keyboard.
Each time you type on your keyboard it vibrates your desk which amplifies the noise. Using a desk mat under your keyboard dampens the vibrations and silences everything!
Trust me, it’s a noticeable difference, you just need to try it out for yourself.
All you need to do is find a good desk mat online and order it, no work required (unlike some of the other mods on this list).
Here is a list of our favorite budget deskmats, available on Amazon:
- Solid Color Desk Pads
- Multicolor Desk Pads
- Scenic Deskpad (my wife’s favorite)
- Map Deskpad (my personal favorite)
If you’re looking for a higher end desk mat, Omnitype has a large selection of desk mats available.
Desk mats usually come with a rubber bottom and a cloth top. It should cover the majority of your desk, so your keyboard and mouse will rest on top of it. No additional mouse pad required.
On top of making your keyboard sound better, it also spices up your battle station. The desk mat also makes for really good keyboard pictures.
2. Add Foam Inside Keyboard
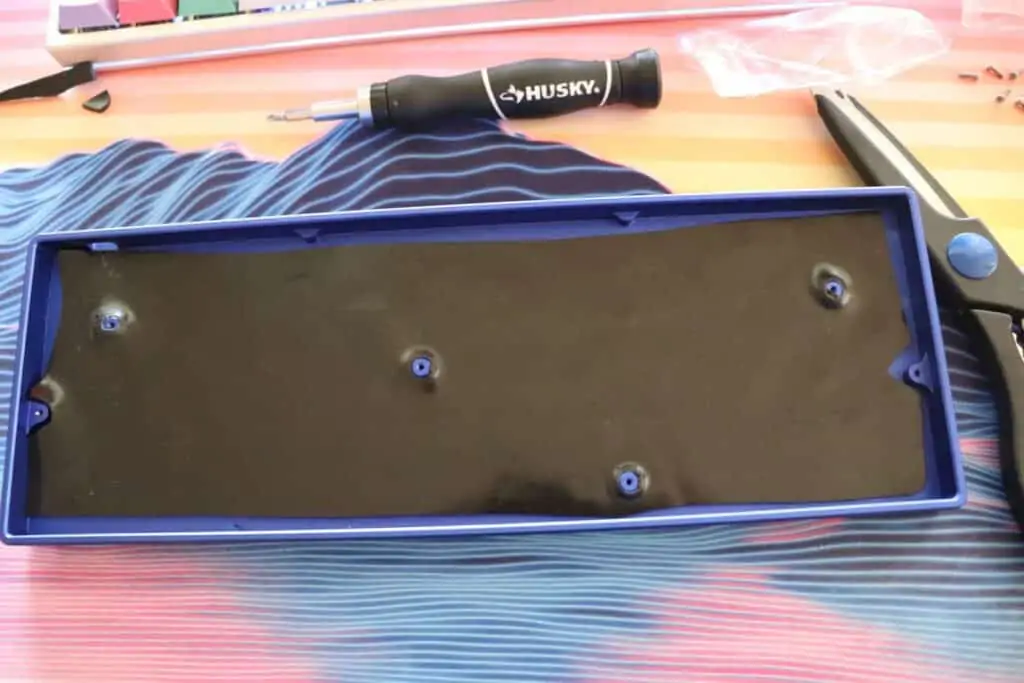
This mod will require you to roll up your sleeves a little bit, but that shouldn’t be an issue for you, right?
Adding foam inside your keyboard is another great way to reduce the vibration of your keyboard which in turn lowers the overall volume.
Vibration = noise and noise is the enemy of a silent keyboard.
To do this mod you’ll need a screwdriver and some foam (which you can order online).
Here are some foam options (best to worst):
- Sorbothane: This foam is considered the best as it reduces the amount of impact and shock the most. It’s quite expensive, so you can always pick out another option if needed. You can get Sorbothane on Amazon.
- Neoprene: Another great option this a bit more budget-friendly. Neoprene is your second-best bet for a dampened keyboard. Here is our recommended neoprene foam from Amazon.
- Shelf-liner: If money is tight, shelf-liner can work really good as well. You won’t get the same results as neoprene or sorbothane, but the difference will be noticeable.
- Packing foam: This may sound strange, but we’ve made packing foam work in the past as a dampener. Having any sort of foam inside your case really helps.
To install the foam, you’ll need to unscrew and take apart your keyboard so you can place the foam between your PCB and bottom case.
Depending on your keyboard this can be an easy or difficult process.
Some keyboards are held together with plastic clips so you’ll need to work around the edges of your keyboard to loosen everything. Others will just require a few screws to be removed.
After you’re done, the foam will reduce shaking noise, spring ping noises, and more.
The overall sound will be less loud and high pitch which is a less distracting and better for an environment for working around other people.
3. Install Rubber O-Rings
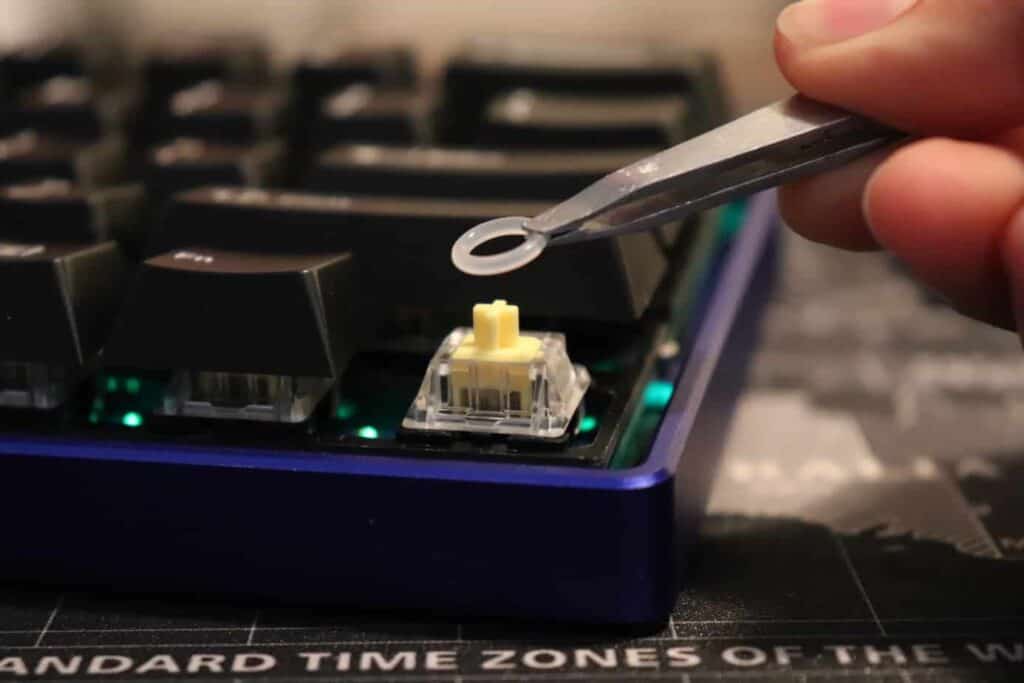
Rubber O-rings are a super easy way to lower the overall decibel level of your keyboard.
They are incredibly easy to install and have an instant impact in the reduction of noise. The O-rings get installed around the stems of the switches under your keycaps.
All you need to do is remove the keycaps and slide the O-rings onto the switches. We recommend these O-rings off of Amazon, they come in a big pack and are really affordable.
O-rings can come in many different colors from black, pink, blue, clear, etc.
The clear O-rings are your best bet because they won’t interfere with the RGB lighting.
O-rings work by dampening the sound of the switch when it hits on impact from each keystroke. They are quite effective.
Just beware, rubber O-rings can make your keys feel mushy and unpleasant to use. For that reason, this mod is not for everybody as it can make your keyboard worse.
Using O-rings is a trade-off between how loud you want your keyboard to be versus how mushy your switches will feel.
At the end of the day, it’s up to you. We recommend at least trying O-rings out for yourself.
4. Mod Your Stabilizers (Band-Aid, Clip, and Lube)
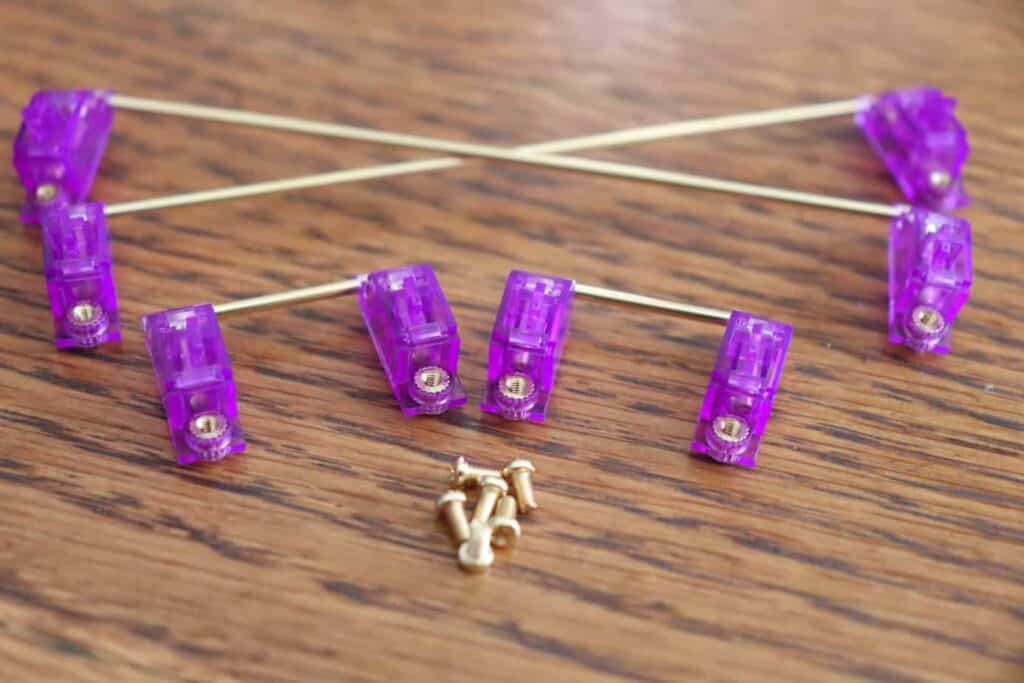
This is where the mods start to get a little more difficult. These mods require more effort and preparation, but are definitely worth it.
The stabilizers are the component that help balance the larger keys (such as the space bar) to keep them from rattling and shaking.
Modding your stabilizers is an excellent way to get better sounding (and more quiet) stabilizers. This mod is a three step process where you will need to band-aid, clip, and lube the stabilizers.
- Band-aid: Applying a small band-aid to the area where the stabilizer strikes the PCB is a great way to lower the sound level of the stabilizers. The band-aid essentially dampens the keystroke.
- Clip: Clipping the bottom feet off of the stabilizer gives it a more flat and solid surface. This makes the stabilizer more stable and reduces the rattling noise on each keystroke. Less rattle = less noise.
- Lube: Lubricating is a sure-fire way to lower the sound output. When a stabilizer moves up and down there is friction which produces vibration and amplifies the sound output of your keyboard. Applying lubricant will reduce the friction and improve acoustics.
The entire stabilizer mod process can take an hour or two but it is definitely worth it. We highly recommend you mod your stabilizers.
We have a full write-up and guide of how to do it here:
- How to Mod Your Stabilizer: Band-Aid, Clip, and Lube
- How to Lube Your Stabilizers Without Desoldering
5. Lube Your Switches

Similar to modding your stabilizers, lubing your switches is another awesome way to reduce the sound of your keyboard.
Lubing also greatly improves the feel and reduces the scratchiness and spring ping of each switch. This is hands-down the best way to improve the sound and feel of your keyboard.
Caution: This process can be time consuming, about 2 hours depending on how many switches you have and how experienced you are.
When you enter a keystroke, the spring and stem of each switch rub against each other and create a lot of friction. The frictions creates vibration and noise.
The lubricant will reduce the friction and make everything smoother and quieter.
Our favorite place to buy lube is the Kebo store, the Krytox 205G0 does wonders for your switches.
The whole process involves removing the switches from your keyboard (usually by desoldering), opening the switches up, lubricating the switches, putting them back together, and reinstalling.
There is a shortcut way to lube without desoldering, but either way it will be a time-consuming (yet rewarding) process.
For a full guide on how to lube your switches, check out these articles:
6. Replace Your Switches
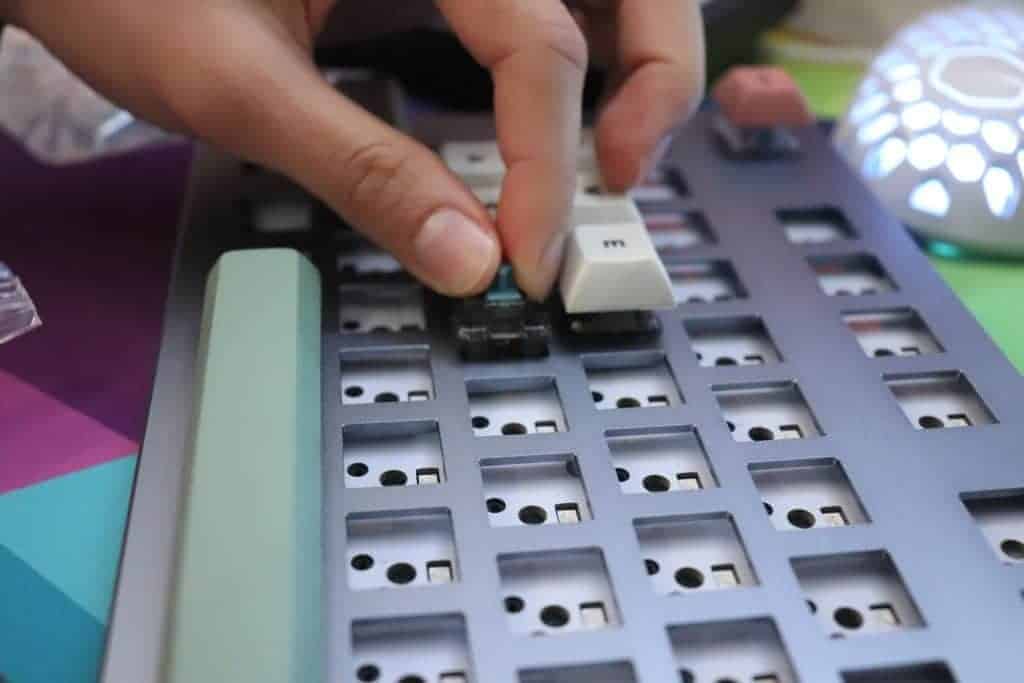
For those who have a keyboard with loud and clicky switches, getting quieter switches is your best bet to reduce the noise.
Clicky switches were made to be loud. The only option now it to replace them with quieter ones.
There are three main types: linear, clicky, and tactile. The best option for a quiet keyboard is a linear switch and maybe tactile.
- Linear: Smooth and consistent keystroke with a quiet noise.
- Tactile: A small bump on each keystroke with a moderate noise.
- Clicky: A small bump on each keystroke with a loud click noise.
If you want an ultra-silent keyboard, getting silent switches will result in the lowest decibel output.
Cherry MX Silent switches, Kailh Silent switches, or Gateron Silent switches are all great options for a quiet keyboard.
Silent switches have small rubber padding on the stem of the switch which reduce the sound output on the impact of a keystroke. Perfect for stealthy typing.
The only downside is silent switches have a rubbery feel to them which makes them feel a bit mushy and strange.
There is definitely a trade-off to silent switches.
If you have a clicky switch, moving to a linear or tactile switch will greatly reduce the noise output, so that can be an excellent option.
Here is a list of our favorite quiet switches.
Replacing your switches can be a difficult process as you need to desolder the switches to remove them. If you have a hot-swappable keyboard it is really easy to replace the switches.
Finding new switches is a really fun process, we recommend getting a switch tester to find the switch with the perfect noise level and feel.
Conclusion
There are quite a few ways to lower the noise level of your keyboard. If you follow all of the steps on this list you’ll have super stealthy keyboard that is office and spouse-friendly.
No longer will you wake everybody up gaming/working afterhours!
Some of the mods on this list require a bit more time and equipment, so they may not be for everybody.
If you want an easy way to silence your keyboard, the desk mat, O-rings, and foam are your best bet.
But we recommend you try all of the mods (even the hard ones) as they make your keyboard super satisfying and quiet to use.
We have all of the guides and tutorials on our site to help you figure out how to implement the mods on your keyboard. Now it’s up to you!
Happy typing!
