The design of a mechanical keyboard allows for the supreme typing and gaming experience, but what if you want to build your own custom keyboard? They can get quite pricey, so how much does building a mechanical keyboard cost?
The cost for a custom mechanical keyboard wildly ranges. There are so many options to choose from and the price depends on how much you’re willing to spend on upgrading the different features. However, the average cost comes out to be around a $200-600 per board.
But don’t worry if this price scares you, it is possible to build a mechanical keyboard for a bit cheaper but that will require shopping around and searching for deals.
If you’re a big spender the price can increase exponentially depending on how customized everything will be and how much you’re willing to spend on the switches, stabilizers, PCB, and keycaps.
The Price of a Custom Keyboard
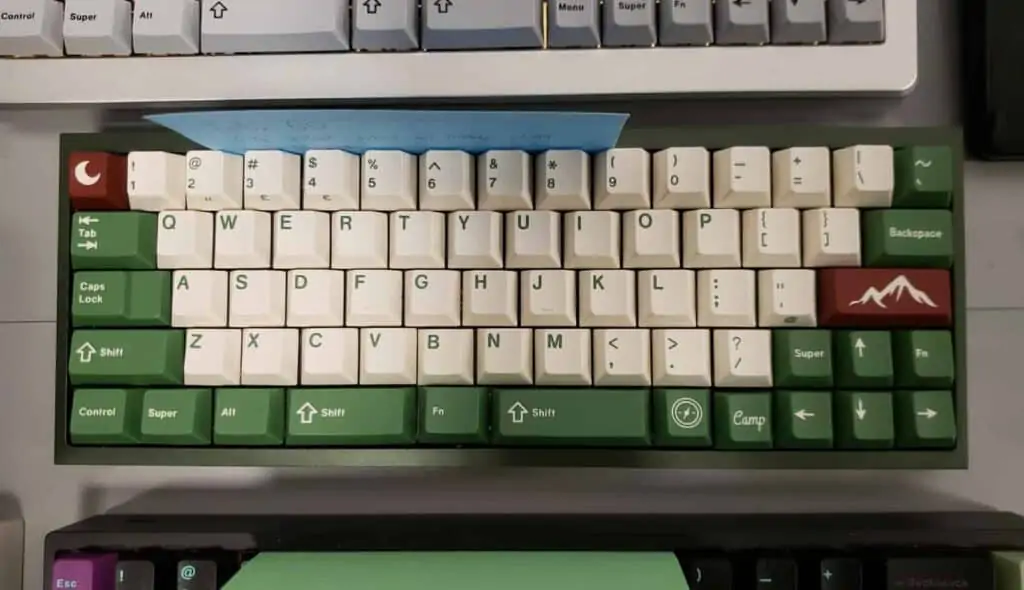
Pinning down the exact price of your custom keyboard is very difficult to do as it all depends on what you’re looking for in a keyboard. For example, a larger keyboard will be much more expensive than a smaller one because you’ll need extra switches, keycaps, and stabilizers.
In addition, you can opt for a cheaper build, clone switches, and super cheap keycaps if you’re on a budget, or go for ultra-custom everything and spend into the four-figure range.
You could potentially build a custom keyboard for as little as $100, but it’s not recommended, because at that price you can get a prebuilt keyboard that’s probably better.
Realistically, you should be willing to spend at least $200-400 on a custom keyboard.
What Components Are Needed To Build a Keyboard?
There are several components required for building a custom keyboard. We’ll go over each item, give you an idea of the price, and show you where to purchase them.
The Case, PCB, and Plate
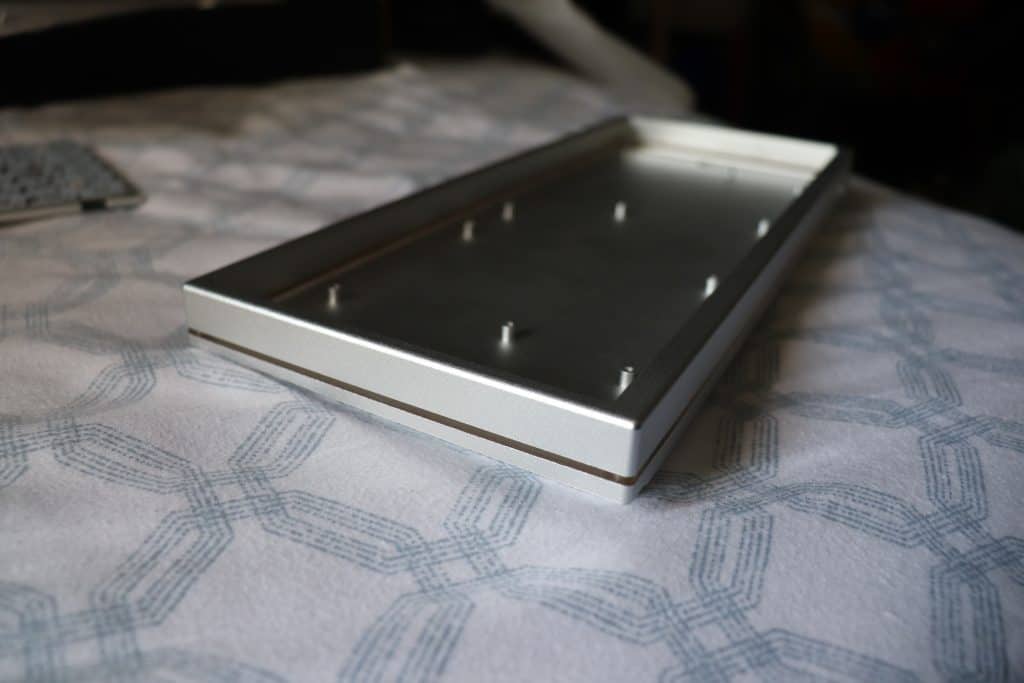
The main build of a custom keyboard consists of the case, PCB (circuit board), and metal plate.
The case protects the internal components from the outside elements such as dust and water. The PCB sends a signal to the computer after each keystroke logged. The metal plate is an optional component, but it basically holds the switches in place better and adds overall structure to the build.
You typically purchase all three components together as you need to make sure they are compatible. When picking these parts out, you are deciding what features you want on your keyboard, the overall size needed, and what sort of mounting system is preferred.
You can buy each part separately or together in a kit. If you want a more common layout such as 60%, you can buy the parts separately and mix/match. If you want a more unique build, such as 65%, you’ll need to pick up a kit.
Where to Buy the Case, PCB, and Plate?
There are a ton of different places to get these components, but there are two main options: in-stock or through a group buy. If you buy them already in stock, you can get the parts right away, but they will usually be more cookie-cutter and less custom.
If you order the parts through a group buy, you can choose between a ton of different customized layouts, features, and mounting styles. The only drawback to group buys is they are typically super expensive, and you’ll have to wait a few months before receiving the completed component.
You can find a pre-built PCB on Amazon for a really cheap price or check out the latest group buys on mechgroupbuys.
The Switches
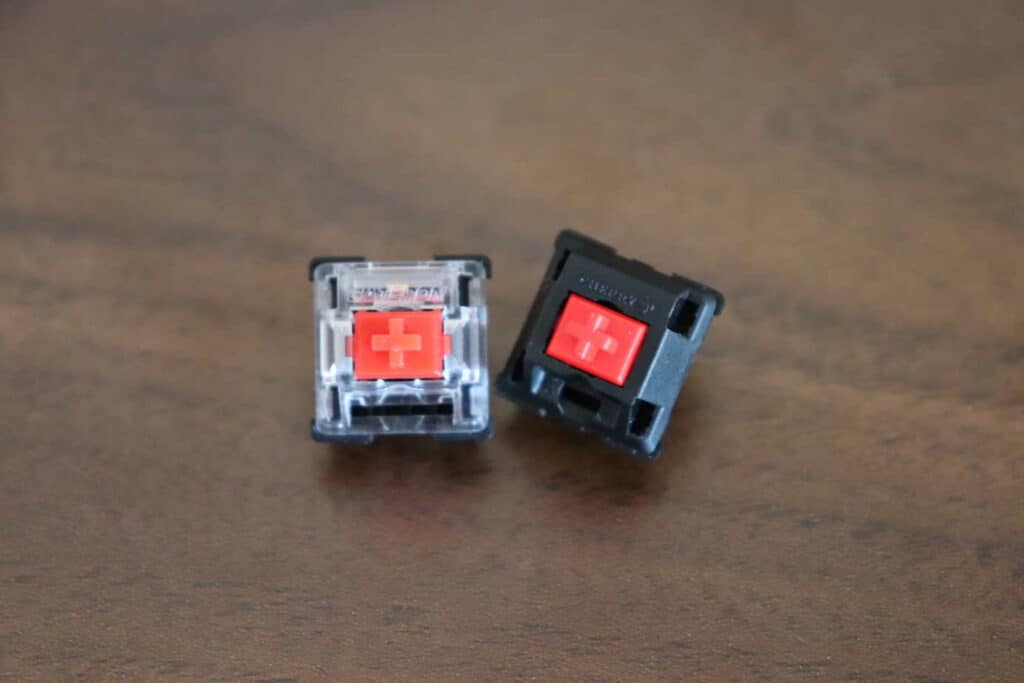
The switches are where you can really customize the overall feel and performance of your keyboard. Do you want a linear switch that is smooth as butter? Or do you prefer a loud clicky switch? With a custom keyboard its all up to you.
Switches can range wildly in price. Many clone switches, such as Gateron or Outemu, can be purchased for $0.30 each, while more expensive switches such as Cherry MX go for $1 each. We linked each switch typo to the product listing on Amazon.
Some enthusiast switches can be even more expensive, such as Zealios or Hirose Orange switches. It all depends on your budget and preference.
If you’re still a little confused on all of the different switch types, we have a ton of different guides available to help you out:
- Cherry MX vs Gateron vs Outemu vs Kailh vs Razer
- Gateron Switch Guide
- Cherry MX Switch Guide
- Outemu Switch Guide
Stabilizers
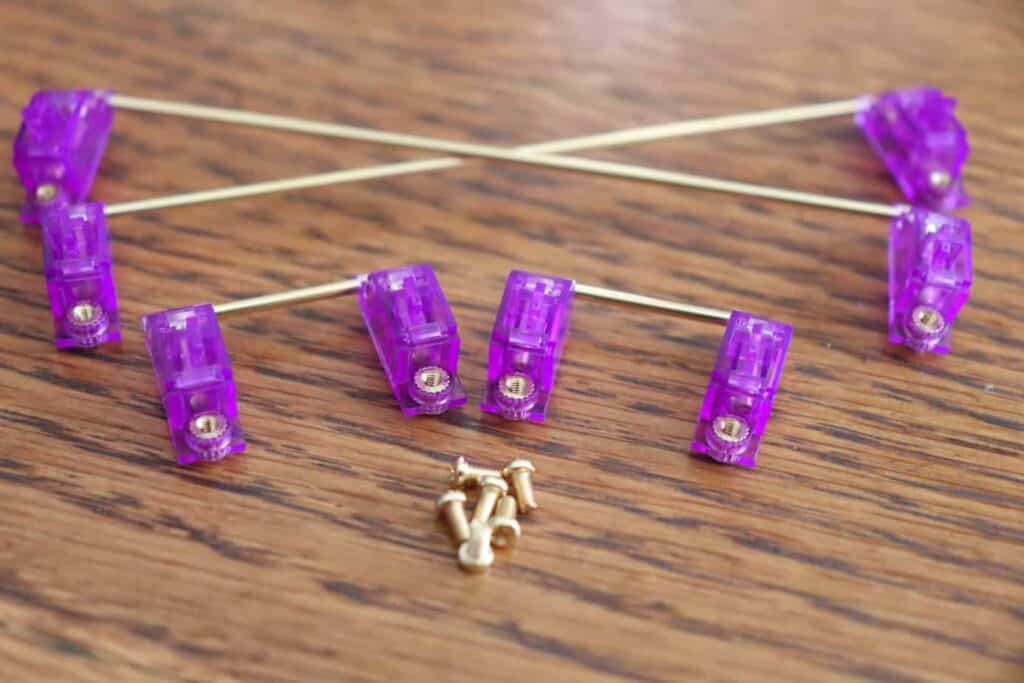
Stabilizers, an essential component that many forget about. Don’t cheap out on the stabilizers if you can help it, they make-or-break the typing experience. We have an entire write-up on stabilizers to help you pick out the perfect ones.
Basically, most prebuilt keyboards come with plate-mounted stabilizers that get the job decently well, but since you’re building a custom keyboard, you’re going to want PCB screw-in stabilizers.
The screw-in style is extremely secure and feels great to type on. You’ll need to pick out a PCB that supports this style of mounting or else you’ll be stuck with the typical plate-mounted style.
With stabilizers you want them to be super smooth, secure, and keep your larger keys from wobbling.
You can get them for a few dollars each, we usually recommend Durock stabilizers or ZugGear (Amazon) as they are pound-for-pound your best bet.
Keycaps
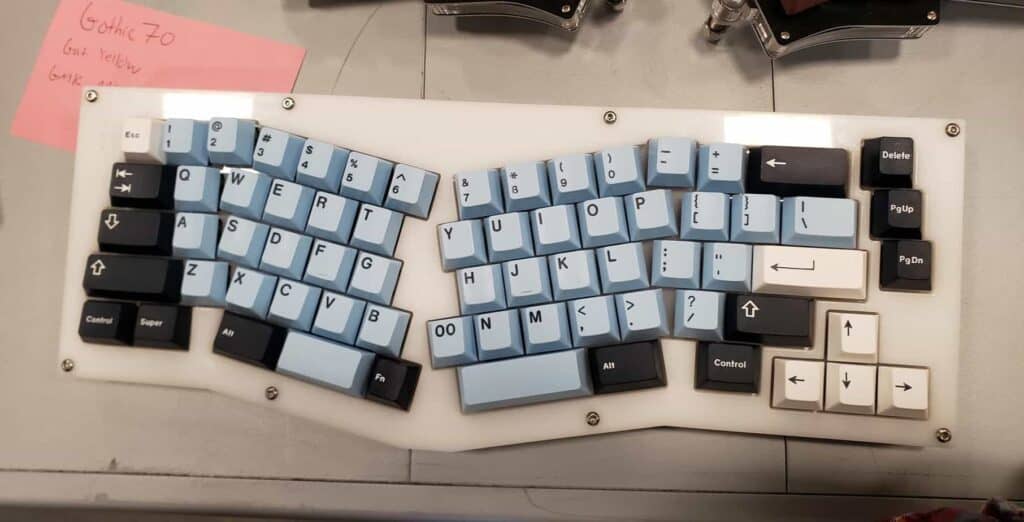
If you really want to make your keyboard aesthetically pleasing, picking out the right keycap set is a must. There are so many different options when it comes to keycaps, including the profile and material.
Usually a budget keycap set will be in the $20-30 range, while an upper-end keycap set can go for $100-400. Budget keycaps can get the job done well, but they may have small imperfections.
Higher-end keycaps, such as GMK, will usually be thicker, come in a more unique designs, and feel great to type on.
We have a full write-up of our top 20 keycap sets, so make sure to check that out if you’re looking for a new keycap set.
Power Cable

Another forgotten component is the power cable. How upsetting would it be to build an entire keyboard only to realize you can’t even plug it in? With a custom keyboard, you’ll usually need a USB-C or micro-USB cable to power your keyboard.
You can get a plain ‘ol power cable OR if you’re building a brand spanking new keyboard, you can get a super custom cable to match the rest of your build.
Custom cables are super cool and some come with an aviator attachment, while others are coiled or even lit up with LED lights.
There are also some budget options available such as TEZ cables, which are super affordable and available on Amazon.
Make sure to check out our favorite custom USB cables if you’re looking for the perfect cable for your build.
Soldering Kit
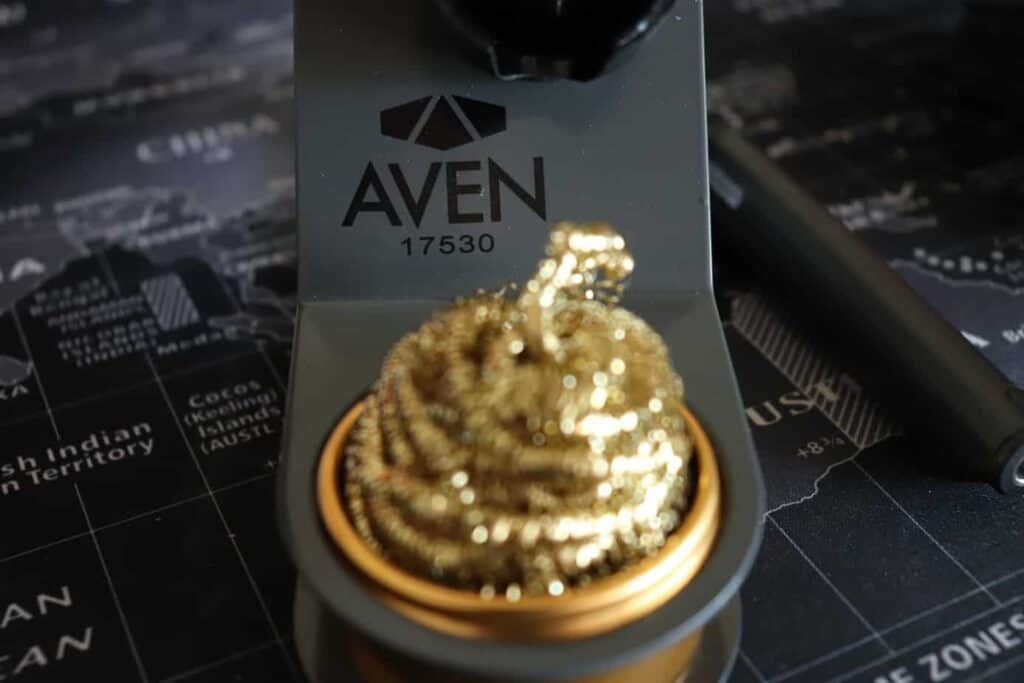
Realizing that you may need a soldering kit is the point where most people turn away from building a custom keyboard, but what if I told you soldering is optional?
If you decide to pick a hot-swappable PCB, a soldering kit is not needed. A hot-swappable PCB can make assembly much easier and does not require you to figure out how to solder which would save a lot of time and money.
However, if you choose to go the non hot-swappable route, chances are you will need a soldering kit because the switches will need to be soldered to the PCB during assembly.
The average cost for a good soldering kit usually comes out to be around $100.
We highly recommend this soldering kit off of Amazon, it’s perfect for the purpose of soldering switches to a PCB.
Miscellaneous Tools
When building a keyboard, having a few extra tools on hand can be really convienent. Here are a few that we recommend. We’ll link to them on Amazon so you can check the price of each item.
- Solder: To feed your soldering kit
- Keycap Puller: Easy removal of keycaps
- Switch Puller: Remove switches easily
- Tweezers: For handling small objects and anti-static
What Size Keyboard to Build?
Picking the right keyboard size mainly comes down to personal preference and budget. Some people have a tighter working space so a smaller keyboard is easier to use.
In addition, if you want to take it with you when traveling to a coffee shop or commuting to work and back, a smaller keyboard is also nice in those situations.
In general, the smaller keyboards are cheaper and easier to build because there are less keys and switches and overall material to order.
The majority of people think that smaller keyboards are aesthetic because they have more symmetric shape, but keep in mind- these are only opinions. Do whatever makes you excited.
If you really enjoy using a numpad and arrow keys, a smaller keyboard might not be for you.
Perhaps a larger size that has all those extra keys might be a better fit. Or maybe you want to deck out your keyboard with several extra programmable keys. The larger sizes allow you to get quite creative with all the extra button space available.
I would recommend exploring all of your options before you determine what size works best for you. Check out this post where we go over all of the different keyboard sizes and explain what they all mean.
Should You Build A Custom Keyboard?

Perhaps you’re getting bored of your current keyboard or you’re sick of that mushy membrane feel of your crappy office keyboard. Or maybe you drove your old keyboard in the ground and your keys are stuck and won’t spring back anymore.
By building a custom keyboard you have the ability to make something unique and creative that expresses who you are through your keyboard.
A well-built mechanical keyboard is something that is built to last and is tailored specifically to you. Nobody else on the entire planet will have the same keyboard as you.
In my opinion, it’s worth the extra time and effort to build one for yourself.
Plus you can show it off on the internet, who doesn’t want to do that?
Summary
We talked about how much it would cost on average to build a mechanical keyboard from scratch and learned that the pricing wildly varies, but on average it costs around a $200-600. In addition, we went over the components required and some of the average costs associated with each part.
We also went over some of the situations when a soldering kit is not required, such as when you are building from a kit or using hot swappable switches. It’s understandable if the idea of learning a new skill such as soldering is intimidating, in which case those options are your best bet.
I hope the research put together here helps you with your build. I would recommend researching your own build by looking at some of the different designs currently out there on the internet and choosing something that resonates with you.
If you find one that you like, you can look into the keyboard further and figure out exactly what parts are required to build. That will give you an idea of where to start, and from there you can tweak to personalize the keyboard to your own specific needs.
Happy Typing!
