
Over the last year, the custom keyboard hobby has exploded, bringing with it a plethora of new innovations and modifications.
Today we will be covering the PE Foam mod, a sound-altering solution inspired by Owlabs and the Jelly Epoch TKL.
This mod is not the easiest to perform but can result in some game-changing differences in the sound profile of your keyboard.
If you’re a beginner and want an easier mod to start with, try out tape mod!
Let’s get started.
Tips and Precautions
Since the PE Foam mod is meant to be applied under your switches, it is easiest to modify a hotswap board or perform the modification before soldering switches. If you wish to perform this mod on a soldered or pre-built keyboard, you will obviously have to de-solder your switches and re-assemble with the PE Foam.
PE Foam mod is NOT recommended for optical boards unless you pre-poke holes in the foam, or use PE Foam stickers. As some Optical boards rely on an infrared laser mounted under the PCB to read stem-pole travel, PE Mod could potentially prevent your optical switches from actuating properly.
If you choose to perform PE Mod on your Optical keyboard, please make sure that none of the lasers or stems are obstructed.
If you are unable to de-solder your switches for the PE Foam Mod (or are simply too lazy like me) then consider trying the “Tempest Tape Mod“.
Get your water bottle and cup holder ready, it’s going to be a long one. And make sure it doesn’t spill on your PCB!
How do I do PE Mod?
In order to perform the PE Foam Mod you will need:
- 1x Sheet of PE Foam (1.0mm or thinner ideally)
- 1x Pair of Scissors
- 1x Hole Poker
- 1x Screwdriver
- 1x Keycap Puller
- 1x Switch Puller
- 1x Keyboard or Keyboard Kit
- Desoldering Pump/Gun (if modding a soldered board)
- Soldering Iron (if modding a soldered board)
- Solder (if modding a soldered board)
- Flux (if modding a soldered board)
- Brass Wool (if modding a soldered board)
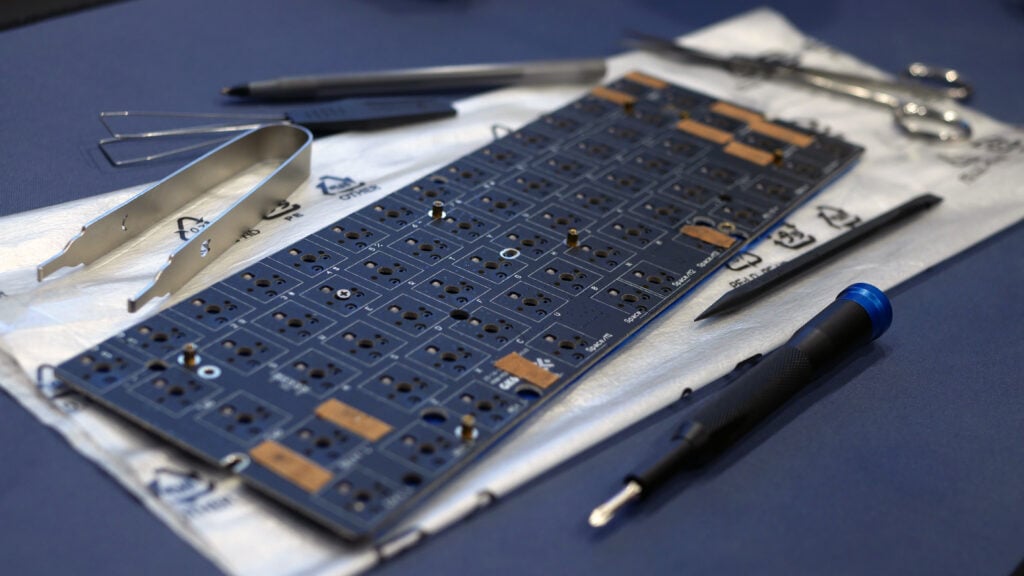
Step 01 Prepare PCB
If your keyboard is currently built, remove all keycaps/switches/stabilizers and disassemble the keyboard so that your PCB is empty and on the work surface in front of you.
Step 02 Measure PE Foam
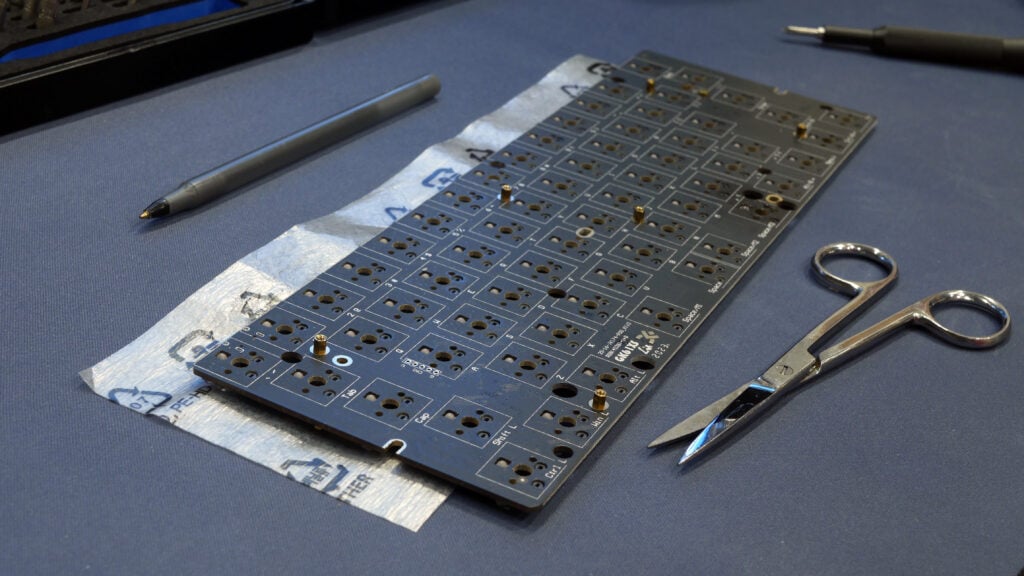
Place your PCB on top of the PE Foam sheet. Trace your PCB on the foam if necessary. You may choose to cut before applying switches or after.
Step 03 Poke Holes
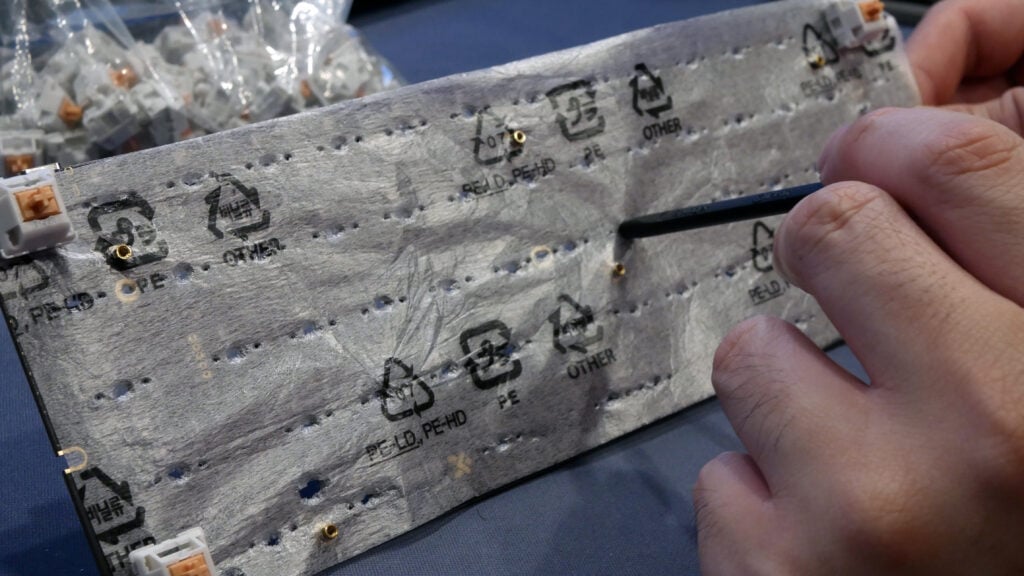
Sometimes, you can simply push your switches through the PE Foam and mount directly to your PCB. If your foam is too thick or you have an optical board, it is best to pre-poke or punch holes for your switches.
The crucial points to punch are the holes for the center pin and two plastic pins, as well as holes for PCB-Mount stabilizers. You may choose to poke holes for the metal pins as well, but they are generally sharp enough to pierce the foam.
If you care about RGB shine-through, or if you just want to be extra careful, make sure to cut/poke/punch holes for the SMD LED’s or through-hole sockets as well.
Tip: Poke holes for the corner switches first, and mount the switches while poking holes for the rest of the switches. This will ensure that the PE Foam is flat and flush with the PCB, and that all holes are properly aligned.
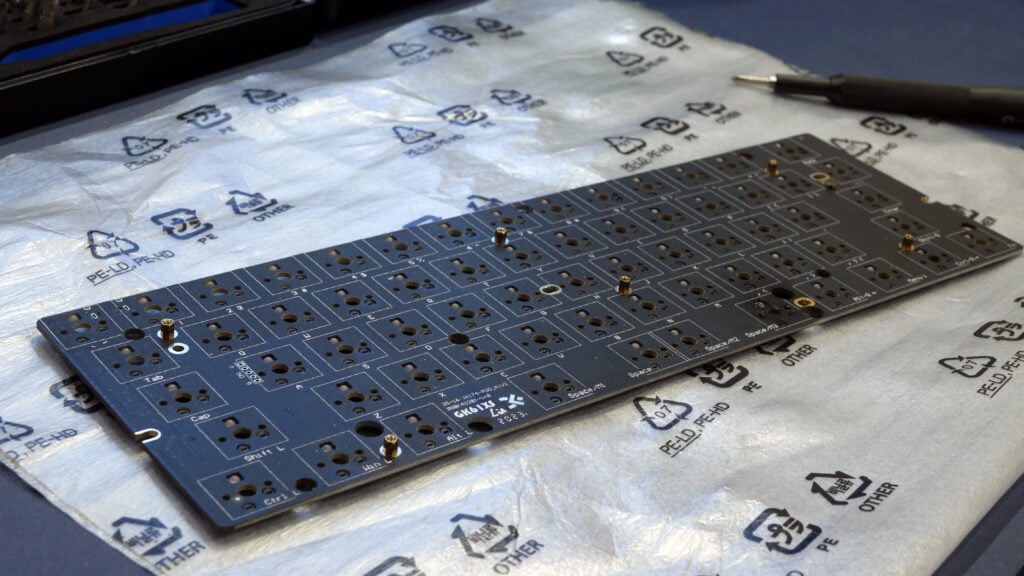
Step 04 Prepare PCB-Mount Stabilizers.
If you are using PCB-mount stabilizers, attach them to the PCB now. The stabilizers being in place will also help to hold the foam down.
If you are using Plate-Mount stabilizers, attach them to the Plate now or when the Plate and PCB are assembled.
Check to make sure your stabilizers do not need further modding/lubing.
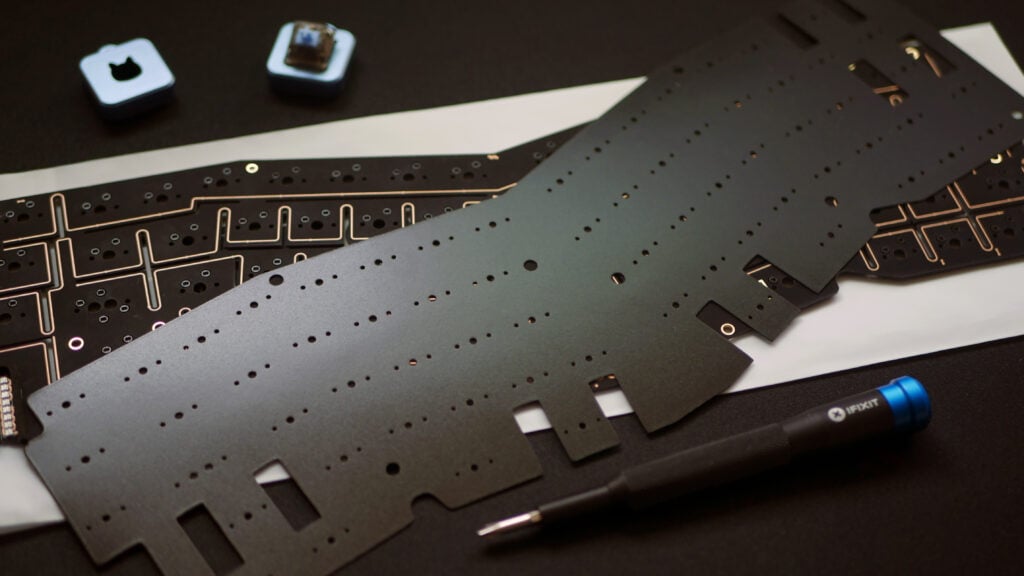
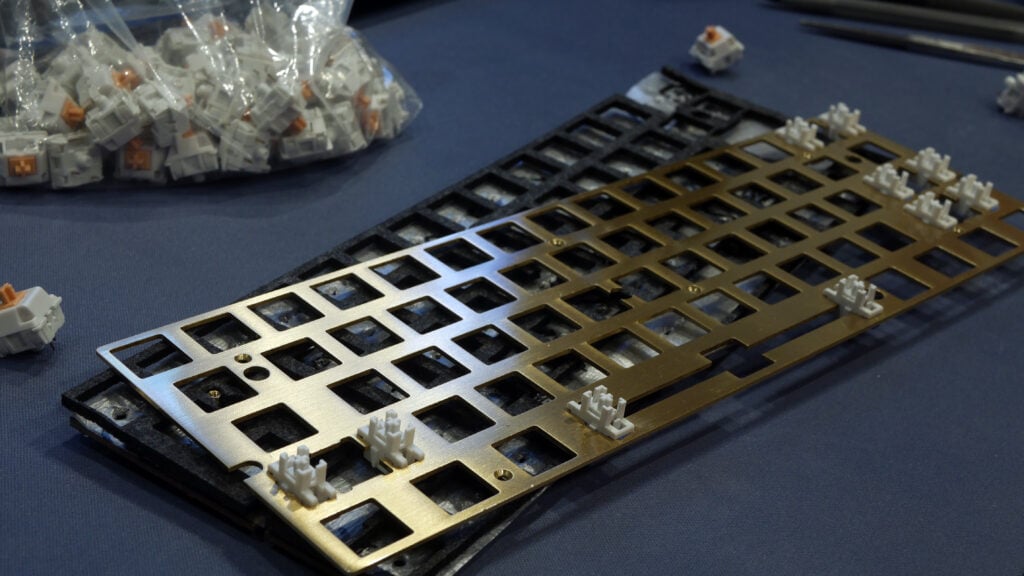
Step 05 Prepare Plate
If your board has standoffs to attach your PCB to Plate, assemble it now. If your board uses switches to hold the Plate/PCB assembly together, prepare to assemble your switches as usual. You may also now attach your Plate-Mount stabilizers to the plate. Again, it may be easiest to install corner switches first to maintain alignment.
If you have a plateless build, the PE Foam may help to hold your switches in-place more securely.
If you have plate foam as well, place that between the PCB and Plate now.
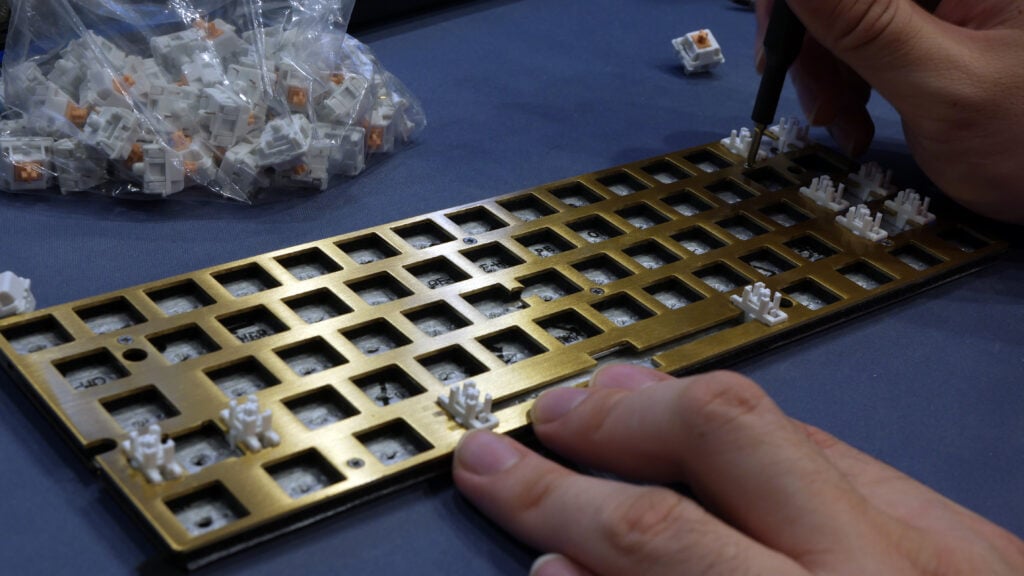
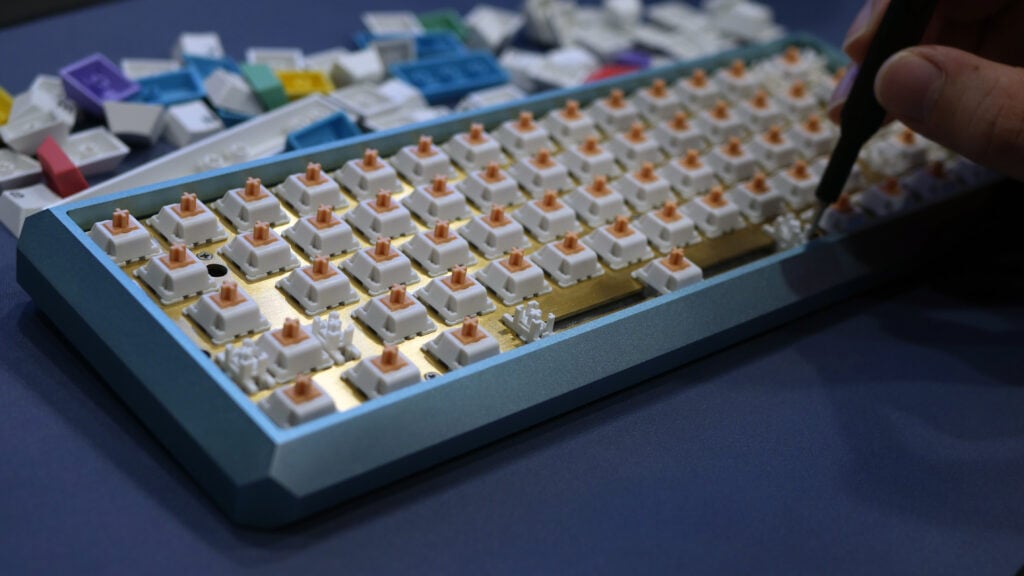
Step 06 Install Switches.
Carefully plug in your switches. Make sure all switch pins are straight to prevent bent pins. Start with corners first to maintain alignment
Step 07 Trim Foam
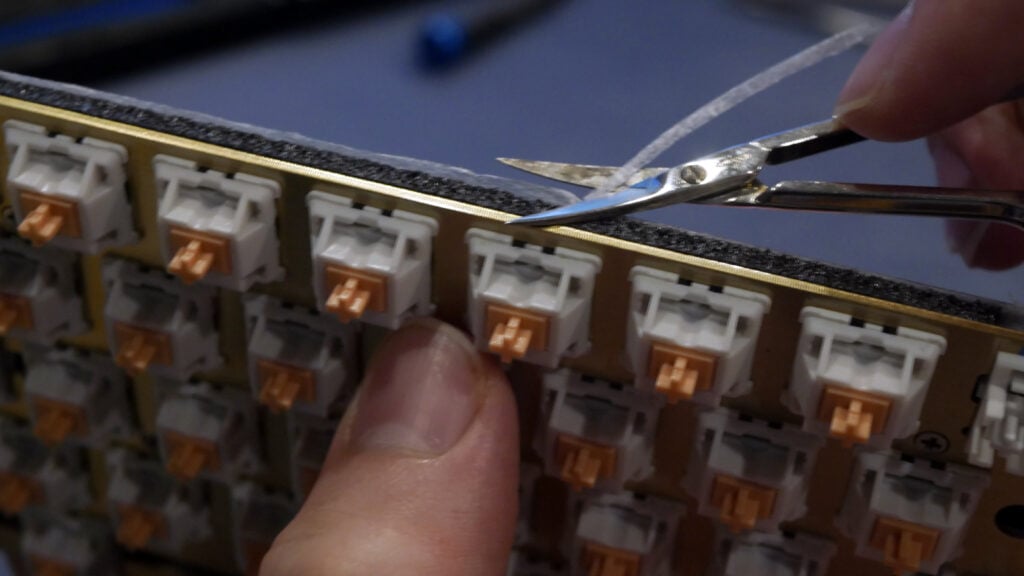
If you chose not to trim your foam earlier, do so now before re-assembling your board.
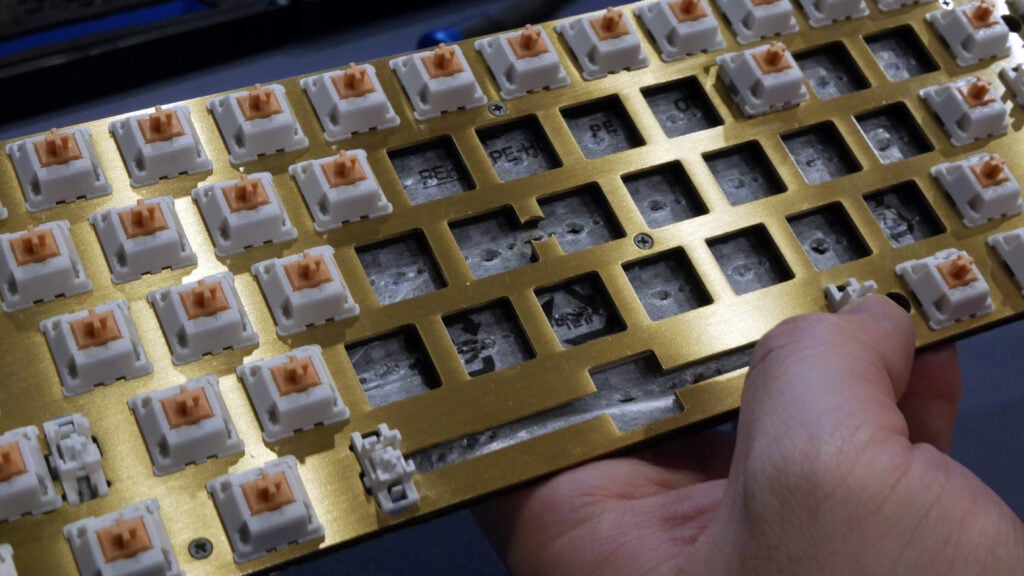
Step 08 Assemble Keyboard
Now assemble the rest of your keyboard from case to keycaps. In very rare cases, the added thickness of the PE Foam may cause fitment issues.
Step 09 Marble Madness
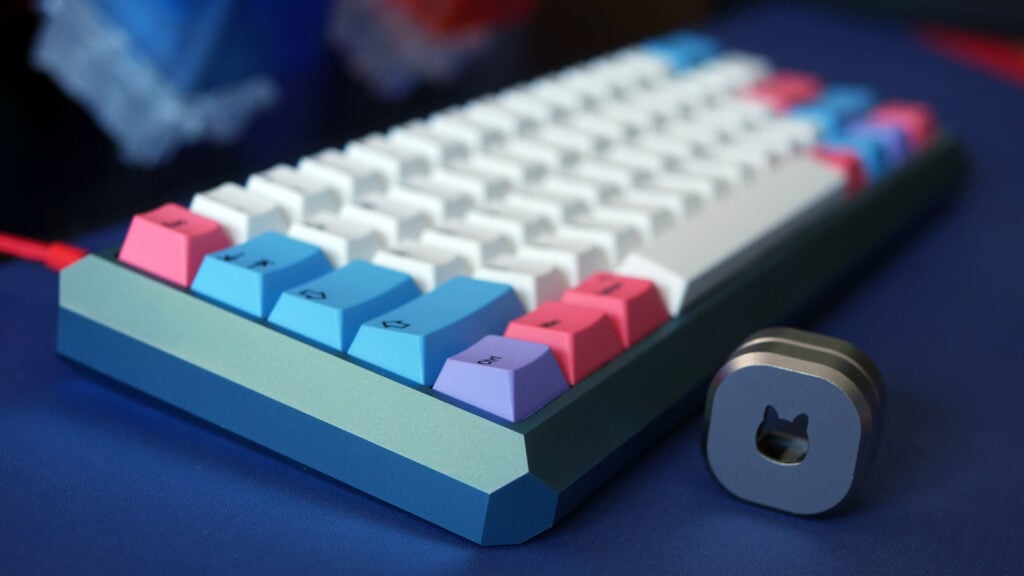
Enjoy your newly modded keyboard in all its marbled glory. Hopefully you like it because if you don’t, you will have to disassemble the entire board again to reverse it!
How does PE Mod sound?
Using the sheet of Jelly Epoch PE Foam gave the board a poppy, marbled sound signature that has now become a signature of Owlabs boards, giving it a satisfyingly thick and creamy but distinct and full bottom-out sound.
You may find that your mod may sound slightly more flat than the Jelly Epoch version simply due to materials, switches, mounting style, and thickness/density of the PE foam and case/plate foam.
What does PE Mod do?
PE stands for Polyethylene, a type of thermoplastic also commonly found in switch plastics in one form or another. A thin foam made of plastic, sandwiched between PCB and Plate is meant to reflect sound back to you rather than let it travel travel past the PCB and into the case below.
While it does make the sound much more unique, PE Mod may also flatten the sound signature and limit the frequency ranges you hear when typing.
PE Foam may also help to secure your switches to the PCB more for plateless and hotswap builds, especially if the holes for switch legs are overly loose. If you were to use alternative foams, then the effects on sound may be different. EVA foam rubber for example could deepen or mute the sound profile by absorbing sound waves rather than reflecting or deflecting them back at you.
What kind of foam do I need for PE Mod?
The official Owlabs PE Foam sheets are made of black IXPE anti-static foam. IXPE is a type of PE foam whose structure provides improved sound-dampening and vibration-dampening properties.
The community-born PE Mod typically uses thin sheets of white PE foam commonly found as packaging foam or protective sleeving for keyboards.
While white PE Foam is certainly the economical choice, white PE foam also can and will generate static electricity under the right conditions. This could cause you to have a short-circuit and zap your PCB, resetting it at best and completely frying it at worst.
If all you have is white PE Foam, it is recommended to do this only on boards with proper ESD electro-static discharge protection.
PE Foam is also available in Pink color, which is not as safe as Black PE foam, but more safe than White PE foam.
If you choose to use a different foam, like a thin sheet of EVA Foam, please note that it will not have the same sound effects as PE Foam, with EVA absorbing and dampening much more than PE.
Where can I buy PE Foam?
If you do not have any PE Foam just laying around, there are a couple options available for purchase.
On Amazon you may find sheets or rolls of black IXPE Foam at a thickness of 1mm or thinner. Generally 0.5mm is recommended if you have a hotswap board to ensure your switch pins maintain contact with the sockets.
Are there any alternatives to PE Mod?
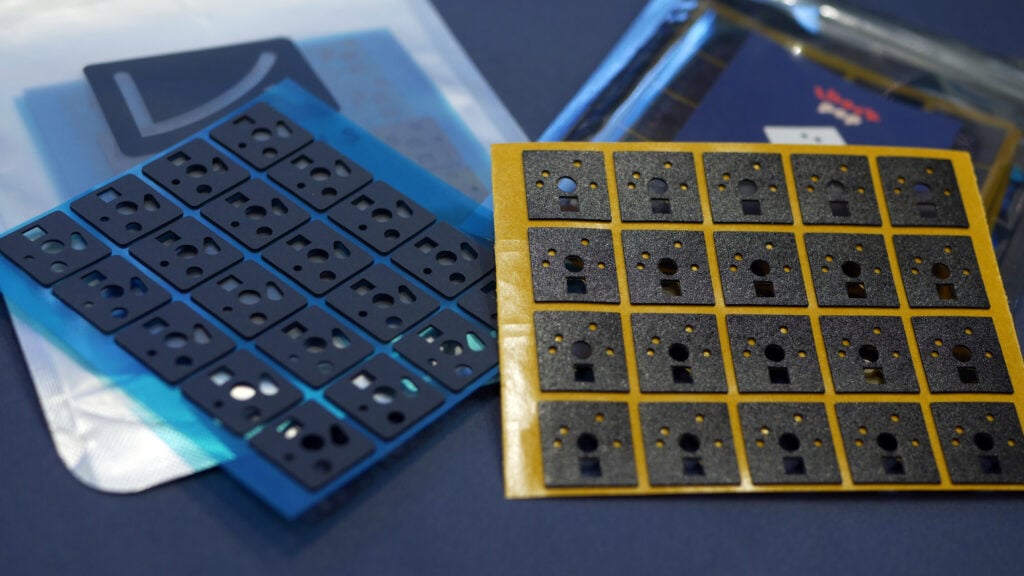
If you find cutting out a sheet too troublesome, you can also buy foam stickers. There are currently two types of Foam stickers available: PCB Stickers and Switch Tripods.
PCB Stickers
PCB Stickers are meant to be applied directly to the PCB via adhesive-backed foam squares. These stickers are typically available in PE, EVA, and Poron foams.
PE stickers tend to work the same way as the PE Foam mod, reflecting sound and giving a more marbled sound signature.
EVA and Poron tend to have the opposite effect, absorbing sound and giving your switch a lower-pitched sound, possibly muting certain frequencies.
Switch Tripods
Switch Tripods on the other hand are a triangular ring of Poron or EVA foam which instead is applied to the bottom of your switches. The effect is overall similar to using Poron or EVA stickers, but is less permanent or destructive to the PCB.
Tripods tend to be slightly thicker than PCB Stickers, so they may also work better to mitigate the difference in height when using Mill-Max sockets. Tripods are available from Cannonkeys in different hardness.