
Tape mod. I can’t think of easier mod that has such a HUGE impact on the sound of your keyboard.
The best part? It takes 2 seconds to do and costs almost nothing. No desoldering, no removing switches, no crazy lubing involved.
Just open up the case, slap some tape on the back of the PCB, and boom, Bob’s your uncle.
And while you’re at it you might as well do some other great mods.
Tips and Precautions
WARNING: AVOID DOING TAPE MOD ON KEYBOARDS WITH BATTERIES. IT MAY CAUSE A FIRE.
- Make sure to use non-conductive tape for this mod, or you may damage your PCB.
- Choose tapes with low stickiness.
- Avoid tapes with high stickiness to prevent PCB components from getting pulled off if removing tape.
- Avoid tapes with thicker adhesives to prevent corrosion, shorting, or leaving behind thick residue.
How Do I Tempest Tape Mod my Keyboard?
Tape Mod is much easier to apply and reverse compared to PE Mod. No desoldering or complex assembly process is required, as all you need is access to the bottom of the PCB.
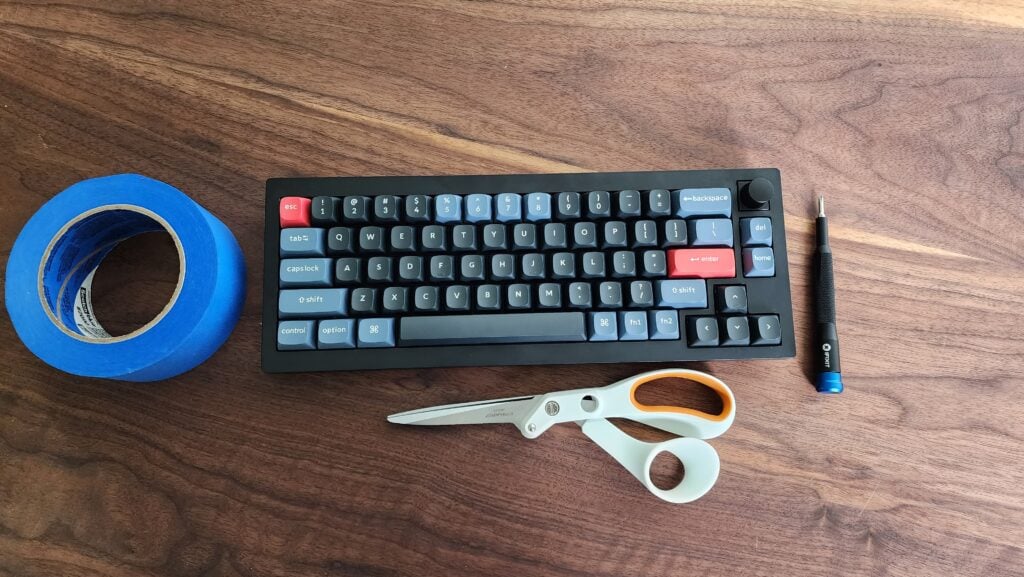
Tools You Will Need:
1 x Roll of Tape
1 x Scissors
1 x PCB
1 x Screwdriver
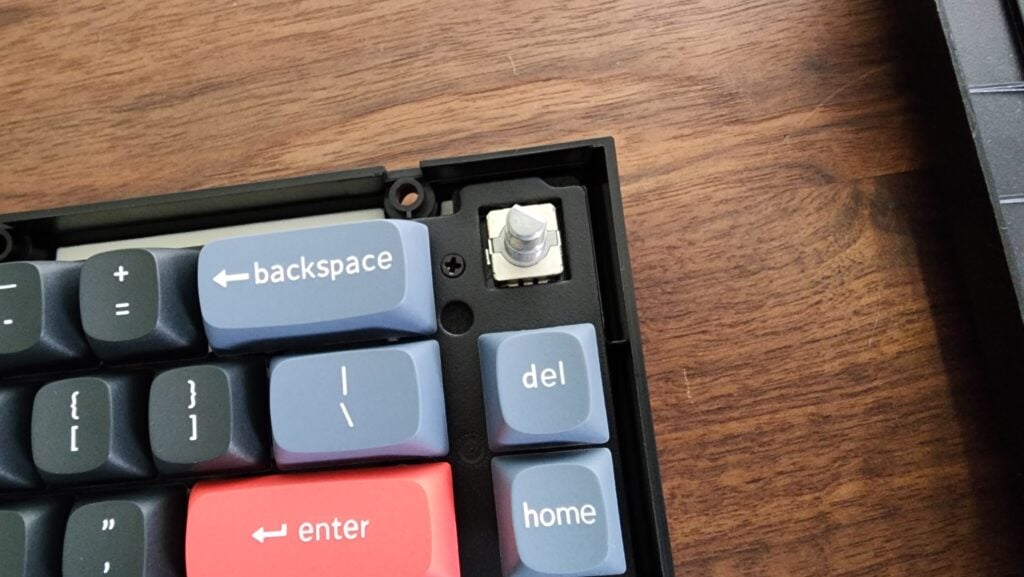
Step 1 Disassemble/Prepare PCB
Disassemble your keyboard and remove the PCB/Plate Assembly. You do not need to remove switches or stabs unless you prefer to. Unplug any JST connectors, ribbon cables, or anything else attached to the PCB and its ports.
Turn the assembly over so that the PCB is upside-down. Make note of any holes for ports, standoffs, screws, and their positions.

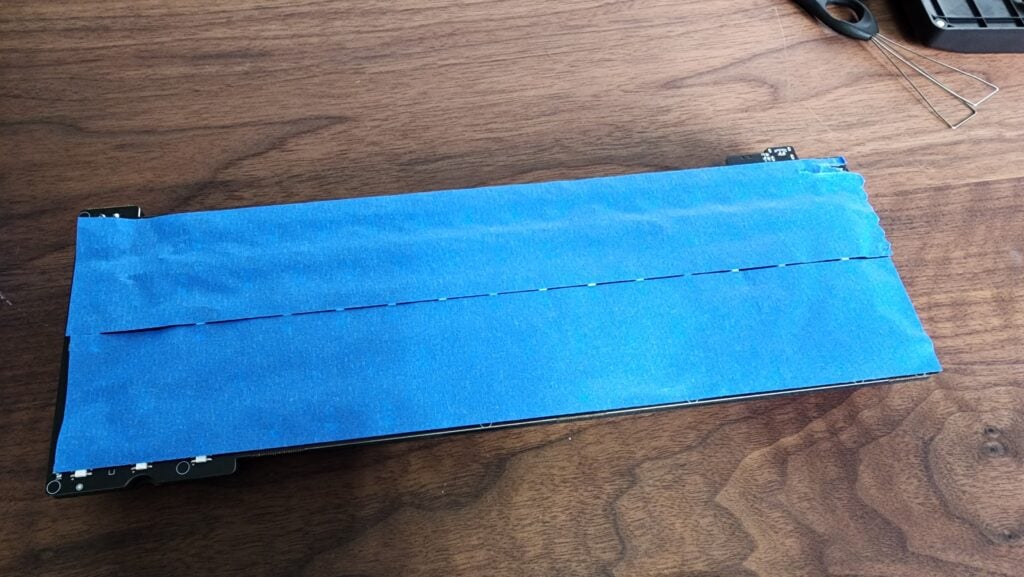
Step 2 Apply First Layer of Tape
Time to tape up your board. Wider Tape is preferred here. Try to make any overlapping as even as possible.
Start at the Top and Bottom edges, and work your way inside. For 60 and 65% boards, you may only need 2 strips with minimal overlap. For larger boards you may need 3 or more. Trim edges now or after all layers are finished.
You can choose to cut out access holes for ports and cables as you go, or cut after taping is completed.
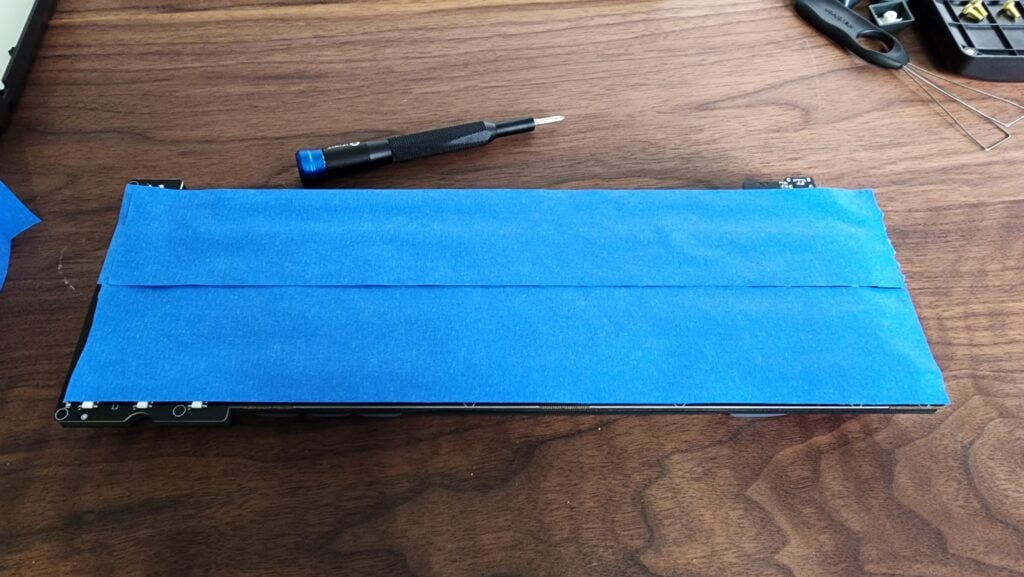
Step 3 Apply more layers
Apply more layers depending on how much room you have in your case, and how much you want to tune the sound. You can apply in alternating rows again, or switch to columns to make the tape sheet more unified for removal. Alternate direction for every additional layer. Typically 3 total layers are applied.
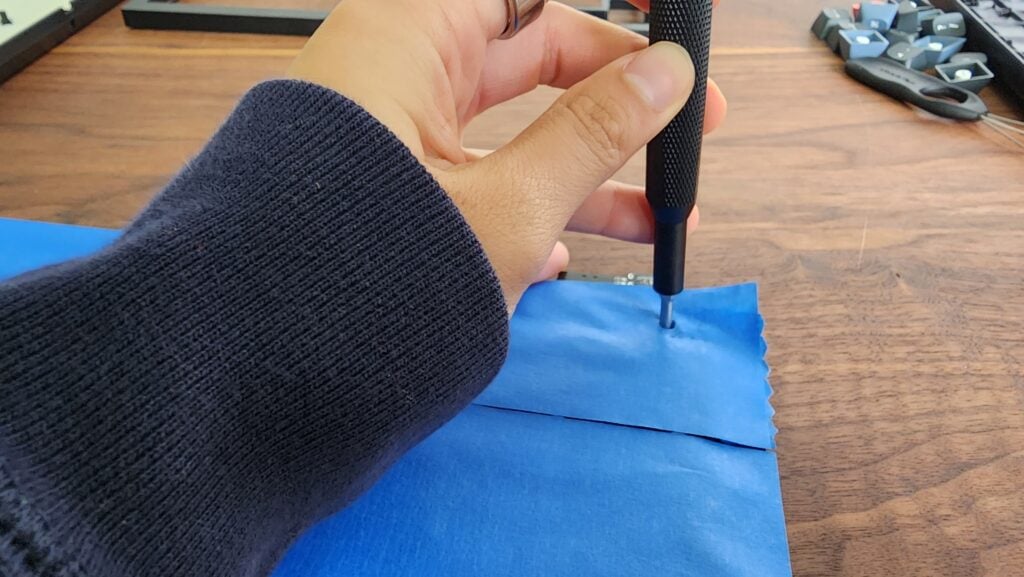
Step 4 Poke/Cut Holes
If you have any holes in your PCB for standoffs or screws and didn’t poke holes as you applied tape, poke through them now. You can also make marks on the tape, peel the tape off the PCB, and use a hole punch.
Cut out a slot for the USB port, reset button, and any other ports that may be on the bottom including JST or ribbon connector ports for batteries, bluetooth, led strips, or daughterboards.
Avoid covering any underglow LEDs.
Step 5 Trim Tape
If you didn’t trim your tape neatly before, do so now. Any excess tape could cause fitment issues.
Step 6 Assemble
Put your keyboard back together and enjoy the new sound signature.
The result should be similar to PE Mod, easier and safer to perform, and may even be more effective in altering your keyboard’s sound depending on the thickness of PE used vs layers of tape.
If you hate what it does to your board, just carefully remove the tape to reverse the mod.
What is Tape Mod?
Tape Mod is a popular new keyboard modification created by community member and Youtuber “Tempest” in June of 2021.
In the Tempest Tape Mod, wide strips of tape are applied in multiple layers to the underside of the PCB to change the sound profile of your keyboard and reduce hollowness.
While the modification can be easily applied to any keyboard to tune the sound and acoustics, Tape Mod seems to be more appropriate for lower-end keyboards to reduce hollowness and “elevate” the sound profile.
What does tape mod sound like?
Depending on the type of tape used and how many layers are applied, the sound can be very similar to PE Foam Mod, giving your keyboard a “poppy”, “marbled” sound signature.
The tape is meant to keep sound from travelling past the PCB, and accentuates certain frequencies while muting others.
What Kind of Tape Should I Use?
It is recommended to use a paper tape with low adhesive strength.
Blue Painter’s Tape is the most recommended and widely used tape for the modification.
Artist’s Tape is a good alternative paper tape with low stickiness, but it can be a little more expensive.
Masking Tape can also be used but the adhesive may be stronger, so care be careful when removing the tape from the PCB.
What Kind of Tape Should I Avoid?
Duct Tape, Gaffers Tape, Electrical Tape, Packaging Tape and any other tape with very sticky, strong adhesive should be avoided.
If you decide to keep the tape on, the adhesive may degrade and leave a residue on your PCB. The adhesive may corrode your PCB or cause it to stop working.
If you decide to remove the tape, sticky tapes may pull off certain PCB components like diodes or hotswap sockets if you aren’t careful.
What do different tapes sound like?
If you don’t care about possible damage to the PCB and just want to see what the tape will do to your keyboard, then you can try alternative tapes. Each tape’s unique material structure will affect your board differently.
Here are some different tape materials you can try:
- Paper Tape (Masking/Painter’s/Artist’s Tape)
- Plastic Tape (Packing Tape, Electrical Tape)
- Duct Tape
- Cloth Tape (Medical/Gaffers Tape)
- Foam Tape (PE Tape, 3M-backed Foam)
- Metal Tape (Roofing Tape)
Conclusion
Tape mod is such an easy mod to do to your keyboard.
And the potential upside can be tremendous, depending on what your keyboard sounds like initially.
The tape will make your keyboard sound more poppy or loud, and that may be what you want. It might not be.
Give it a try and see if you like it. After all, it’s a completely reversible process.
And remember… do NOT do this mod with a battery inside your keyboard. There is a real fire hazard here. Be careful.
Stay safe. And keep on typing away.