Adding foam inside your mechanical keyboard is one of the best ways to improve the sound and reduce the vibration and rattle.
There are a ton of different foam options out there so we’ll go over the different types and decide which kind is the best.
Let’s jump right in.
Sorbothane: The #1 Option

Sorbothane is our go-to for sound dampening foam. This material was made for the purpose of reducing sound and vibration. It is also the most expensive option, so while it is technically the best, it may not fit into your budget.
I personally think sorbothane is a bit on the extra side.
It sort of follows the law of diminishing returns, where the more you spend, the less you get in actual return.
The foam will produce the best sound improvement of any of the options, but is only marginally better.
Sorbothane is also a bit heavier than the other options so it adds nice weight to the keyboard and makes everything feel a bit more high end.
Besides the price, the only downside to sorbothane is sometimes it can be too thick to fit inside your keyboard, in which case a thinner foam option may work better.
You can order the foam on certain websites to be precut to your specific keyboard layout size, but I prefer to order the stuff on Amazon for a cheaper price and cut it myself.
I typically take a sharpie and mark the areas I need to cut off to fit the foam inside the keyboard.
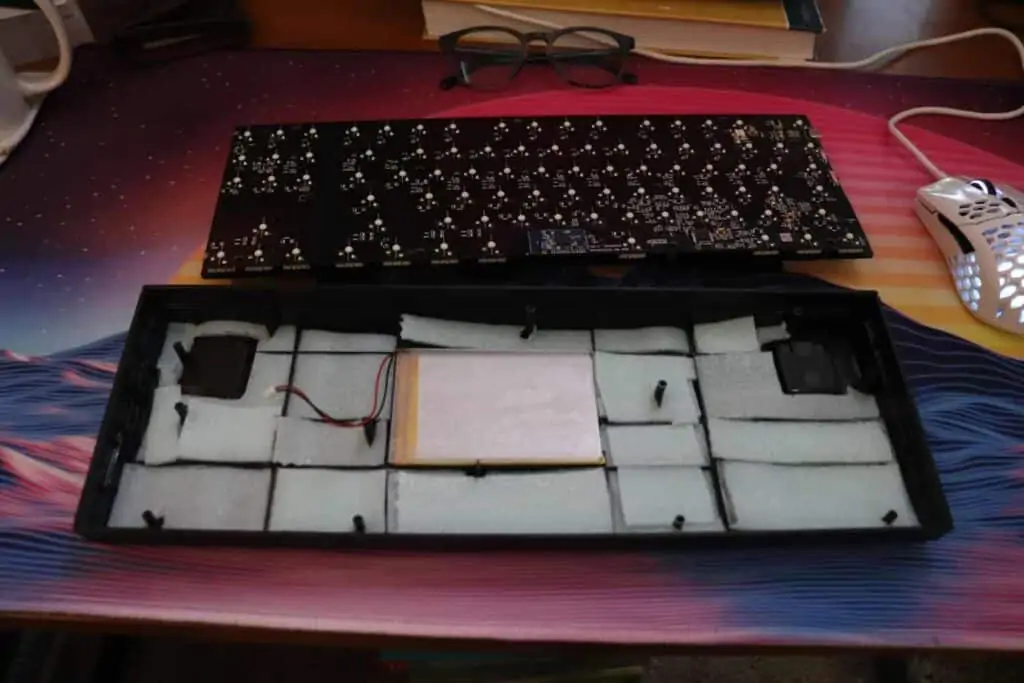
Then just slide foam into the case under the PCB and it’s good to go.
You can buy the sorbothane on Amazon, it’s just a little on the pricey side.
Neoprene: Second Best Option
Neoprene is probably the best bang for your buck option. It has similar sound proofing qualities to it as sorbothane, except it is more budget-friendly.
On top of that, you can buy a big roll of the foam and use it on multiple keyboards.
While it’s still not cheap, it’s definitely more affordable than sorbothane.
The only downside to neoprene is that it doesn’t have as good of sound reduction as the first option, but it’s still pretty impressive.
We like to get the Dualplex neoprene sponge foam rubber roll on Amazon for an affordable price.
Packing Foam: Alternative Option

If you don’t want to spend any money at all, packing foam is the most convenient option.
You won’t get as good of a sound reduction as filling your keyboard full of sorbothane or neoprene, but you’ll see a significant improvement.
The cool thing about packing foam is you can use just about anything.
A easy hack is to use the foam that the keyboard comes shipped in. You can remove it straight from the box and cut it up to fit inside your keyboard.
No extra parts required.
This is by far the easiest way to get foam for your keyboard. If your keyboard doesn’t come with packing foam and you don’t have anything else on hand, we have another option for you as well.
Shelf Liner: If You Can’t Find Anything Else

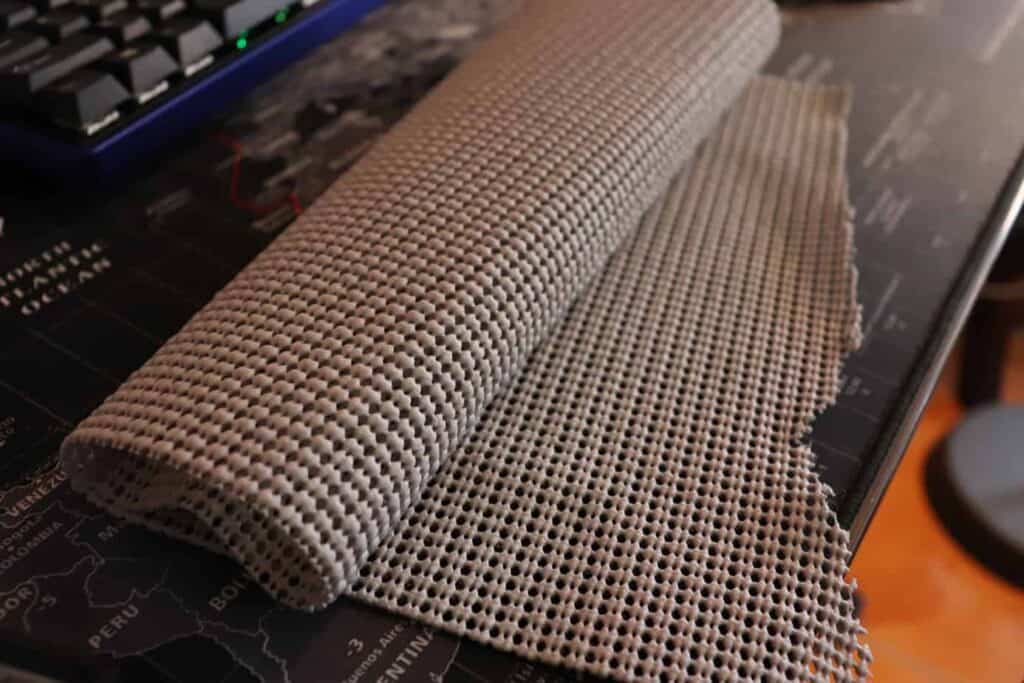
Most people use shelf liner to keep the floors of their cupboards from building up food and dust on the wood, but you can also use it to dampen the sound inside your keyboard.
Similar to the packing foam, you just cut it up and cram it inside your keyboard case.
I would put the sound reduction qualities of shelf liner in the bottom tier. It doesn’t work quite as good as packing foam, but it’s by far better than nothing.
Not to mention, most people probably already have some on hand.
All you need to do is slice it up and put inside your case.
Why Add Damping Foam?
Adding dampening foam inside your keyboard comes with a host of benefits.
It may be hard justifying the work of buying foam, opening up your keyboard, cutting up the foam, installing the foam, and putting everything back together but it’s definitely worth it.
And as we’ve shown before, you don’t always need to buy the foam. Chances are, you have some laying around your house somewhere.
By adding foam, you should see a noticeable change in the following ways:
- A deeper and more bassy sound: The biggest impact I’ve noticed when adding foam is how much better the keyboard sounds afterwards. The keyboard will typically sound less high-pitched and more subtle and bassy. It’s really satisfying.
- Less metallic spring ping noises: Another change is you’ll experience less of a metallic ringing noise. When typing on a keyboard, the metallic plate can vibrate and make an unpleasant noise. Or the springs inside the switches will vibrate. Adding foam will reduce both of these sounds.
- More secure keyboard: Adding foam (especially sorbothane) will add weight to the keyboard which will make it slide around less when typing. This will make everything feel more secure and the only parts that will move are the keys themselves when entering a keystroke.
As you can see, there are ton of different benefits. It’s all up to you to decide if this mod is worth or not and how much you’re willing to invest in the foam.
How to Add Damping Foam To Your Keyboard

Adding foam inside you keyboard is a process that varies depending on the type of foam you have and your keyboard case design.
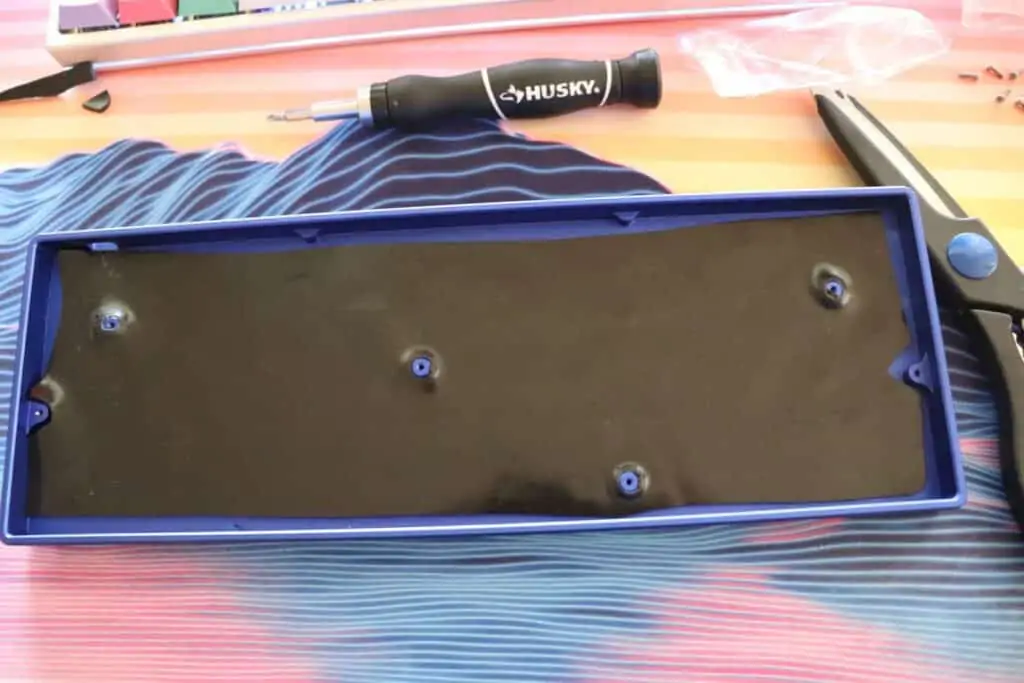
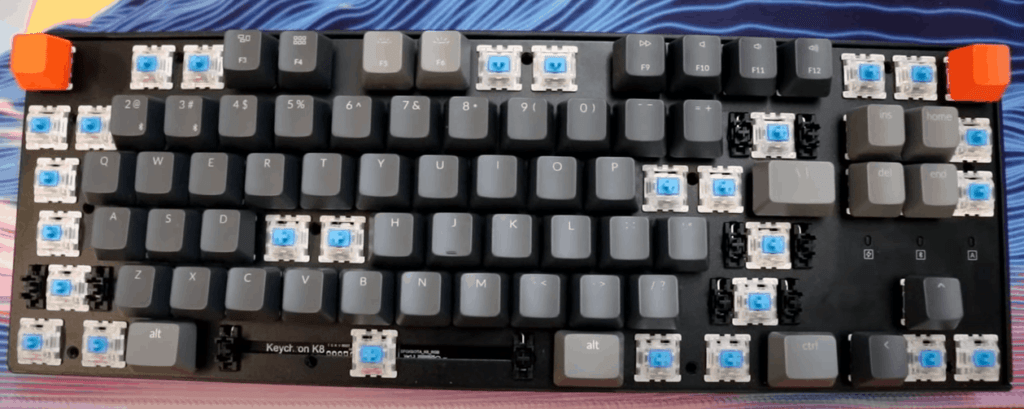
Usually, you just need to remove your keycaps and find all of the screws that hold the PCB into the case. Then remove all of the screws.
Some case designs are held together by plastic clips, in which case you’ll need to work your way around the keyboard unclipping everything until the case pops apart.
There are a ton of different case designs, so there is not single way to do this. It just depends on your specific keyboard.
After the case is opened, you want to cut up your foam and slide it into your case.
The cheaper foams, such as packing foam or shelf liner, you’ll need to layer and stack until all of the extra space is filled up inside your case.
Sorbothane and neoprene are usually thick enough that you’ll just need one layer.
It takes a little of bit of playing around to figure out the perfect amount of foam, because keyboards have a different amount of spacing between the PCB and case.
Once the foam has been added, just put everything back together and you’re done!
Conclusion
Adding foam to your keyboard is an excellent way to improve the acoustics of your keyboard.
There are a ton of different options out there including sorbothane, neoprene, packing foam, and shelf liner.
Choosing which one to go with mainly depends on your budget, what you have on hand, and how much space is inside your keyboard to work with.
Installing foam is one of the easier mods to do as there is no soldering/desoldering required, so its perfect for beginners. Not to mention it’s pretty fast.
We recommend to always add foam when building a custom keyboard.
If you have a pre-built keyboard, adding foam is a great way to get rid of the some of metallic noises without needing to open every switch and lube them.
Anyways, we hope you take the time to try this mod out for yourself. You should see a noticeable difference in how your keyboard feels and sounds before and after.
Happy typing!
