Using a keyboard that makes a loud ping noise is a surefire way to ruin your typing and gaming experience. Luckily, we have a few different ways to get rid of that frustrating ping noise.
- 1 Minute Fix: Try typing with the keyboard flat and on a desk mat to dampen ping noises.
- 30 Minute Fix: The noise could be from a structure issue with the case, try opening the case and inserting foam under the PCB.
- 2 Hour Fix: The springs inside the switches could be pinging, open up the switches and lube the springs to fix the pinging noise.
We’ll go over how to do each step and explain how to fix the issue so you can have a clean sounding keyboard.
What is Keyboard Ping?

Keyboard ping refers to a metallic noise that a keyboard makes when pressing a key. The pinging noise can be frustrating to deal with, especially on a new keyboard that should be working and sounding properly. The ping noise is not supposed to happen, but manufacturing defects or poor case design can contribute to the issue. Some keyboards have especially bad pinging noise and for others it may not be an issue at all.
What Causes Keyboard Ping?
The pinging noise on a keyboard comes from a metallic structure inside the keyboard vibrating. When metal vibrates it creates the pinging noise we all know and love. Our fixes and diagnosis will be based around finding the metal parts of your keyboard and dampening them to reduce the vibration and therefore the sound. There a few possible culprits of keyboard ping.
The biggest cause is the keyboard case structure, keyboards that are build with a combination of aluminum and plastic tend to ring the most when entering a keystroke. The aluminum plate inside a keyboard will usually rest on the plastic case and vibrate which amplifies the pinging noise.
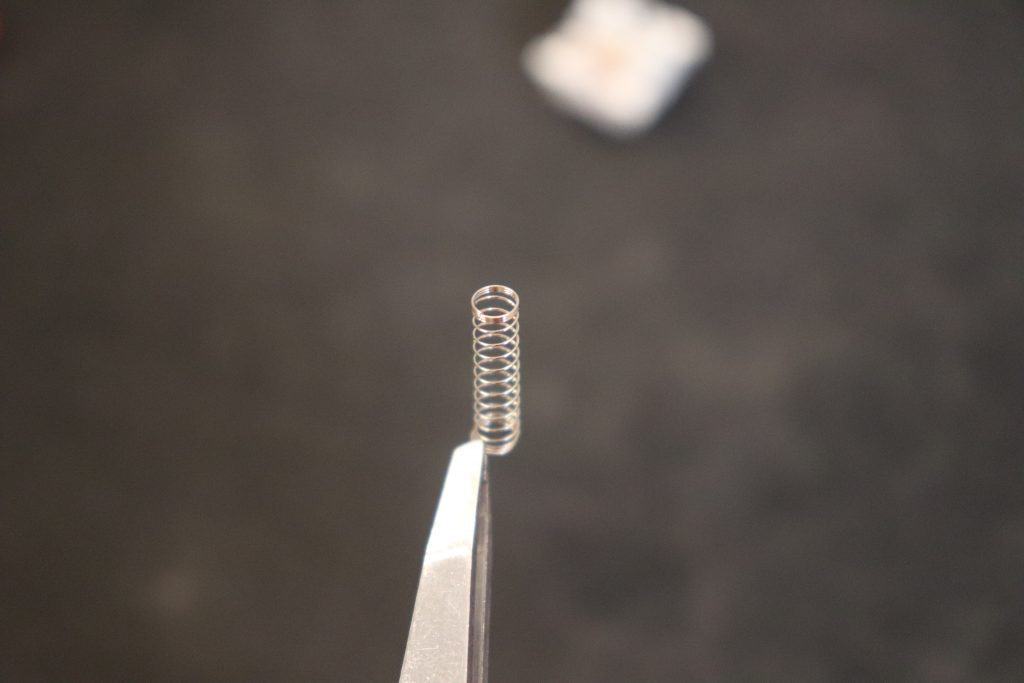
The switches could also be the cause of the pinging noise. The springs inside the switches can be twisted or slightly warped, so when a key is pressed the springs make a loud pinging noise.
Another possible issue is the keyboard is not being used on a flat surface. For example, typing with the legs up on your keyboard makes it more likely to ping because the keyboard is less stable and will vibrate more.
How to Fix Keyboard Ping
There are a few ways to fix keyboard ping, or at the very least minimize the sound so it’s not as loud. We’ll walk you through some different ways to try and fix the keyboard ping. We’ll start with the easiest solution and work our ways up to the more difficult fixes.
Doing all three fixes would be ideal, but a few of the fixes require a bit more time and equipment, so do whatever makes sense based on how much time and effort you’re willing to put into fixing the noise.
Fix #1: Try Typing with the Keyboard Flat and on a Desk Mat (1 Minute Fix)

This is by far the easiest way to try and reduce keyboard ping. This method requires no keyboard modifications and will not involve voiding your warranty.
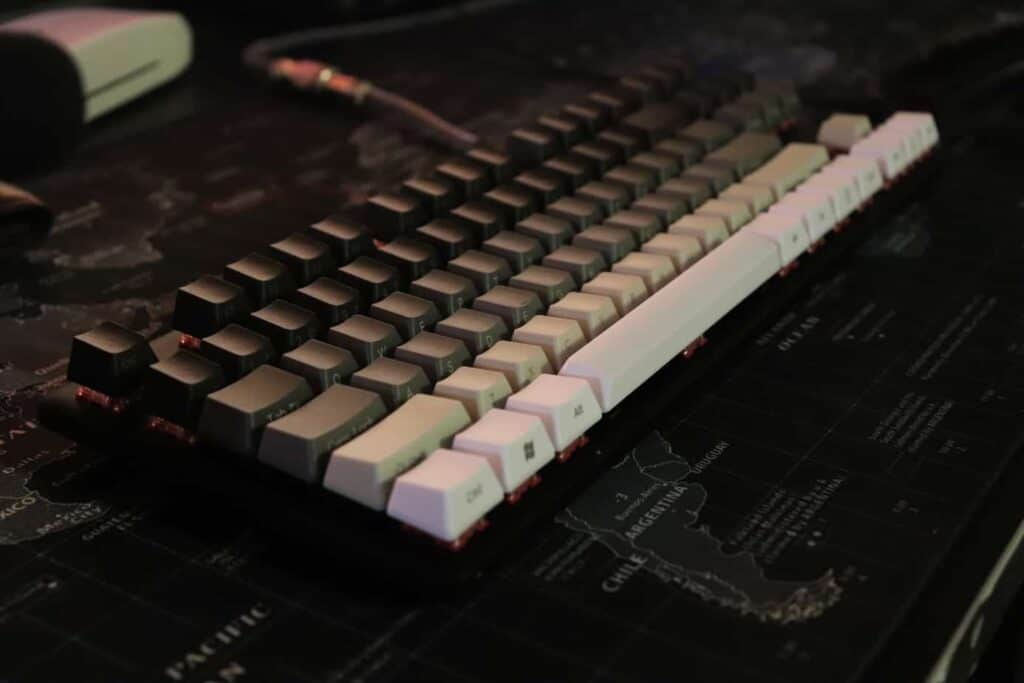
This fix may seem a little too simple, but it can make a huge difference. Simply try typing with your keyboard flat while on top of a desk mat.
When typing with the keyboard feet up, there is less of the keyboard touching your desk which makes the keyboard less stable and more likely to vibrate. We want the keyboard to be as flat and as stable as possible to reduce the vibration.
A desk mat can greatly improve the acoustics of your keyboard and dampen the overall pinging noise. Using a desk mat will probably not totally fix the pinging issue, but you should see a significant reduction in the amount of sound your keyboard produces.
Some people type with multiple desk mats stacked on top of each other because of how well they reduce unwanted noises when typing. We’ll link you to a few of our favorite desk mats with some really cool designs on them.
Fix #2: Open the Case and Insert Dampening Foam (30 Minute Fix)

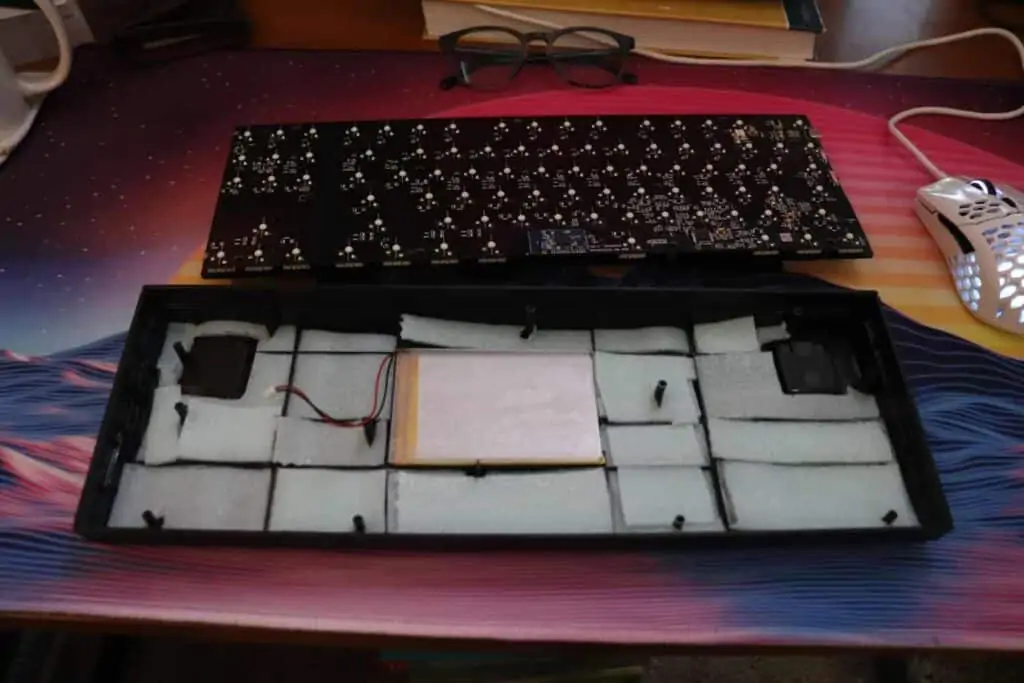
This fix involves a bit more legwork and will involve voiding the warranty on your keyboard, so beware. You’ll need to take apart your keyboard and insert a dampening foam under your PCB (printed circuit board). While this fix may seem like an overwhelming task at first, it’s actually not that bad.
You’ll first need to find the foam online, there are a couple of different options depending on how much you are willing to invest. The best foam option is Sorbothane, which is quite expensive but will be the best bet for sound dampening. Another option would be neoprene, which isn’t quite as good as Sorbothane but is usually cheaper. If you really don’t want to spend much on the foam, we have used packing foam with some success as well.
Next, you’ll need to pull apart your keyboard case, this usually involves finding all of the small screws that hold the keyboard together and removing them with a Phillip’s screwdriver. Make sure to unplug the keyboard first. The process for taking apart the keyboard can vary depending on the case, just take your time and don’t try to force anything apart or it may break.
Once the keyboard is open, you want to remove the PCB and cut a piece of foam that fits inside the lower half of the keyboard case. Place your cut piece of foam in the case, then place the PCB on top of the foam. Then go through the process of putting the whole case back together again by placing all the screws in.
Give the keyboard a few typing tests to see if the pinging noise is better. Dampening foam will usually help a ton with any vibrating that happens inside the keyboard case.
Fix #3: Open the Switches and Lube the Springs (2 Hour Fix)

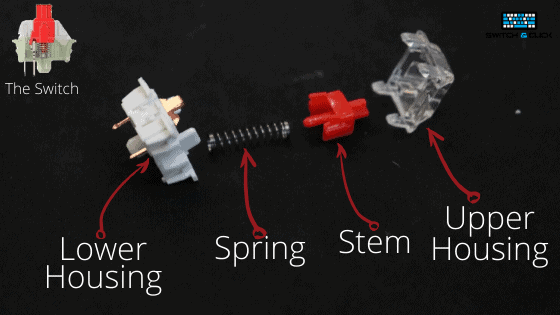
Sometimes, no what you do to keep the keyboard from vibrating, the issue is the switches themselves. The springs inside the switches can be warped or twisted which leads to the loud pinging noise. The best way to fix this issue is to apply lube to springs so they actuate properly, but this will void the warranty on your keyboard. Lubing your switches has a ton of other benefits as well, such as less scratchiness, less rattle, and a smoother keystroke overall.
Fixing your springs can be a little intense for those who are new to keyboards, because it involves the lengthy process of taking apart your keyboard, desoldering the switches from the PCB, taking apart the switches, lubing the switches, and then putting everything back together again. But the whole process can definitely be worth it.
If you have a hot-swappable keyboard, this process will be a bit faster because you will not need to do any soldering/desoldering, you can pull the switches out of the keyboard with a switch puller instead.
All-in-all this whole project probably takes around two hours but can be made faster with a hot-swappable keyboard. To keep this article from getting too long, we’ll link you to some other resources we have made about lubing your switches and picking out the best lube.
It is possible to lube switches without desoldering, which can save some serious time. The only issue is the lubing process won’t be quite as effective. To eliminate spring ping, you want to make sure the lube penetrates far enough that it touches the spring with this method.
While you doing the process of lubing your switches you might as well lube your stabilizers while you’re at it. There is a method to lube your stabilizers without desoldering as well.
Conclusion
Dealing with keyboard ping can be frustrating and the sounds can be distracting when trying to type or game. There are several different causes to keyboard ping, such as a poor keyboard case design, switches with warped springs, and other manufacturing defects.
We went over a few different fixes ranging from super easy to more time-consuming. Using your keyboard on a desk mat can greatly improve the acoustics and reduce the pinging noises. While inserting some dampening foam into your keyboard can also be a great way to limit how much your keyboard vibrates and help get rid of the pinging noise. Lubing your switches will definitely help with the pinging noises and has a ton of other benefits as well, just beware of the lengthy process.
We definitely recommend you work through the fixes listed out in this article and feel free to mix and match depending on what equipment and time you have available. Definitely be careful when working around electronics and make sure to unplug your keyboard before doing any modifications. Fix #2 and #3 will void your keyboard warranty.
Hope this article helps, happy typing!
