When you first search up information on improving the sound and feel of certain switches, you start seeing that some switches should be “filmed.” Filming a switch involves putting a small piece of plastic/rubber material between the upper and bottom housing of a switch to tighten it to reduce wobble and improve overall sound and feel.
In this guide, we’ll be going over everything you need to know about filming a switch, a step-by-step guide on how to do it, why you should, and more.
Tools Required
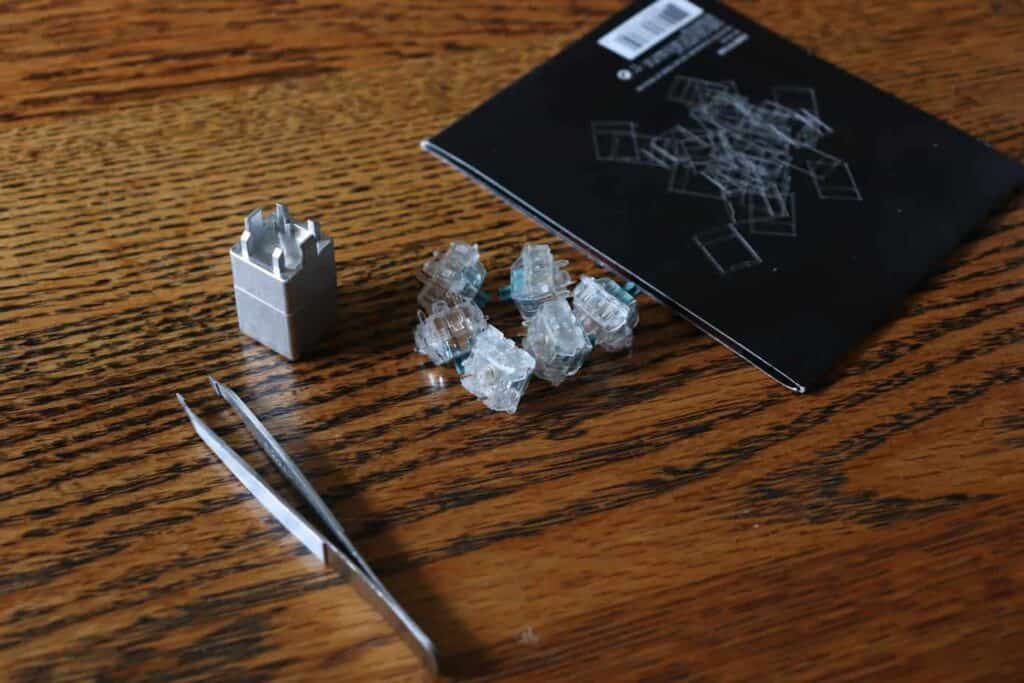
There is very little you need to install switch films into your switches. We’ll discuss each one below.
1. Switch Opener
There are many different switch openers available on the market. Some are more budget-friendly and 3D printed out of plastic. These tend to be cheaper, but they don’t last as long. You can find this one on the Kebo Store for a really good price.
For an aluminum version, kiiBoss sells CNC’d aluminum switch openers for MX switches and Kailh switches.
You can also do this using a flathead screwdriver that you may already have at home.
2. Switch Films
Switch films can be found with different materials from different vendors and manufacturers. We highly recommend these films from Kebo Store, they are quite inexpensive and easy to install.
Make sure you have at least 1 switch film per switch. Extras are recommended in case things go wrong.
We’ll also go over other films available at the end to give you an idea of all the different options.
3. Tweezers
Having a nice set of fine tweezers will make handling the switch films much easier than just using your fingers. The switch films are very thin and are difficult to maneuver without tweezers. We recommend a set with fine pointed tips such as these from Amazon.
4. Clean Workspace
You’ll want a workstation where you can open up switches and film and lube them without anyone interfering or worrying about losing your switch parts.
Some good tips are to have an individual bowl or container for each part of the switch. That way, they stay in one area and don’t roll off your table. Around five different containers would be best for the following: bottom housing, spring, stem, top housing, and switch film.
Optional: Lubing Supplies
Since you are opening up your switches anyways, you might as well lube them. Lubing switches improves the sound and feel of the switches even further and go hand-in-hand with filming your switches.
For a complete step-by-step guide on how to lube your switches, see this guide that we wrote here.
We recommend Krytox 205g as an excellent option, available here
How to Film a Switch
Installing switch films is an easy process and can be combined with lubing your switches as well as you are opening up the switch already.
1. Take Switch Apart.
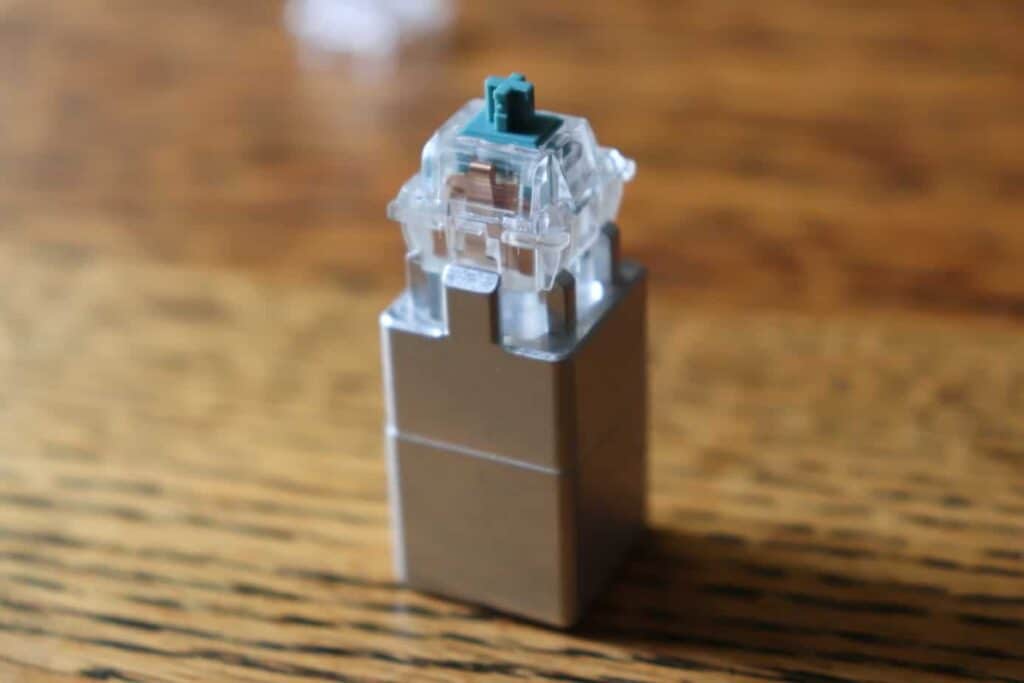
Using a switch opener or a household tool to open your switch, separate the top and bottom housing.
For a full guide on how to open your switch, see this step-by-step here. There are two different methods you can use: one involving a switch opener and another involving a flat-head screwdriver.
The easier method is to obtain a switch opener, which is a specialized tool that is made specifically for this task alone. Depending on your switch housing type, Cherry style or Kailh style, your switch opener may not be compatible.
The more difficult method is to work your way around the switch using a flathead screwdriver, loosening each clip slowly. Make sure that the switch doesn’t snap itself back to closed during the process. A quick tip is to use your fingernail to prevent this from happening.
Optional Step: Lube Your Switch
This is the perfect time to lube your switch while you have all of the parts separated. For a full guide on how to lube your switches, check it out here.
Lubing your switch is beneficial for improving the sound of the switch, decreasing the scratchiness and rattle, improving the feel, and it can be a fun and therapeutic process.
This step may add 1-2 hours to the process. You can skip it if you want. After the switches are soldered into your keyboard, it will be time-consuming to desolder them to lube them.
2. Obtain Your Switch Film
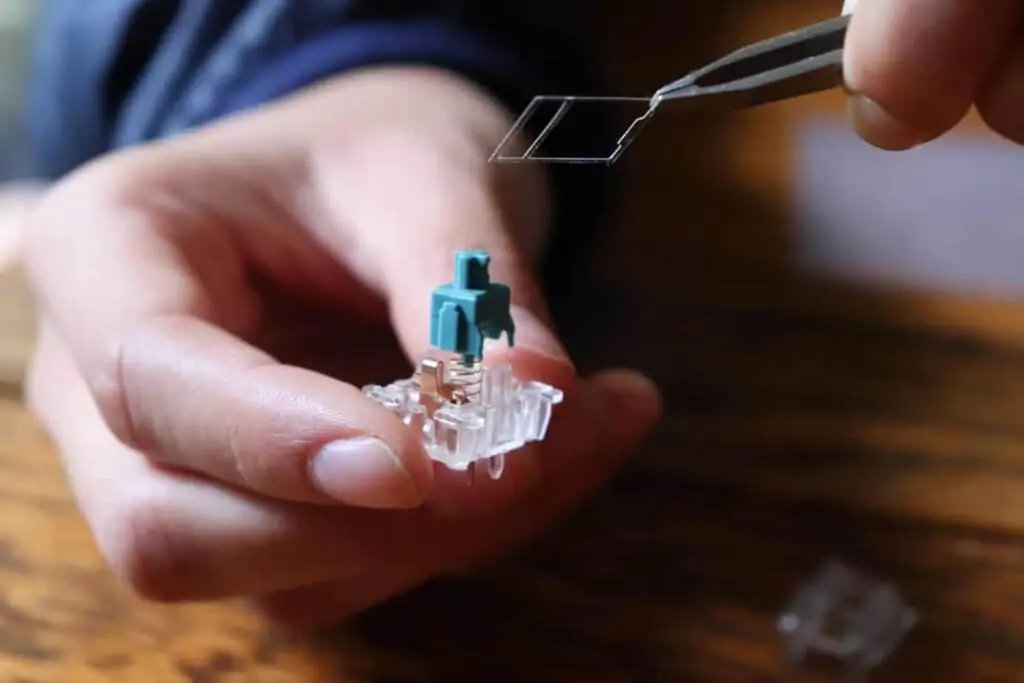
Using a fine pair of tweezers, separate the switch film from other films to isolate just one.
Depending on the packaging of the films, this may require some shaking around as the films sometimes stick to each other. Some films are provided on an adhesive sheet. These need to be peeled off.
3. Place Switch Film on Top of Bottom Housing
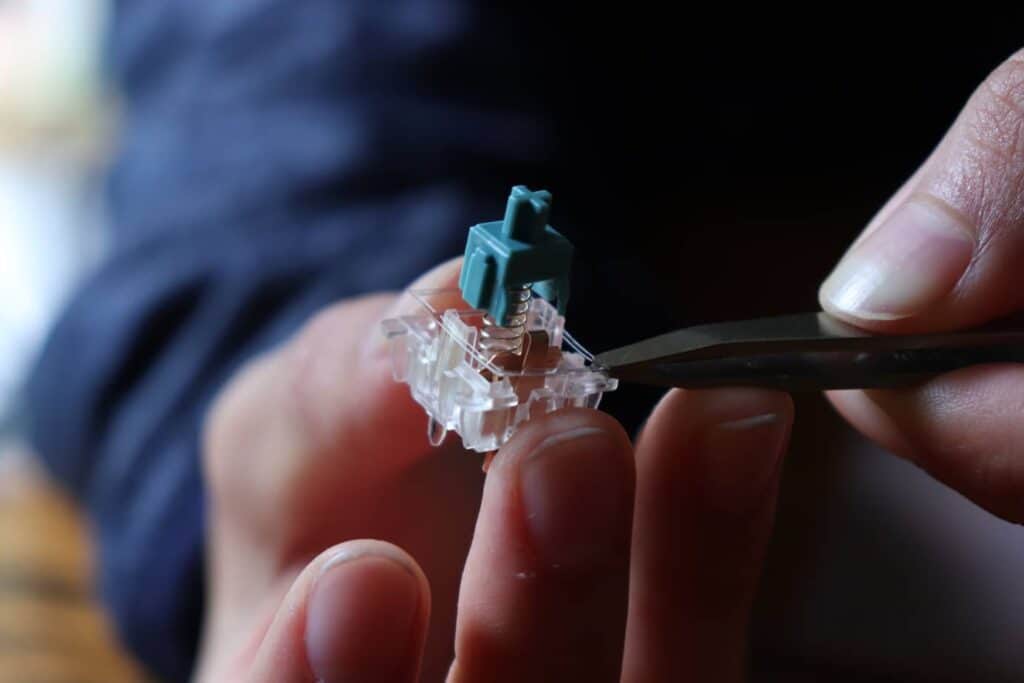
Hold or place the lower housing of the switch on a surface where it won’t move.
Make sure it’s the correct direction. If it’s not in the correct direction, you’ll notice after closing that a part of the film sticks out. When you press on the switch, you will hear a crunch sound of the switch getting in the way of the keypress.
The switch film has two areas: a small rectangular area and a large square area. The small rectangular area goes over the part of the housing that the LED shines through. The larger square part goes around the area that holds the spring and the spring itself.
Some switch films only have a large rectangular frame with no small box for the LED section. The directionality of these switch films do not affect the end result.
4. Put Switch Together and Close
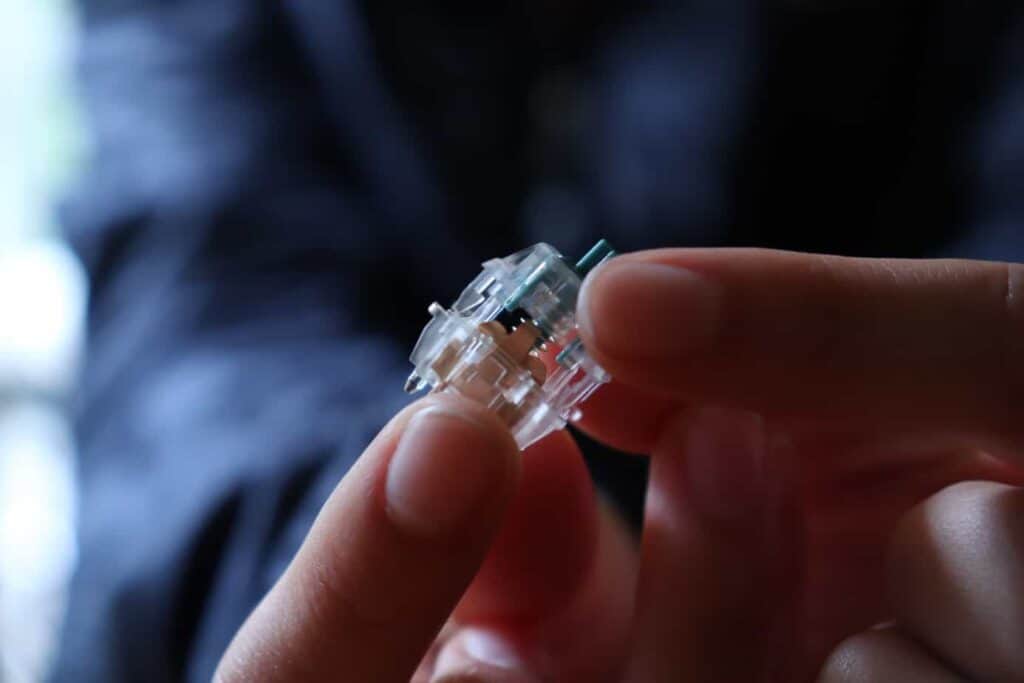
Now that the film is oriented correctly, it is time to put the switch back together.
Get the switch spring and place it on top of the bottom housing. Then obtain the switch stem and place it on top of the spring. Make sure the legs of the stem face the metal leaf or else the switch will not work.
Lastly close the switch by making sure the orientation is correct too. The LED side of the top housing should face away from the metal leaf in the bottom housing.
In other words, the higher side of the top housing (side with the switch brand) should be on top of the metal leaf side.
5. Install Switches Into Your Keyboard
Depending on whether your keyboard is hot-swappable or a solderable board, the steps here would be different.
For a hot-swappable board, this would be very quick. Just push your switches into the PCB and plate, making sure the pins are aligned correctly. For a step-by-step guide on how to do this without tips to make it go smoothly, check out our guide here.
Soldering would be more difficult and the steps would depend on your mechanical keyboard build. Make sure to reference your keyboard kit.
What are Switch Films?
Switch films are small pieces of plastic or other material such as rubber that go in between the top and bottom housing of a mechanical keyboard switch to reduce switch wobble.
Because of the reduced wobble, the switches then sound much better and have a thocc sound.
Switch films range with material and thickness sizes as well. The different materials can be plastic, rubber, PLA plastic, and polycarbonate plastic.
To see if a switch would benefit from filming, hold the top and bottom housing and try to wiggle the top housing to see if anything moves. If it does, your switch will benefit from filming.
Switch films were initially invented to renew vintage Cherry MX Black switches, whose housings have increased wobble due to years and years of shrinking plastic and prolonged use. It was not until recently that switch films became popular with new switches.
Many times, a new switch will not need a switch film because the housings snap shut tightly. However, some switches will benefit from them, so be sure to do the test to see whether your switch can benefit from filming or not.
Where to Get Switch Films?
There are many different vendors of switch films, and everyday, the marketplace is expanding as more people become interested in mechanical keyboards. The four places below are popular within the mechanical keyboard community and are well-known.
No matter where you buy them, you won’t go wrong. Try them out and see which material and thickness you prefer. They’re very affordable, making testing them accessible, but can be out of stock sometimes. So depending on availability, where you live, and things like that, these vendors all make good switch films.
Kebo Films
Kebo Store is a vendor within the United States. Their films are generally on the thinner side but are readily available for an affordable price.
Kebo Films are .12mm thick, polycarbonate, and also cost about 5 cents per film. However, they often have sales where you can get two packs of 100 each for $8, which means a cost of 4 cents per film.
Their films are available in black, clear, or white. These films do not require peeling from an adhesive sheet because they are polycarbonate.
TX Films
TX Films are made of polycarbonate and come in packages of 110 films. TX films offers them in different colors: white, black, red, green, blue, yellow, purple, red, pink, aqua, orange, and clear.
The most popular color is clear to match with any switch without being worried about the colored films standing out.
In the continental United States, TX Films are the go-to vendor for switch films. However, other companies have emerged as well. Depending on availability, pricing, and ease of access, these films make a great option if you’re looking to experiment with filming your switches.
However, due to their popularity, TX Films are consistently out of stock, which is why there are other vendors now.
TX Films are about 5 cents per film (without shipping cost) and measure around .15mm thick.
Thicc Films
Thicc films are generally thicker than all the other brands. They are 3D printed out of PLA plastic.
Thicc films measure at about 0.22mm, which make them visibly thicker than other films.
Thicc films allow the housings to be even tighter, decreasing any movement between the housings and improving the sound. Thicc films are rectangular and do not have the little bar that separates the LED side and the other side of the switch.
Because of the thickness of these films, they may not fit all switches. Refer to their sizing chart to determine whether you should buy Thicc films for your switches or not.
They only work for Cherry MX style housings. Therefore, these are not compatible with Kailh style switches.
These are currently always in-stock and can be shipped to multiple countries. He also offers a 14-day return window if the films end up not fitting.
Deskeys Films
Deskeys Films are the newest films on the block. They are made of the same material as their Topre silencing rings, a rubber feeling material. These are $7.00 for a pack of 120 films, making them almost 6 cents per film.
Deskeys Films are about 0.3mm thick, making them one of the thickest films. However, the material is compressible that adapts to housings of different tightness levels.
Deskeys Films are compatible with Cherry MX switches, Gateron milky switches, Gateron Inks, Healios, Creams, and Alpacas. They are not comaptible with switches with Kailh housings.
Why Should You Use Switch Films?
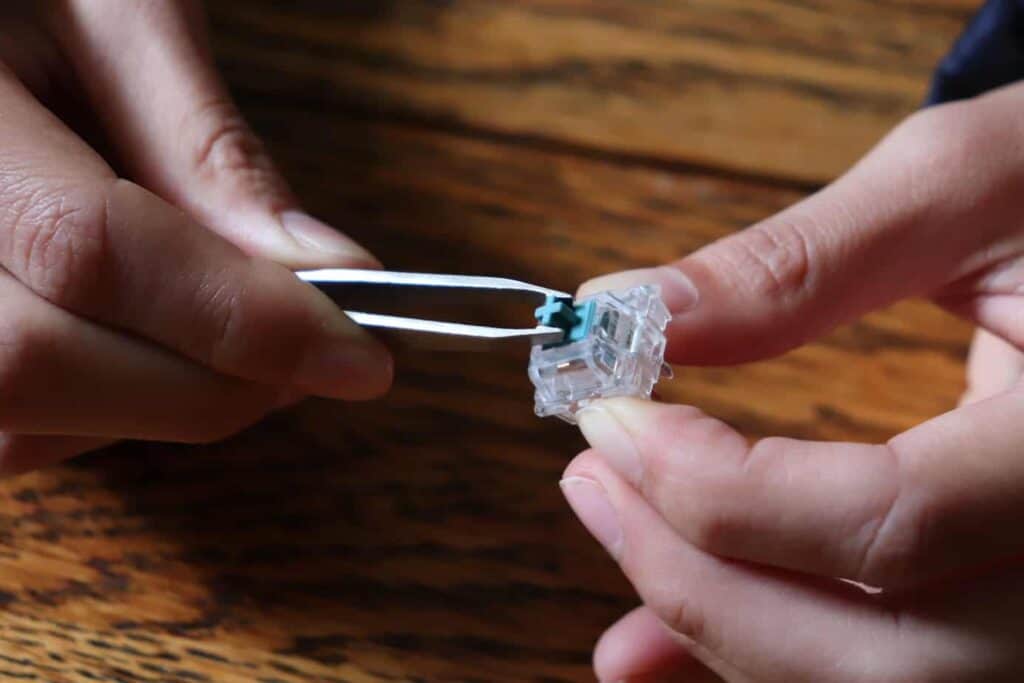
Mechanical switches are made of many parts: the top housing, bottom housing, spring, and stem. When they’re initially manufactured, they have specific tolerances that are acceptable by the company due to specific tooling.
There are two different types of switch wobble, and filming a switch helps with the switch top wobble. The two types are explained below.
These switch films use the same material as gaskets that are seen in high-end custom keyboard kits that completely isolate the PCB from the case to reduce reverb.
Two Types of Switch Wobble
Switch Stem Wobble
Some switches have higher tolerances, and therefore have more movement between the top and bottom housing of switches.
Switch stem wobble is the movement of the stem within an assembled switch’s top housing. This movement is normal and expected from all mechanical switches.
The stem wobble can vary from switch to switch, but it is completely normal.
Switch Top Wobble
The second type of wobble is switch top wobble. This is when the entire top housing of the switch moves when you try to wiggle it around. This type of wobble is not normal and can be decreased with switch films.
Switch top wobble occurs when the switch housings do not fit together tightly. This type of wobble affects the overall sound of the switch, and it increases the inconsistencies between your switches. By reducing switch top wobble, we are left only with the normal switch stem wobble.
For more information on wobble, see Walker’s Keyboard Science video on the topic.
What Films Do To Wobble
By applying a layer of plastic between the top and bottom housing, you are essentially making them fit together tighter.
After you close the switch with the film on it, the clips that attach the housings together will press on the plastic and decrease any of the spacing that existed prior to filming.
This will decrease the amount of switch top wobble, which makes the sounds more consistent from switch to switch.
Now you are only left with the regular wobbling of the stem within the top housing.
This video by KeyBonBon compares the four different switch films from different vendors and concluded that there is a significant difference between unfilmed and filmed switches but very subtle differences between each switch.
What Switches Need to Be Filmed?
The answer is that it depends on your switch. There are some stock switches that will have looser tolerances and more switch wobble from the get-go.
Other switches will have tighter housings when stock. However, over time with use and opening up the switches and closing them, the housings become looser. Then they’ll benefit from switch films.
To determine whether a switch needs to be filmed or not, try out this test.
How to Know If Your Switch Needs Filming
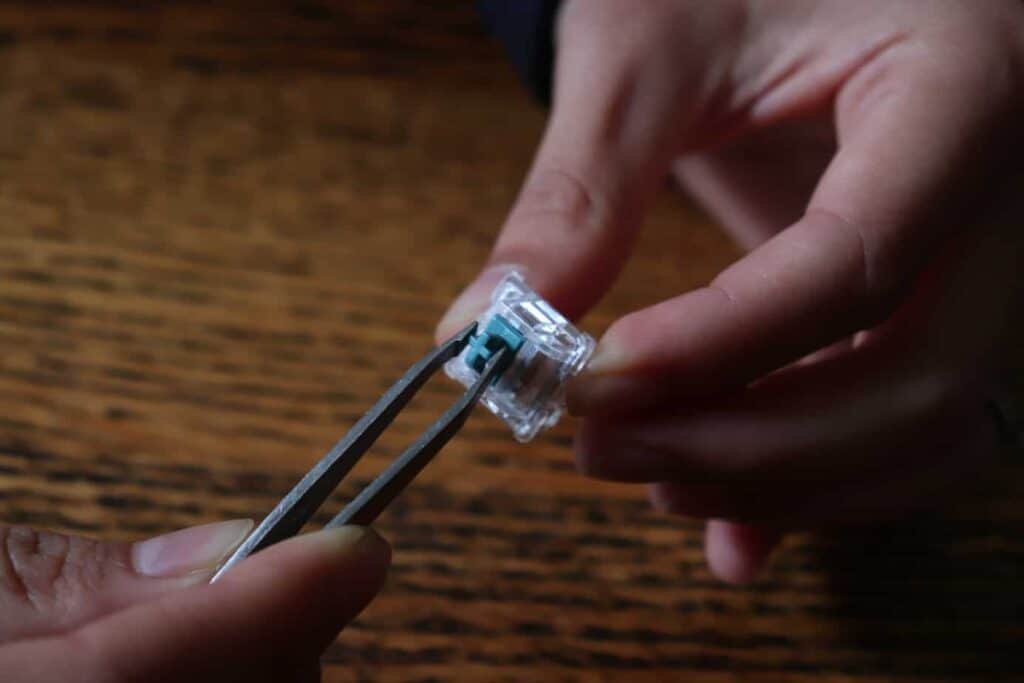
- Place your switch into your plate or hold the bottom housing really tightly.
- Using a set of tweezers, try to wiggle the stem by grabbing onto it and moving it up and down. If you see housing wobble or significant movement, then your switch will benefit from filming.
- If you see minimal movement and only see stem wobble, your switch does not need to be filmed.
Conclusion
Filming switches is becoming more and more commonplace as the mechanical keyboards hobby expands and more switches are being created.
These innovations are great. However, sometimes the tolerances of the switches may be looser than you’d like, meaning that there is more movement between all of the plastic pieces that make up the switch.
Many switches nowadays can benefit from being filmed and lubed. If you’re going to open up your switch anyways to lube it, then be sure to check if it can benefit from filming or not by our little test above.
Switch films are very affordable for a complete full-sized keyboard, and it can always come in handy someday. Although there are different switch films and vendors, they will all make your switch fit tighter and sound better.
Don’t fear, and do what will make you happy in the end.
