Soldering can be an intimidating task for those who have never done it. However, to dive into the world of custom mechanical keyboards or even modding your current board, you need to have a set of high-quality soldering equipment handy.
This article looks at the bare minimum that you may need along with some helpful optional add-ins to make your life easier.
There are alternatives to the products that we recommend out there. However, in our experience, this has been adequate and plenty to work with in our creation of multiple custom mechanical keyboards as well as desoldering prebuilt boards.
But first, a safety warning. Soldering irons reach extremely high temperatures and can injure people, surfaces, and animals. Also inhaling the smoke that is produced while soldering can cause long-term breathing problems. With that in mind, please purchase the items that you feel are necessary to keeping yourself and others safe.
This is a easy-to-follow list/checklist to refer back to when you’re doing your shopping. Below it, we will go into detail on each product as well as why we picked them.
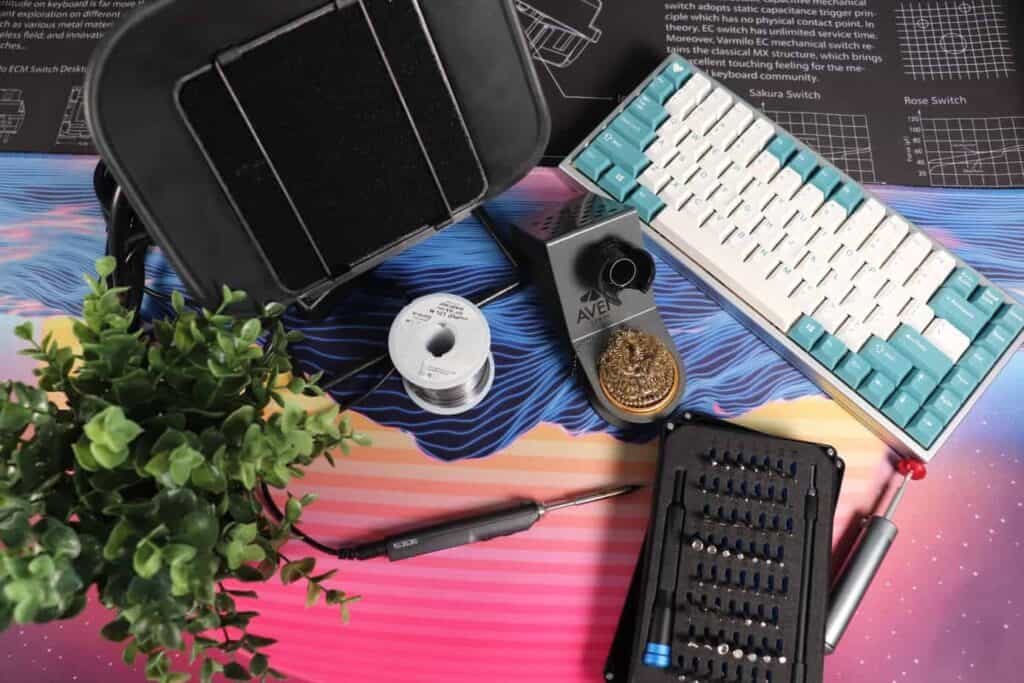
Best Soldering Equipment for Keyboards – Our Picks (And What We Use)
| Tool | Name | Why? |
|---|---|---|
| Soldering Iron | UY CHAN TS100 | OLED display screen makes it easy to change temperatures. |
| Solder Wire | Kester 63/37 SN/PB | Soft and workable and makes desoldering easier. |
| Optional: Tweezers | Hakko CHP 7-SA | Antistatic with a precision tip. |
| Ventilation Fan | Aoyue AO486 486 Smoke Absorber | Necessary for soldering indoors for safety. |
| Solder Iron Stand | Aven 17530 Soldering Stand | To prevent the hot iron from hurting surroundings and others. |
| Insulation Mat | Kaisi Heat Insulation Silicone Repair Mat | To protect the working surface from hot temperatures. |
| Solder Sucker | Engineer SS-02 Solder Sucker | If mistakes are made, this is crucial to fix them. |
| Optional: Screwdriver Kit | iFixit Mako Driver Kit | Magnetic tip and detachable flexible extension tube. |
| Optional: Magnetic Holding Tray | Katzco Magnetic Mini Tray | So you don’t lose those screws that roll around. |
Soldering Iron – UY CHAN TS100
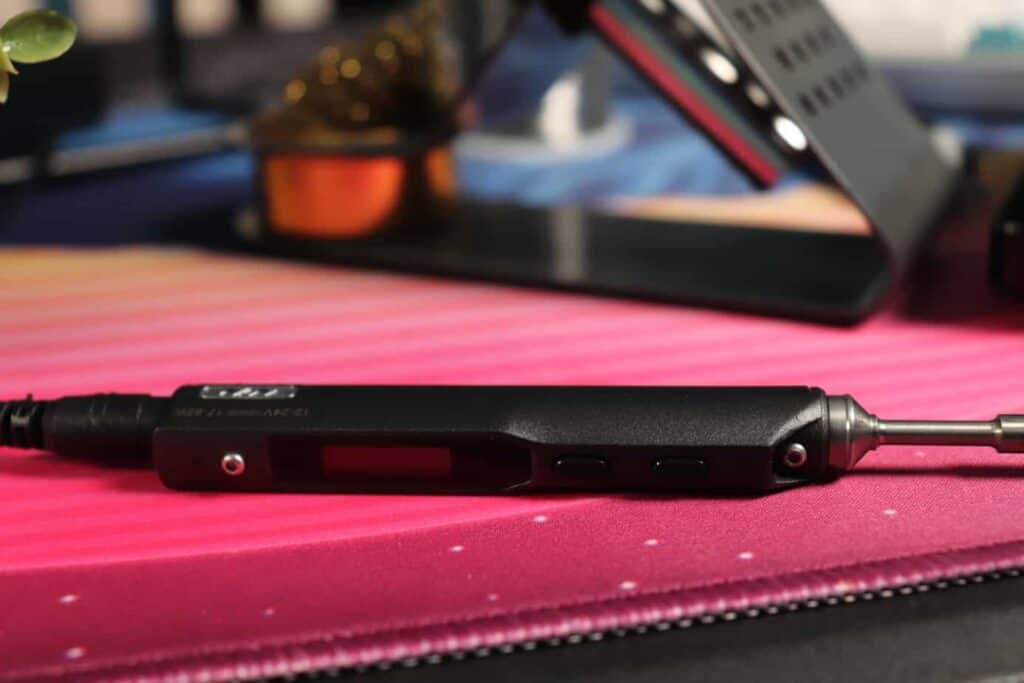
The UY CHAN TS100 is an extremely portable soldering iron. It is only slightly bigger than a large marker from Crayola or similar drawing tools.
Inside the Box and Portability
Inside the box, you can everything you need to get started. However, we do recommend you purchase a few more items before diving right into building your custom mechanical keyboard.
It comes with a power adapter that you plug into the wall and then to the iron, so the iron itself does have a detachable power cable, unlike some of its competitors.
Also, it comes with an additional adapter that will allow you to connect the iron to a portable power supply without needing a wall outlet. Note: this does require you to purchase a separate battery with an XT60 connector.
You get a mini iron stand with a small tip cleaner. However, this doesn’t provide any protection against the hot tip due to its exposure.
The port in the iron is universal and can connect to laptop adapters, car adapters, and even power banks. Very convenient for portability. However, you’re most likely doing this inside your home, so none of that is required.
Why We Picked It
The TS100 is great for soldering keyboards because it has an OLED temperature display as well as easy temperature switching with its two buttons on the side.
You can switch between soldering and desoldering quite easily. Alongside that, when it’s not in use, you can switch it to standby mode.
It heads up quite fast, and there is the option to purchase different soldering iron tips for it too.
Another factor is ease of installation. It’s easy to screw everything together out of the box, plug it in, and get started. Of course, after initial installation, you are good to go.
Solder Wire – Kester 63/37 SN/PB
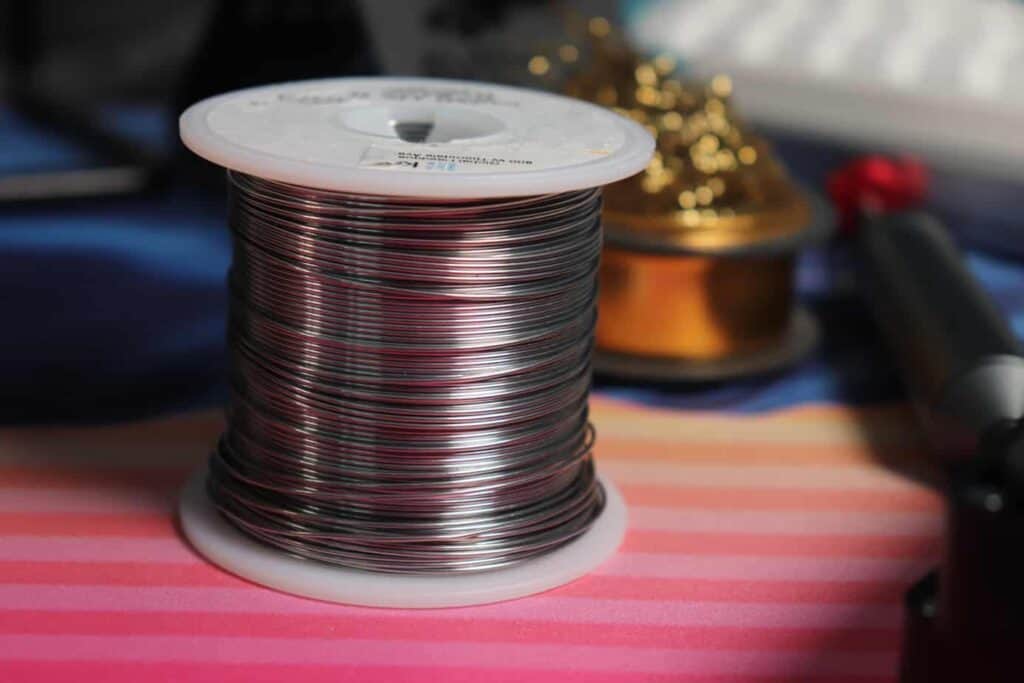
Having the wrong kind of solder wire can mean all types of bad things. I’ve done it, so just heed my warning here and buy the good stuff.
By good stuff, I mean the solder needs to have a high lead content in it. If there isn’t much lead, desoldering it will be quite hard.
Alongside that, the wire will need higher temperatures to liquefy, making it harder to have a good-looking soldering joint.
A spool of solder wire will last you a long time, with many keyboard customs. If you plan on doing a lot of through-hole builds such as the Discipline65, a spool will still last you a long time.
There are many brands of high-lead soldering wire, but this is what we prefer because you get a lot of it.
Tweezers – Hakko CHP 7-SA
A good pair of tweezers is necessary when working with electronics.
The great thing about this specific pair is that they’re anti-static and come with a precision tip. If you lose any screws or anything, this bad boy will let you maneuver its way back to you.
It’s non-magnetic, which is good if you’re working with sensitive electronics. Don’t want to accidentally mess something up.
Ventilation Fan – Aoyue AO486 486 Smoke Absorber
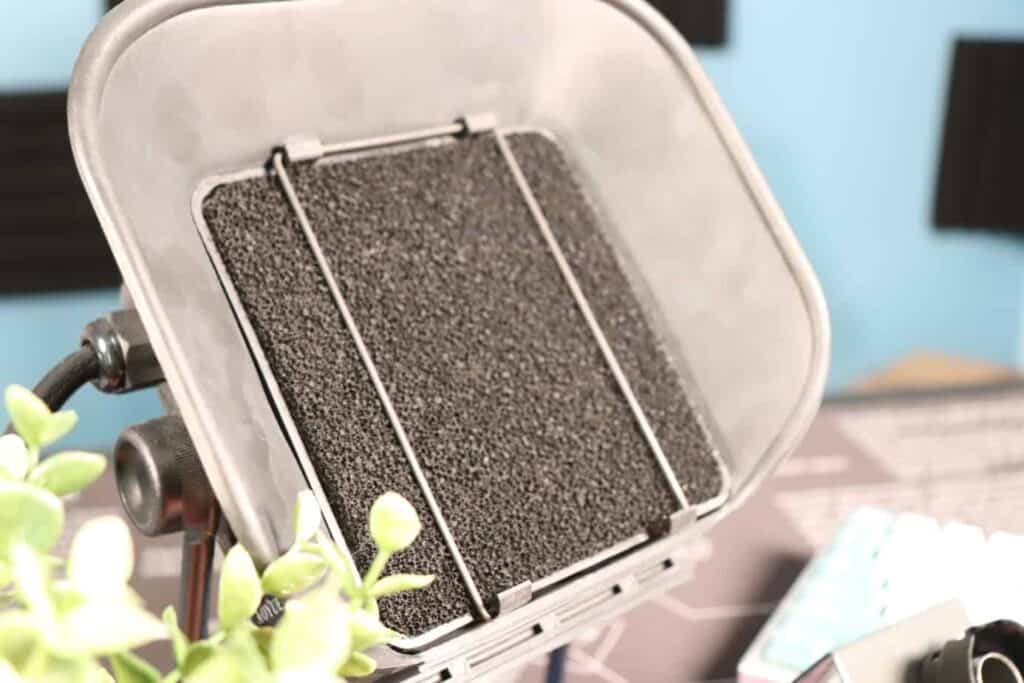
This is one of the optional supplies, but it’s highly recommended for safety purposes.
When soldering, you release a smoke that goes into the air. If you inhale this for long periods of time, it can lead to permanent lung damage and cause breathing problems such as asthma.
So it may be pricey, but really, it’s a must. Or you can solder outdoors in a well-ventilated area where the wind picks up the smoke and leads it away from you.
It does just connect to a wall outlet, and there’s an on/off button in the back.
When it’s on, it can make quite a bit of ambient background fan noise. If you’re streaming, recording, or whatever where sound matters, the ambient fan noise isn’t too bad if the microphone is close to you rather than the absorber.
Solder Iron Stand – Aven 17530 Soldering Stand
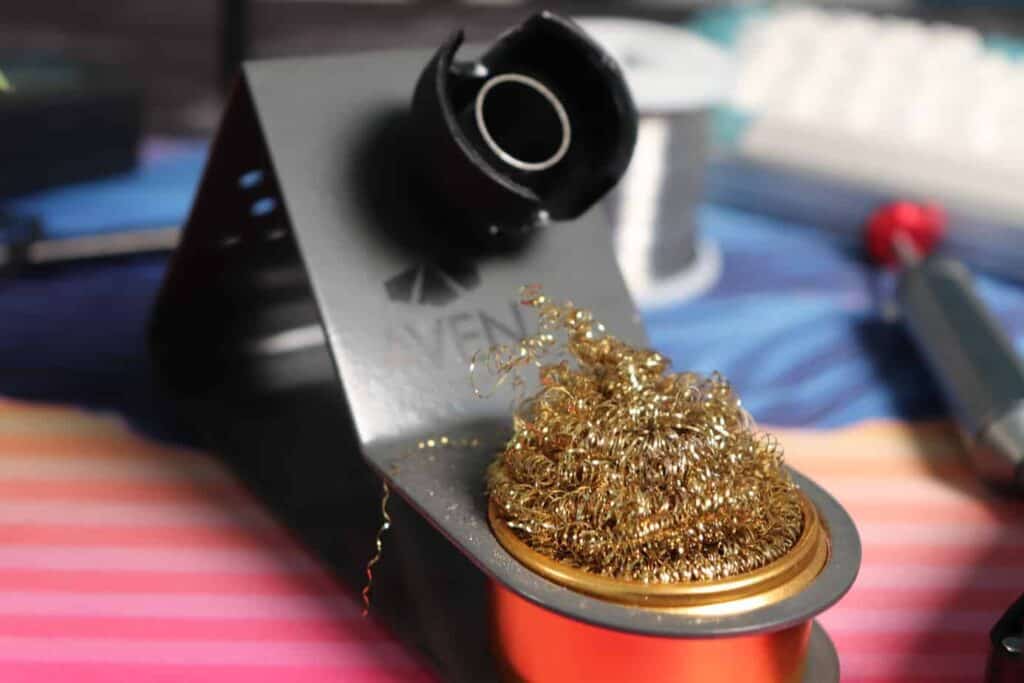
Despite the recommended soldering iron coming with a small iron stand, we don’t recommend it because it leaves the hot iron tip exposed. Also, it’s super easy to knock it over because of how flimsy it is.
Instead, purchasing a separate stand such as this one is much better. It hides the tip. It’s also much sturdier due to its heavier weight and reinforced bottom.
Alongside that, it also comes with brass tip cleaner. As you solder, you’ll notice residue accumulate on your soldering iron’s tip. This is tin that needs to be cleaned off or else it’ll fall into the next joint you make.
Pushing your iron’s tip in and out of the brass tip cleaner will wipe off the excess material, leaving you ready to go.
Definitely handy during long soldering sessions or if you prioritize precision and clean soldering joints.
Insulation Mat –Kaisi Heat Insulation Silicone Repair Mat
An insulation mat is recommended if you’re working on a surface that can be damaged by high heat.
Not only that, but it also keeps your tools and materials organized such as screwdrivers, screws, small tidbits, and whatever else might arise.
Typically, when soldering, your iron’s temperature will go well over 300 degrees Celsius.
This is optional, but it is still recommended for safety reasons.
Solder Sucker – Engineer SS-02 Solder Sucker
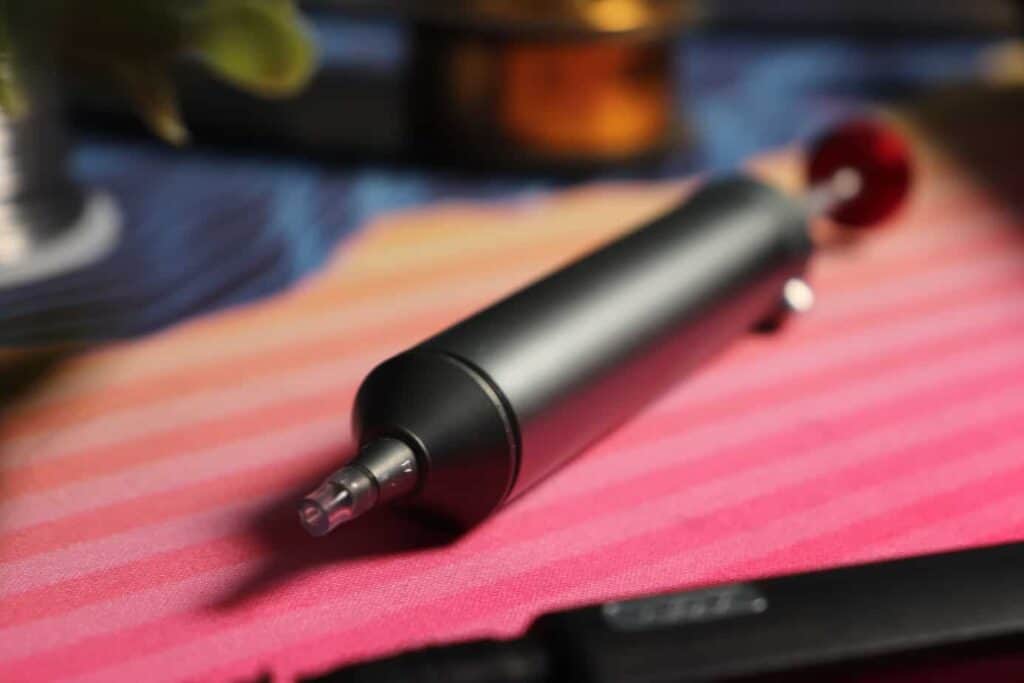
There are many solder suckers out there. However, this one is affordable and reliable.
It’s super easy to clean, although the process can get a little messy. Also, the silicone nib at the end is completely replaceable, improving the lifespan of this little guy.
The Engineer SS-02 is easy to use, all you do is push the plunger down, and press the button when you’re in the right position to suck the solder out.
If you plan on doing a lot of desoldering though, we recommend getting a dedicated desoldering tool such as the Hakko FR301, which you can check out here on Amazon. You just press the button while it’s on, and it works like a miracle. But it’s expensive.
Conclusion
The other two tools in the list are optional, and you can imagine what they’re for without the need for thorough explanation.
I hope this list helped you out. Pretty much everything was handpicked, and we have thoroughly tested these products on several different custom keyboard boards.
The total cost of everything you need, not including optional items, is a little bit over $200 USD, not including tax yet.
However, with all of that, you can expect to keep these products for years to come for all of your soldering needs.
To check out our guides on relevant topics, check out the links below.
How to Build a Custom Mechanical Keyboard
