
You’ve bought your first custom mechanical keyboard kit, and now you need to know if the PCB works before pouring in hours of work only to find out that the PCB was broken.
In this step-by-step guide, we go over all of the steps and materials needed to test your keyboard PCB to see if it’s working before you build your own custom.
Tools Required

1. Metal Tweezers
First, you’ll need a pair of metal tweezers. The reason they have to be metal is that you are essentially completing the circuit of each switch (or at least where the switch pins go), telling the keyboard to register it.
If you don’t have access to a pair of tweezers, it is possible to do this with a paper clip that you DIY to be the distance between the two pads on your PCB. All you need for this is a pair of pliers and a paper clip.
2. PCB
Of course, to test a PCB, you need a PCB. Make sure that you handle your PCB gently and do not damage any of its electrical components.
3. Compatible USB Cable
You’ll also need a method to connect your PCB to your computer. This is done through a USB cable.
Check with your PCB to determine whether you need a USB-C, Mini-USB, or Micro-USB cable. For convenience, we use an interchangeable cable that can connect to all three.
4. Switch Testing Software
For switch testing, we prefer to use either Switch Hitter or VIA (if your PCB is compatible).
Switch Hitter can be downloaded here, and then it can be used many times on your PC just by opening it.
VIA is also a downloadable program. However, not all PCBs are compatible with VIA. You can download VIA here, as well as check for compatible PCBs.
If your PCB is, then definitely download it. It’s a much easier interface to work with and has a ton of features like remapping keys, layers, and more.
For a full list of recommended tools that we use, see our custom keyboard cheat sheet here.
How to Test Your PCB
1. Clean Your Surface
Before you open up your PCB’s packaging, make sure you have a clean workspace that is clear of any static electricity.
Similar to working with computer parts, you won’t an environment that won’t potentially damage your PCB.
Personally, I work on a cloth desk mat and clean the surface beforehand.
Despite what people say, your PCB is actually a lot more durable than you might think. But with that in mind, treat it well because it’ll last a long time.
Now you may take your PCB out of its packaging.
2. Connect Your PCB to PC

When you’re ready and have your workspace set up, now it’s time to connect your PCB to your computer using the compatible cable.
If your PCB has RGB lights, you’ll see the lights glow. If your PCB has an LED light signaling that power is running through it, you’ll see that as well.
It really depends on what PCB you have, even ones without RGB lighting will have a method to tell you that it’s turned on.
3. Open Your Switch Testing Software

Now, open up Switch Hitter or VIA, whichever one that you decided to get.
VIA, if it recognizes your PCB, has a test matrix that you can open up that will show you the layout of your PCB. You can also opt to turn on sounds. That way, when you test it, it makes sounds rather than having to look at the screen to know that a key works.
For example, if you have a 65% board, it’ll show you that layout. It also gives you the option to split spacebar, split backspace, etc.
If you’re using Switch Hitter, it only shows the tenkeyless and full-sized layouts, but you can also test 65%, 1800-compact, 75%, and other layouts with it as well.
4. Test Each Individual Switch
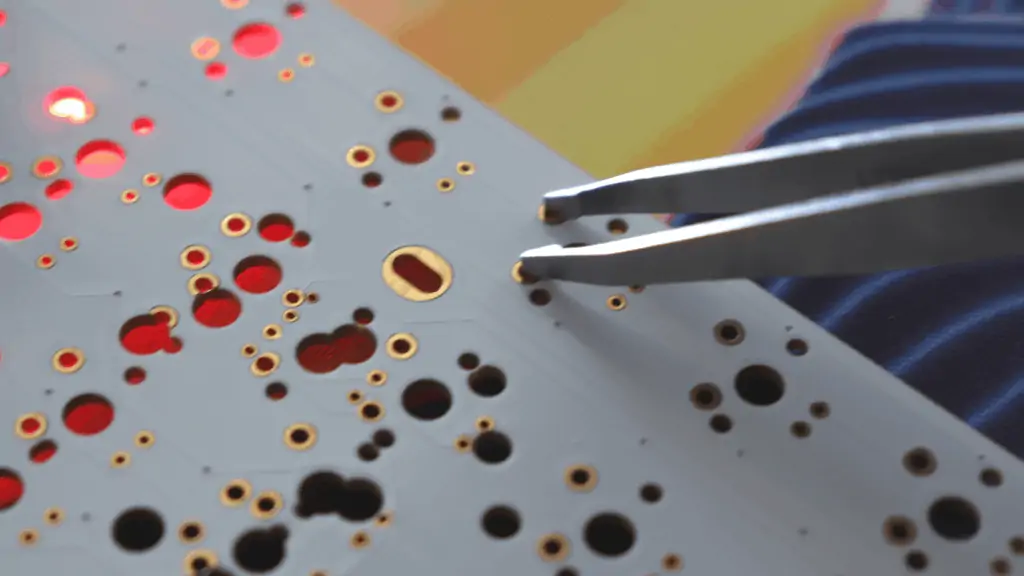
Now get your pair of tweezers, and for every switch placement (with two pads) on the PCB, you’ll connect one end to one pad and the other end to another.
On your software, you’ll see the key light up and then turn into another color, indicating that it works.
If you test a switch and see nothing happening, you can try again with different positioning slightly.
If it still doesn’t work, then most likely, that key on the PCB is not working properly.

Continue down each row and column, testing each switch one-by-one.
For certain PCBs with different bottom row layout options, you’ll see that there are many pads side-by-side.
I test all of the keys, but it’s optional if it’s not a layout you ever plan on using.
5. Next Steps to Building a Custom Keyboard
Now that you know your PCB works, what are the next steps to finishing your custom mechanical keyboard?
We have a full step-by-step guide for how to build a custom keyboard from start to finish if you’re interested in reading more.
Do I Need To Test the PCB?
When you first get a PCB shipped to you, it is recommended that you test it before doing anything else.
You don’t want to be in a position where you’ve soldered everything on only to realize that a key doesn’t work. Then it’s hard to diagnose whether it’s the switch, the PCB, or a poor solder job that is the cause of the problem.
What is a Keyboard PCB?
PCB stands for printed circuit board. The PCB is what sends signals to your computer that you pressed a certain key.
There are different kinds of PCBs that are available for you to purchase.
The PCB is pretty much the brain of the whole operation, so make sure you get one that you like.
The first thing to think about when choosing a PCB is what kind? Do you want a through-hole design? A soldered design? Or hot-swappable so you don’t have to solder at all?
Through-Hole PCB
A through-hole PCB doesn’t have many of the parts required to make it work soldered on. For example, you’ll have to solder the diodes, resistors, fuses, reset buttons, LED lights, the microcontroller, and USB port for it to become a functioning PCB.
Usually, through-hole PCBs are not recommended for beginners because they require a lot of effort. Also, they can be quite frustrating if something doesn’t work and you don’t know why.
However, a through-hole build is a great weekend project if you’re wanting to show off your impressive soldering skills or build something that’s a bit different.
Standard PCB
A solderable PCB is probably the most common one that you’ll see. This PCB only requires that you solder in the switches.
This PCB is recommended for builders of all skill levels. Standard PCBs allow you to have more flexibility in terms of layouts and key placements.
For example, some standard PCBs allow you to choose between ISO and ANSI, split backspace, split spacebar, and split shift. Alongside that, there are many different bottom row layouts that you can pick from.
Hot-Swappable PCB
A hot-swappable PCB already comes with hot-swappable sockets soldered into it.
This PCB is most recommended for beginners because it requires no soldering at all unless a socket gets pulled out.
With these PCBs, all you need to do are install the stabilizers, and push in each individual switch. After that, it’ll work great.
No soldering is required.
What Do I Do If It Doesn’t Work?
If you’re in the testing phase and you see that your PCB doesn’t work, be sure to contact the vendor or supplier of the PCB as soon as possible.
It may still be in the period where you can return the PCB for a replacement or a refund.
If you wait too long before testing, then the vendor or supplier has the right to turn down your return/refund/replacement request, simply because having the PCB sit in your home too long may have caused it to not work.
Conclusion
In conclusion, testing your PCB should be done as soon as you receive it in the mail. Alongside this, you want to make sure it’s done before you start building your keyboard.
If you do forget to test it, then be sure to test it before your solder in your switches. That way, you’ll at least save time if any trouble arises.
It’s also a really easy process that can be done very quickly with little equipment or none at all.
Hope this guide helps you, and good luck with building your first mechanical keyboard!